Bloody Bandage Wraps are a fun and spooky treat, perfect for any themed gathering. To make them, start by preheating your oven to 400°F. Roll out refrigerated pie crusts and cut them into thin strips to resemble bandages. Mix shredded chicken, cream cheese, ranch dressing, and shredded cheese for the filling. Assemble your wraps by layering the dough strips and the filling. Bake for 20-25 minutes until golden brown, and drizzle marinara sauce on top for a bloody effect. These wraps are not just about looks; they're delicious, too! Stick around and discover more tasty tips and tricks.
Key Takeaways
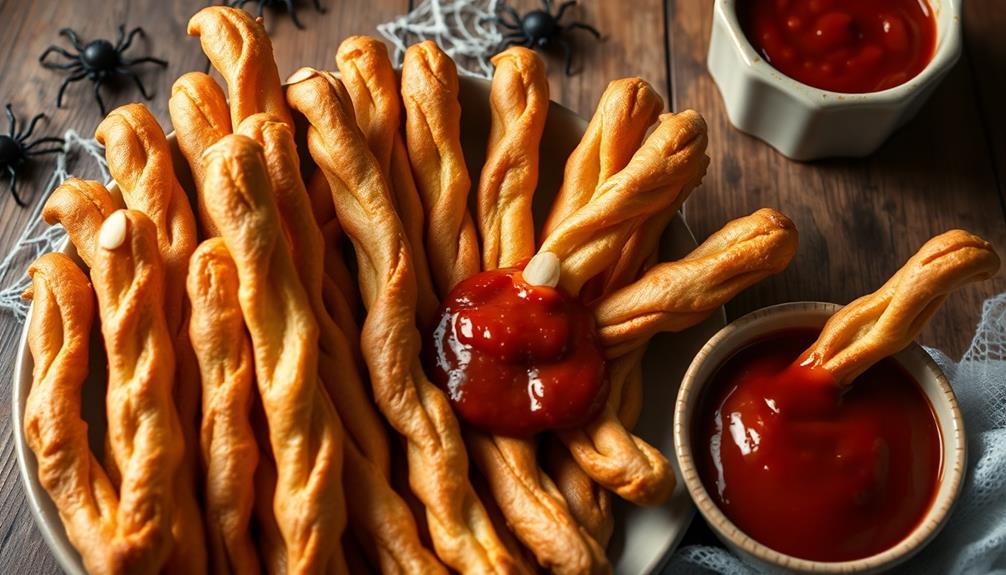
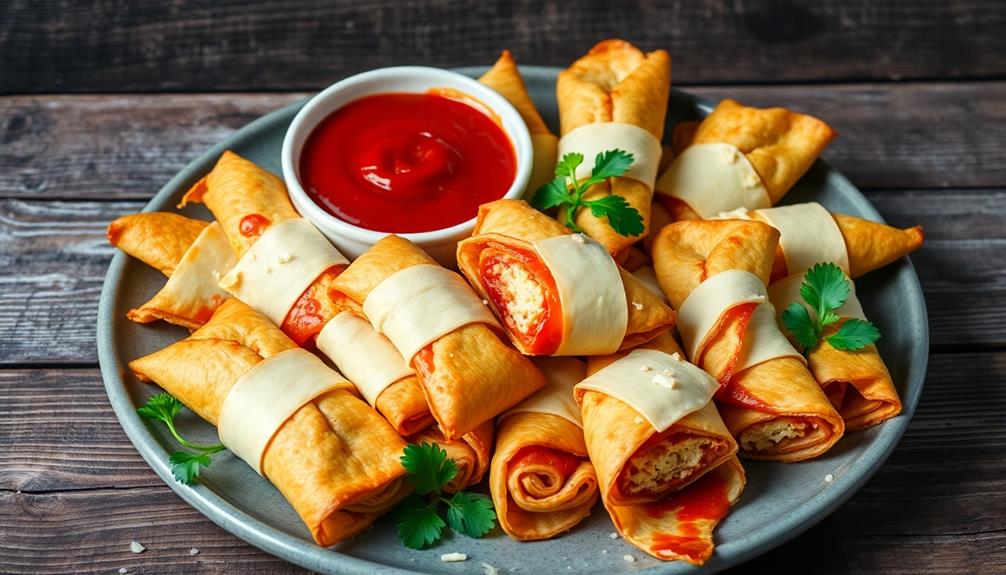
- Bloody Bandage Wraps are spooky appetizers made from flaky pastry filled with savory ingredients and drizzled with marinara sauce for a bloody effect.
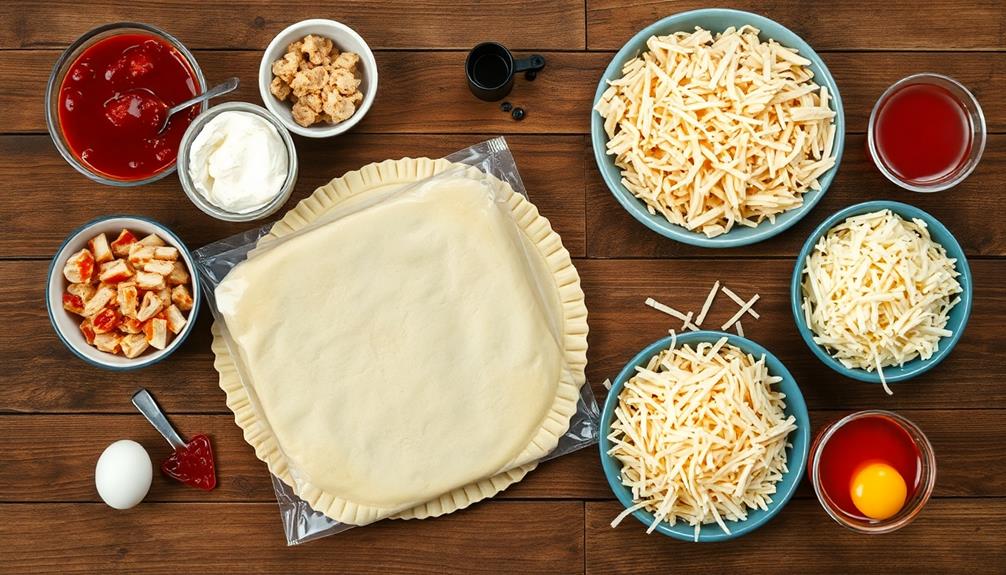
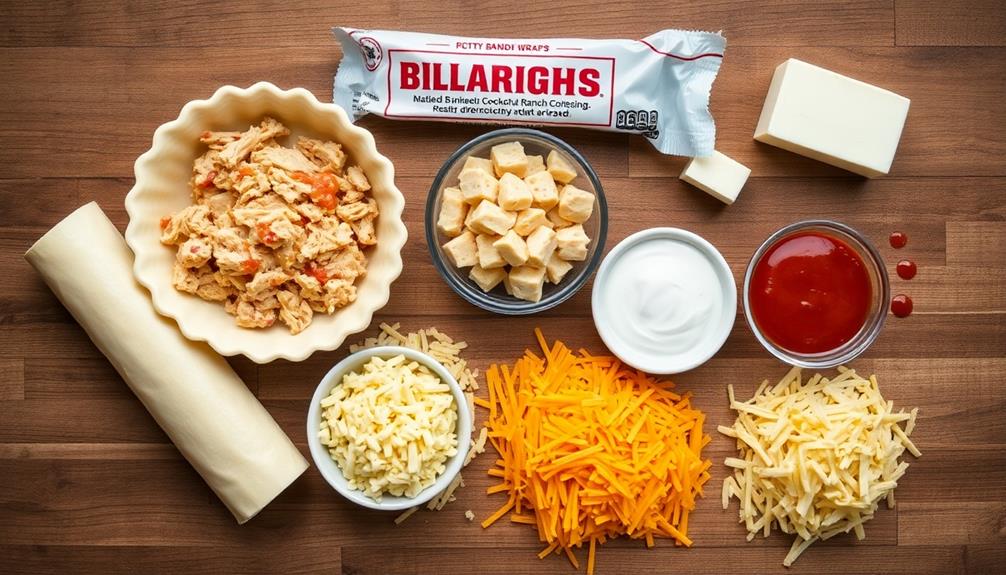
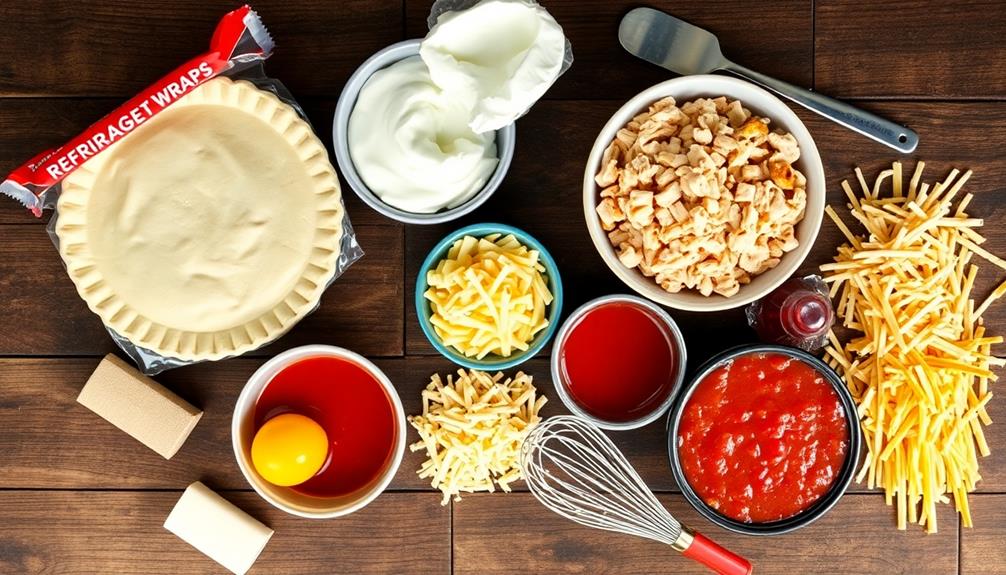
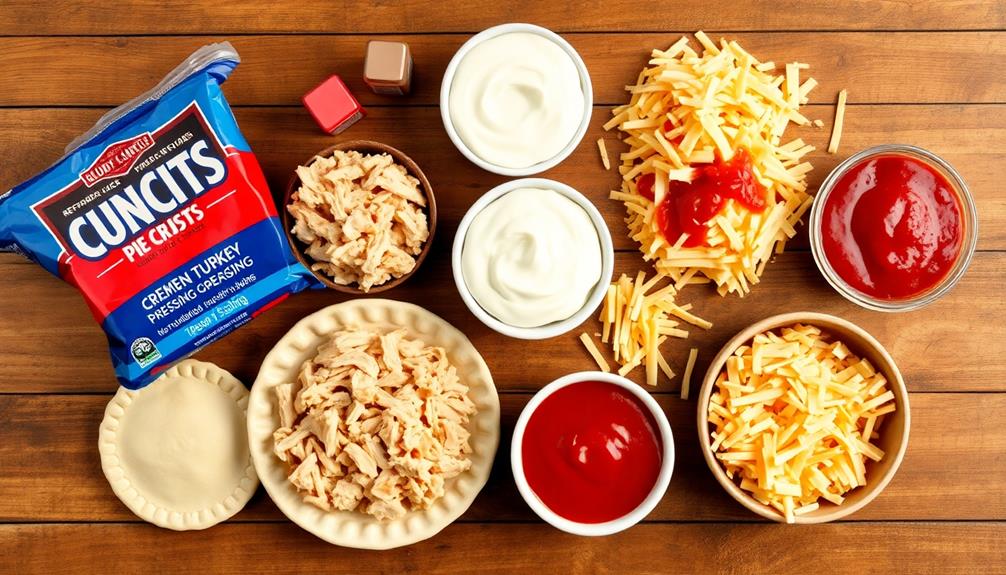
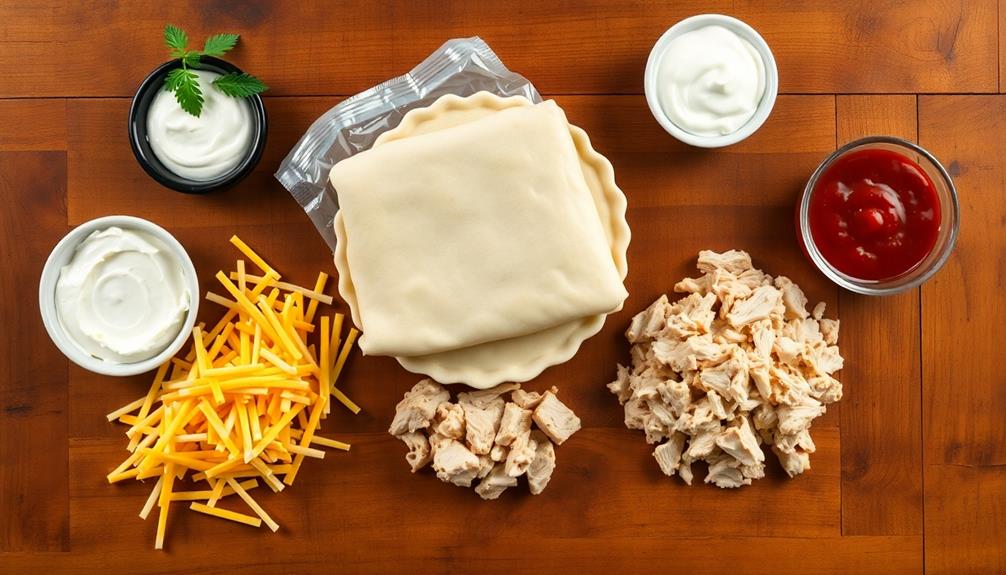
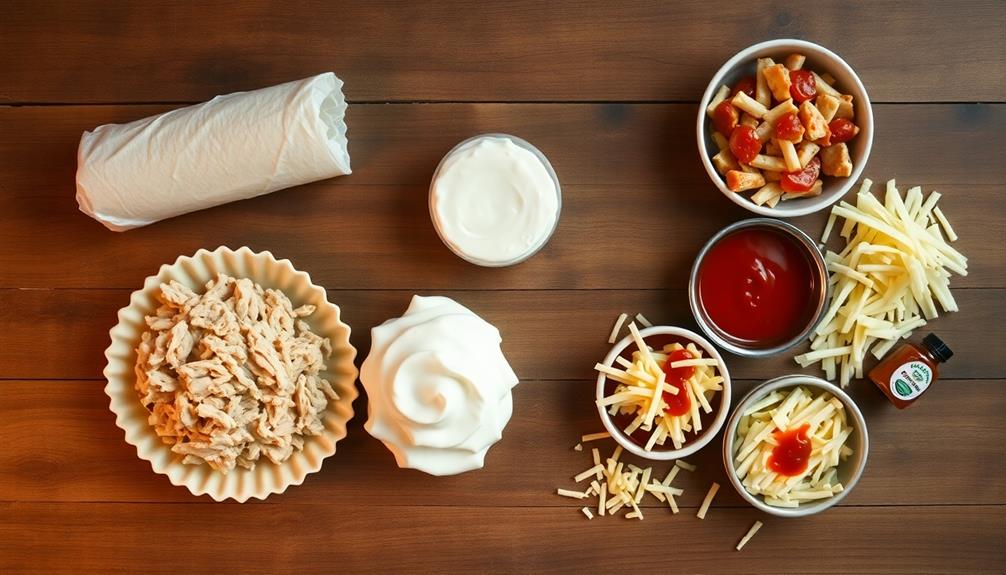
- The recipe includes refrigerated pie crusts, cooked chicken or turkey, cream cheese, ranch dressing, and shredded cheese for easy assembly.
- To prepare, roll out pie crusts, cut them into strips, mix the filling, and layer before baking until golden brown.
- These wraps serve as fun, themed food perfect for gatherings, encouraging creativity in presentation and culinary skills.
- Proper bandage wraps protect wounds and promote healing, emphasizing the importance of material selection and regular changes for optimal care.

Pillsbury Premade Refrigerated Pie Crust, Two Pie Crusts, 14.1 oz
- Homemade Taste: Delicious, convenient refrigerated pie crust
- Family Favorites: Perfect for sweet and savory pies
- Versatile Uses: Create various pie types easily
As an affiliate, we earn on qualifying purchases.
As an affiliate, we earn on qualifying purchases.
History
The evolution of bloody bandage wraps reflects humanity's ongoing struggle with injury and healing. Throughout history, you'll find that people have always faced challenges related to wounds, whether from battles, accidents, or everyday life. The evolution of bloody bandage wraps reflects humanity’s ongoing struggle with injury and healing. Throughout history, you’ll find that people have always faced challenges related to wounds, whether from battles, accidents, or everyday life. From rudimentary strips of cloth used in ancient combat to modern sterile gauze, these wraps symbolize resilience and survival. Even in popular culture, narratives of perseverance often intersect with injury, such as in Dev Patel’s martial arts journey, where overcoming physical and mental scars is central to the story. These instances remind us that the path to recovery, though arduous, is deeply embedded in the human experience.
Ancient cultures often turned to natural materials like animal hides and plant fibers to create early bandages. These wraps served to protect injuries while allowing the body to heal.
As you explore further, you'll notice that the Greeks and Romans made significant advancements, using honey and vinegar for their antiseptic properties in their bandaging techniques.
Fast forward to the Middle Ages, and you'll see that battlefield medics began using more sophisticated methods, incorporating linen for cleanliness.
In the 19th century, the introduction of antiseptics transformed bandaging practices dramatically.
You might find it fascinating that during the world wars, bloody bandage wraps became iconic symbols of sacrifice and bravery. They weren't just practical; they represented hope amid chaos.
Recipe
Bloody Bandage Wraps Recipe
Bloody Bandage Wraps are a delightfully spooky appetizer perfect for Halloween parties or any themed gathering. These wraps combine savory flavors with a visually striking presentation, making them a hit among guests of all ages. With a combination of flaky pastry, savory filling, and a touch of edible "blood," these wraps are sure to add a fun and festive touch to your table.
To create your Bloody Bandage Wraps, you'll be using simple ingredients that are easy to find and prepare. The key is to make the wraps look like they're wrapped in bandages, using strips of dough to create that eerie effect. The delicious filling will keep your guests coming back for more, while the unique presentation will leave them in awe. Let's dive into the ingredients and cooking instructions for this ghoulish treat!
Ingredients:
- 1 package of refrigerated pie crusts
- 1 cup cooked shredded chicken or turkey
- 1/2 cup cream cheese, softened
- 1/4 cup ranch dressing
- 1/2 cup shredded cheese (cheddar or mozzarella)
- 1/4 cup marinara sauce
- Red food coloring (optional)
- Egg wash (1 egg beaten with 1 tablespoon water)
- Olive oil for brushing
Cooking Instructions:
Begin by preheating your oven to 400°F (200°C).
Roll out the pie crusts and cut them into thin strips to create your "bandages."
In a mixing bowl, combine the shredded chicken or turkey, cream cheese, ranch dressing, and shredded cheese. Mix until well combined.
Lay a strip of dough on a baking sheet lined with parchment paper, place a spoonful of the filling in the center, and then cover it with another strip, creating a wrapped effect.
Repeat this process until all the filling is used.
Brush the wraps with egg wash and bake for 20-25 minutes or until golden brown.
For an added spooky effect, drizzle a bit of marinara sauce mixed with red food coloring on top before serving.
Extra Tips:
For a spicier kick, consider adding some diced jalapeños or hot sauce to the filling mixture.
You can also experiment with different types of cheese or add vegetables to customize the flavor to your liking.
If you want to make the wraps even more visually appealing, try using a combination of different colored doughs or sprinkle some poppy seeds on top for an eerie touch.
Remember to keep an eye on the wraps while they bake, as oven temperatures can vary and you want to avoid over-browning.
Enjoy your creepy culinary creation!
Cooking Steps
Before you start baking your Bloody Bandage Wraps, it's important to prepare your ingredients.
First, you'll mix your dry and wet ingredients, ensuring everything's combined well.
Once that's done, knead the dough thoroughly before shaping it into rolls and baking them until they're golden brown.
Step 1. Prepare the Ingredients First
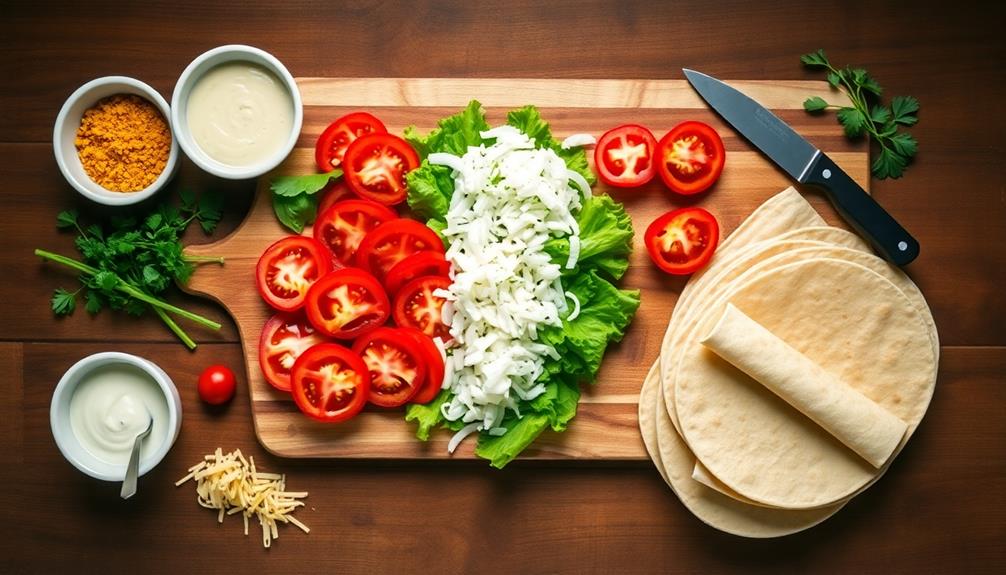
Gathering your ingredients is a crucial first step in making Bloody Bandage Wraps. To create these fun and spooky treats, you'll need a few essential items. First, grab some flour tortillas; they serve as the base for your wraps.
Next, gather a selection of fillings like deli meats, cheese, and veggies. Think about adding some spooky touches—perhaps use red pepper strips to mimic blood!
Don't forget your spreads. Cream cheese or hummus works wonderfully to keep your ingredients together and add flavor. You'll also want to have some food-safe bandage wraps on hand for presentation, as they'll give your wraps that creepy look.
Once you've gathered everything, take a moment to organize your workspace. Having your ingredients laid out will make the process smoother and more enjoyable. You'll find it easier to assemble your wraps when everything's within reach.
Lastly, make sure to wash your hands and any fresh produce you're using. With all your components ready and your space clean, you're set to dive into the next steps of creating these deliciously frightening snacks.
Enjoy the process and let your creativity shine!
Step 2. Mix Dry and Wet Ingredients
To create the perfect texture for your Bloody Bandage Wraps, you'll want to combine your dry and wet ingredients effectively. Start by gathering your dry ingredients in a large mixing bowl. This usually includes flour, salt, and any spices you might like to add.
Whisk them together to ensure they're evenly distributed; this step is crucial for a consistent flavor throughout your wraps.
Next, in a separate bowl, mix your wet ingredients. This typically involves water, oil, and any other liquids like eggs or milk. Make sure everything is well-blended, as this helps integrate the flavors and ensures a smooth consistency.
Now, it's time to combine the two mixtures. Pour the wet ingredients into the bowl with the dry ingredients gradually. Stir gently with a wooden spoon or spatula to avoid lumps.
You'll want to mix until just combined; over-mixing can lead to tough wraps, and nobody wants that!
Keep an eye on the texture; it should be sticky but not overly wet. If it feels too dry, add a splash of water. Once you've achieved this perfect balance, you're ready to move on to kneading your dough!
Step 3. Knead the Dough Thoroughly
Kneading the dough is a crucial step in achieving that perfect texture for your Bloody Bandage Wraps. Start by flouring your work surface lightly to prevent sticking.
Place your mixed dough onto the floured surface and, using your palms, push down and away from you. Fold the dough back towards you, then rotate it a quarter turn. Repeat this process for about 8 to 10 minutes, or until the dough becomes smooth and elastic.
You'll know it's ready when it springs back after pressing gently with your finger. If the dough feels too sticky, sprinkle a little more flour as needed, but be careful not to add too much, as it can make your wraps dense.
Kneading not only develops gluten, which provides structure, but it also helps incorporate air, making your wraps light and fluffy.
Don't rush this step; it's essential for achieving that desirable texture. Enjoy the process, and feel free to get a little messy! As you knead, think about the delicious wraps that'll soon come together.
Once you've finished, your dough will be primed and ready for the next exciting step in your cooking adventure.
Step 4. Shape the Dough Into Rolls

After you've kneaded the dough to perfection, it's time to shape it into rolls. Start by dividing the dough into equal portions; a good size is about the diameter of a golf ball. This ensures your rolls bake evenly.
Lightly flour your work surface to prevent sticking, and then take a piece of dough in your hands. Gently flatten it into a disc, then fold the edges toward the center, creating a little pouch. Pinch the seams together to seal the dough.
Now, flip it over so the seam side is down. Cup your hand around the dough and roll it against the surface, applying light pressure. This will create a smooth, round shape.
Once you've shaped all the dough, place the rolls on a baking sheet lined with parchment paper. Make sure to leave some space between each roll, as they'll expand during baking.
If you want, you can lightly brush the tops with melted butter or sprinkle with sesame seeds for added flavor. Now that you've shaped your rolls, they're ready for the next step in your baking adventure!
Step 5. Bake Until Golden Brown
Once your rolls are shaped and resting, preheat your oven to 375°F (190°C) so they can bake to perfection. This temperature is ideal for creating that golden crust while ensuring the inside remains soft and fluffy.
Once your oven reaches the right temperature, carefully place your rolls on a baking sheet lined with parchment paper. Be sure to give them enough space to expand while they bake.
Now, it's time to bake! Set your timer for about 15 to 20 minutes, but keep an eye on them as they cook. You want those rolls to be a beautiful golden brown, indicating they're ready to come out.
If you notice they're browning too quickly, you can cover them loosely with aluminum foil to prevent burning.
When the timer goes off, check for that perfect color and a hollow sound when tapped on the bottom. If they meet these criteria, take them out of the oven!
Let them cool for a few minutes before serving. Enjoy the delightful aroma and the satisfaction of your freshly baked bloody bandage wraps, perfect for any occasion!
Final Thoughts
In wrapping up our discussion on bloody bandage wraps, it's crucial to remember their dual purpose: protecting wounds and promoting healing.
These wraps not only shield injuries from outside contaminants but also help maintain a moist environment that aids recovery. When you apply a bloody bandage wrap, ensure that it fits snugly without being too tight, as circulation is vital for healing.
You'll want to change the bandage regularly, particularly if it becomes saturated or dirty. Keeping an eye on the wound's condition is essential, so look for signs of infection, like increased redness or discharge. If you notice anything unusual, don't hesitate to consult a healthcare professional.
Additionally, remember that the materials used for bloody bandage wraps matter. Opt for breathable fabrics that allow your skin to recover while still offering protection.
Whether you're dealing with a minor cut or a more serious injury, understanding how to use these wraps effectively can make a significant difference in your healing journey.
Frequently Asked Questions
What Inspired the Name "Bloody Bandage Wraps"?
You might wonder about the name's origin. It likely evokes vivid imagery, suggesting urgency and drama. The stark contrast of the term captures attention, creating a memorable impact that sticks in your mind.
Are There Any Common Allergens in Bloody Bandage Wraps?
You should check the materials used in any bandages, as common allergens like latex, adhesive substances, or specific fabrics might be present. Always read labels carefully to avoid potential allergic reactions and ensure safety.
Can I Make Bloody Bandage Wraps Vegetarian-Friendly?
You can definitely make vegetarian-friendly wraps! Just use plant-based ingredients like hummus, roasted veggies, or avocado. Experiment with different flavors and textures to create a delicious, satisfying option that everyone will enjoy.
How Should I Store Leftover Bloody Bandage Wraps?
To store leftovers, you should wrap them tightly in plastic wrap or foil and place them in an airtight container. Keep them in the fridge, and they'll stay fresh for a few days.
What Drinks Pair Well With Bloody Bandage Wraps?
When considering drinks, you'll want something refreshing and bold. Try a zesty ginger ale or a classic Bloody Mary. Both complement the flavors nicely, enhancing your experience and keeping the vibe interesting. Enjoy the pairing!