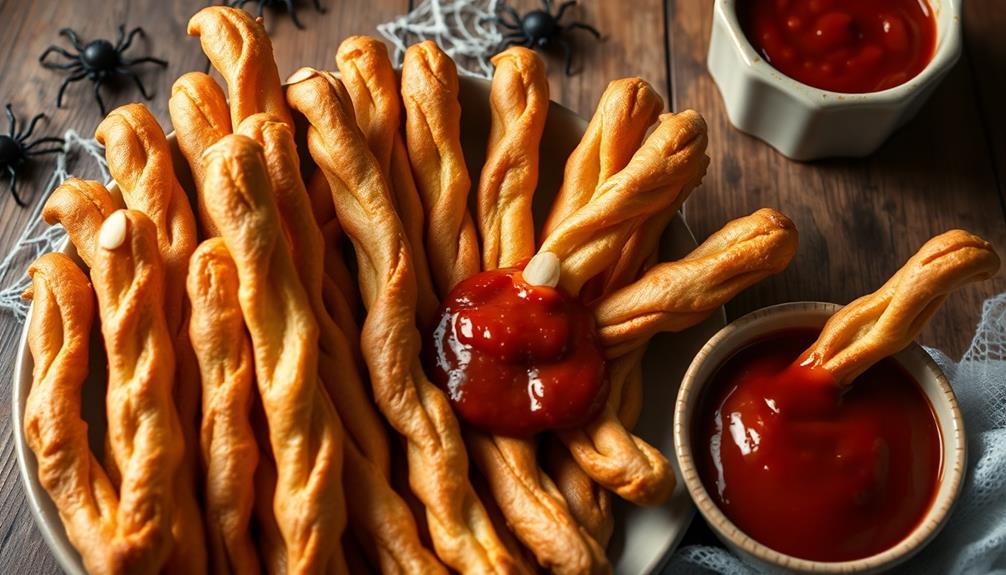
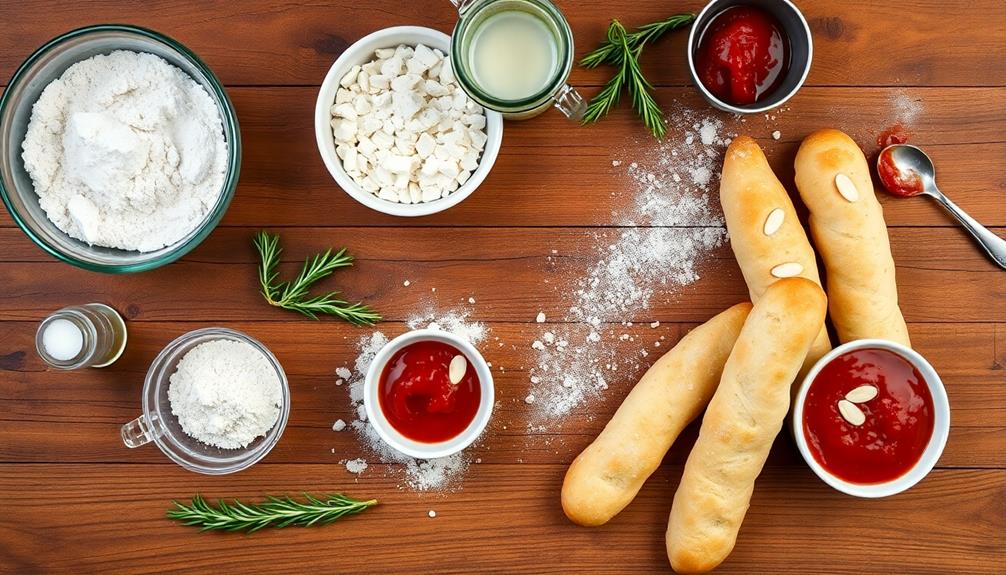
Bloody Finger Breadsticks are a spooky, delicious treat perfect for Halloween. You'll start by shaping dough into long, finger-like forms, tapering one end for realism. Press a blanched almond into the tip to resemble a 'fingernail.' Bake them until golden, then brush with melted garlic butter for extra flavor. Serve these creepy creations with marinara sauce to complete the 'bloody' effect. They're easy to make, fun to present, and sure to be a hit at your gathering. Plus, they encourage everyone to join in the fun of creating Halloween treats together, so stick around for more tips and tricks!
Key Takeaways
- Bloody Finger Breadsticks are a fun Halloween treat resembling severed fingers, perfect for parties and gatherings.
- They can be made using homemade or store-bought dough, shaped into finger-like forms.
- Blanched almonds serve as creepy fingernails, adding to the spooky appearance and theme.
- Brush baked breadsticks with garlic butter for enhanced flavor and serve with marinara sauce for a "bloody" effect.
- These breadsticks make a memorable appetizer and encourage guest interaction at Halloween-themed events.
History

The history of Bloody Finger Breadsticks is as intriguing as their eerie appearance. You might be surprised to learn that this spooky snack has roots in Halloween traditions. Originally, creative cooks used breadsticks to mimic gory fingers, adding a fun twist to Halloween gatherings.
Over the years, they've evolved from simple breadsticks to a festive favorite that captures the imagination of both kids and adults. The breadsticks often resemble severed fingers, complete with almond slivers as nails and a splash of marinara sauce for a bloody effect.
This playful presentation not only adds to the excitement of Halloween but also sparks conversations and laughter at parties. The combination of a simple recipe and an eye-catching look makes them perfect for any spooky celebration.
As you explore the history, you'll find that Bloody Finger Breadsticks are more than just food; they're a way to bring people together, creating memorable moments while celebrating the whimsical side of Halloween.
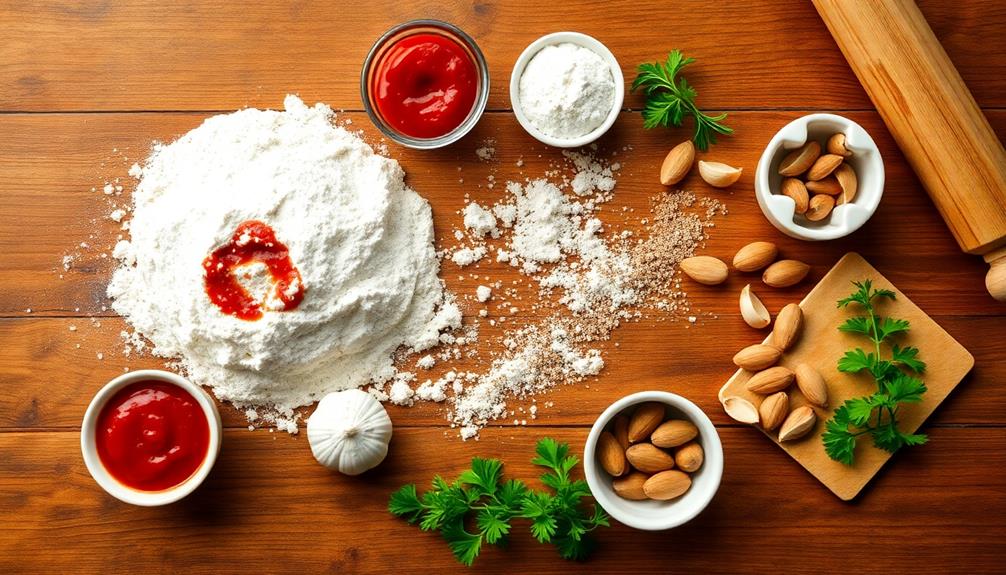
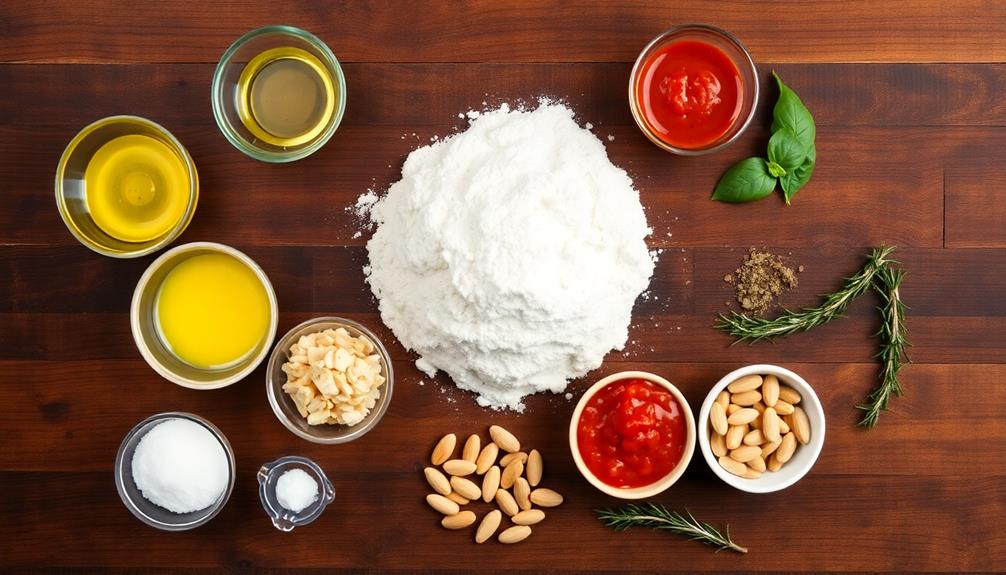
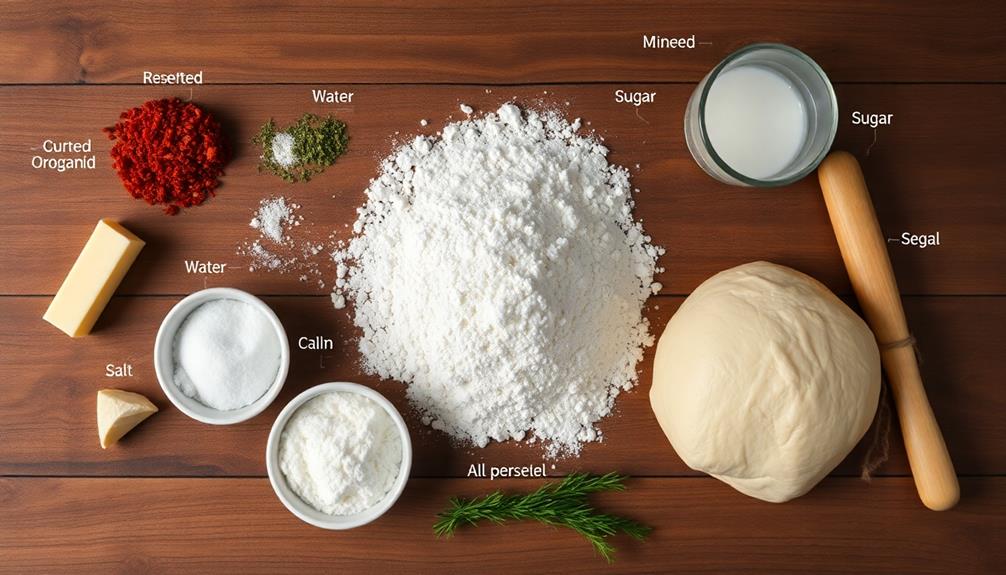
Recipe

Bloody Finger Breadsticks are a fun and spooky treat perfect for Halloween parties or any gathering that calls for a touch of the macabre.
These breadsticks not only look horrifying with their eerie finger-like appearance but also taste delicious, making them a delightful addition to your menu. By using simple ingredients and a little creativity, you can create breadsticks that will have everyone talking—and maybe even a little squeamish! To achieve the eerie finger-like appearance, simply shape the dough into long, thin strips before baking. Don’t worry about making them perfectly uniform, as the imperfect shapes will only add to the creepiness factor. And if you really want to thrill your guests, serve them alongside a delicious banana bread recipe that will have them reaching for more.
They can be served alongside other unique breakfast items like Fried Egg Quesadilla Toast to add a savory twist to your spread.
To make your Bloody Finger Breadsticks truly standout, you can add a variety of toppings and dips to enhance their flavor. Pair them with a rich marinara sauce for a "bloody" dipping experience that will complement their creepy look.
Whether you're entertaining guests or just looking to add some fun to your dinner, these breadsticks are sure to impress and satisfy.
Cooking Steps

To get started on your Bloody Finger Breadsticks, you'll first want to preheat your oven to 375°F.
Once that's done, shape your dough into creepy finger shapes and add almonds for that spooky fingernail effect.
After baking them for 15 minutes, don't forget to brush on some delicious garlic butter for an extra kick!
Step 1. Preheat Oven to 375°F
Before diving into the delicious process of making Bloody Finger Breadsticks, you'll want to ensure your oven is set to the right temperature. Preheating your oven to 375°F is essential for achieving that perfect texture and golden color. So, go ahead and turn the dial or press the button now; this step may seem simple, but it makes a big difference in how your breadsticks will turn out.
While the oven is heating, take a moment to gather your ingredients and tools. This way, when your oven reaches the desired temperature, you won't be scrambling around.
Keep in mind that preheating typically takes about 10 to 15 minutes, depending on your oven model. You'll know it's ready when the indicator light turns off or you hear a beep, signaling that the temperature has stabilized. This is the perfect time to double-check your cooking space and ensure everything is in order.
Once your oven is preheated to 375°F, you're ready to move on to the next steps. This crucial preparation sets the stage for your spooky, delicious creations. Happy baking!
Step 2. Shape Dough Into Fingers

Now that your dough is ready, it's time to shape it into eerie fingers. Start by dividing your dough into equal portions, about 2 to 3 ounces each, depending on how large you want your fingers to be.
Roll each piece between your palms and onto a floured surface to create a long, thin shape resembling a finger. Aim for about six inches in length for a realistic effect.
As you roll, gently taper one end to form a pointed tip, mimicking a finger's natural shape. You can also create knuckles by slightly pinching the dough in the middle and along the sides. This adds a more gruesome look to your breadsticks.
Keep your fingers evenly shaped to ensure they cook uniformly. If some dough feels too sticky, dust it lightly with flour to make handling easier.
Once you've shaped all your dough into fingers, place them on a baking sheet lined with parchment paper, leaving some space between them to allow for rising.
Now you're all set for the next step in this spooky culinary adventure! Get ready to add those creepy fingernails to complete the look.
Step 3. Add Almonds for Fingernails
With your eerie finger-shaped dough ready, it's time to add some chilling details that will make your breadsticks truly stand out. Grab your blanched almonds, as they'll serve as the perfect fingernails.
Take one almond for each breadstick, and gently press it into the tip of the dough. Make sure to angle it slightly to resemble a jagged nail. This won't only add to the spooky effect but also give your breadsticks a delightful crunch.
If you want to get a bit creative, you can choose almond slices for a more exaggerated nail appearance. Just be cautious about the size; you want them to look realistic without overpowering the breadstick.
Once you've secured the almonds in place, you might want to use a knife to create subtle lines or ridges on the dough, mimicking knuckles and enhancing the gory look.
Step 4. Bake for 15 Minutes
Once your finger-shaped dough is adorned with almond fingernails, it's time to bake these creepy creations.
Preheat your oven to 350°F (175°C). While it heats up, place your breadsticks on a baking sheet lined with parchment paper. Make sure to space them a couple of inches apart to allow for some expansion during baking. This spacing helps ensure that they get nice and crispy without sticking together.
Once your oven is ready, slide the baking sheet inside and set a timer for 15 minutes. As they bake, the delightful aroma of freshly baked bread will fill your kitchen, making it hard to resist sneaking a taste!
Keep an eye on them, as every oven is a bit different. You want the breadsticks to turn a lovely golden brown but be careful not to let them burn.
After the timer goes off, carefully remove the baking sheet from the oven. Let the breadsticks cool for a few minutes before you handle them.
This is a great time to admire your spooky finger breadsticks and prepare for the next steps in your creepy culinary adventure!
Step 5. Brush With Garlic Butter
As your breadsticks cool, grab a small saucepan and melt some butter over low heat. Once it's melted, add in minced garlic to infuse that delicious flavor.
Butter is essential for pairing with various breakfast and snack items, enhancing items like a rich, creamy flavor in your dish. Stir it gently, letting the garlic simmer for about a minute, ensuring it doesn't burn. You want that rich, aromatic scent to fill your kitchen!
Now, take a pastry brush and dip it into the garlic butter. Generously brush the mixture over your warm breadsticks, making sure to coat them evenly. The melted butter won't only add flavor but also give your breadsticks a beautiful golden sheen.
If you're feeling adventurous, sprinkle a bit of salt or Italian herbs on top for an extra kick!
Let the garlic butter soak in for a minute, allowing the flavors to meld. While it's tempting to dig in right away, letting the breadsticks rest for a moment will enhance their texture.
Once you're ready, serve these delightful treats alongside marinara or your favorite dipping sauce. Your friends and family will love this tasty twist, and they'll definitely come back for more! Enjoy your deliciously garlicky finger breadsticks!
Final Thoughts
In conclusion, Bloody Finger Breadsticks offer a fun and delicious way to spice up any gathering, especially around Halloween. These creepy yet tasty treats not only add a festive flair to your table but also provide a unique conversation starter.
You'll find that making these breadsticks is simple and requires just a few ingredients, making them perfect for both seasoned cooks and kitchen novices alike. For a fun dessert option to complement your spooky theme, consider serving them alongside Dirt Cups, which provide a playful touch for kids and adults alike.
To create these spooky delights, you'll start with your favorite breadstick recipe or store-bought dough. Shaping them into finger-like forms and adding almond slivers for nails gives them the eerie appearance.
Don't forget to brush them with garlic butter before baking; it enhances the flavor and adds a delightful aroma to your kitchen.
Once baked, serve them with a side of marinara sauce for that extra touch of "blood." Your guests will be amazed, and they'll appreciate the creativity you brought to the table.
Whether you're hosting a Halloween party or a casual get-together, these Bloody Finger Breadsticks will surely impress. So, roll up your sleeves, get creative, and enjoy the fun of making and sharing this hauntingly delicious snack!
Frequently Asked Questions
Can I Use Gluten-Free Flour for Bloody Finger Breadsticks?
Absolutely, you can use gluten-free flour! Just make sure to adjust the recipe accordingly, as gluten-free flours may require additional binding agents or moisture to achieve the desired texture and taste. Enjoy your baking!
How Long Do These Breadsticks Stay Fresh?
Fresh breadsticks typically last about 2-3 days at room temperature. If you store them in an airtight container, they'll maintain their quality. For longer storage, consider freezing them, which can extend their freshness significantly.
What's the Best Way to Store Leftovers?
To store leftovers effectively, wrap them tightly in plastic wrap or aluminum foil, or place them in an airtight container. Keep them in the fridge to maintain freshness, and consume within a few days for best taste.
Can I Freeze Bloody Finger Breadsticks?
Yes, you can freeze them! Just wrap them tightly in plastic wrap or foil, then place in an airtight container. When you're ready, thaw them in the fridge before reheating. Enjoy your treats!
What Dipping Sauces Pair Well With Them?
When you're choosing dipping sauces, think about flavors that complement the dish. A zesty marinara, creamy ranch, or a spicy garlic aioli can elevate your experience and make every bite more enjoyable. Experiment and find your favorite!