Brace yourself for a spooky twist on a classic comfort food with bone-chilling chicken fingers! These crispy, flavorful nuggets combine a unique seasoning blend with a health-conscious approach, perfect for Halloween parties or casual snacking. Start by tenderizing the chicken in buttermilk, then coat it in a seasoned flour mixture before frying to golden perfection. Be sure to let the chicken cool briefly to achieve optimal crunchiness. With attention to detail, you'll master the art of these bone-chilling chicken fingers – and discover why they've become a beloved cultural icon. Keep reading to uncover the full recipe and cooking tips.
Key Takeaways
- Bone-Chilling Chicken Fingers offer a spooky twist on classic comfort food, featuring a unique seasoning blend and crispy breading that appeals to Halloween party guests.
- Soaking the chicken in buttermilk overnight tenderizes the meat, enhances flavor, and keeps it moist, ensuring a juicy interior.
- The coating process involves dredging the chicken in a seasoned flour mixture, creating a crispy texture and allowing for customization of flavors.
- Proper frying technique, including maintaining the right oil temperature and avoiding overcrowding the pan, is crucial for achieving the desired golden-brown crust.
- Allowing the chicken to cool briefly after frying helps the breading set, preventing a soggy texture and ensuring optimal crunchiness when served.
History
Though the origins of chicken fingers remain shrouded in mystery, historians believe their popularity can be traced back to the 1950s. Back then, these bite-sized fried chicken morsels were a beloved snack, often served as a quick and tasty treat at diners and drive-ins.
As diners flourished, menu items like Corned Beef Hash and other comfort foods helped pave the way for chicken fingers to find their place in the spotlight. As the decades passed, chicken fingers evolved from a niche menu item to a mainstream culinary sensation.
Today, these crispy, golden-brown delights are a staple on menus across the country, beloved by kids and adults alike. Whether you prefer them dipped in tangy barbecue sauce, creamy ranch, or zesty buffalo, chicken fingers have become a universal comfort food.
Their versatility, portability, and undeniable deliciousness have cemented their status as a cultural icon. So, the next time you sink your teeth into a juicy, flavorful chicken finger, remember the rich history behind this beloved dish.
Recipe
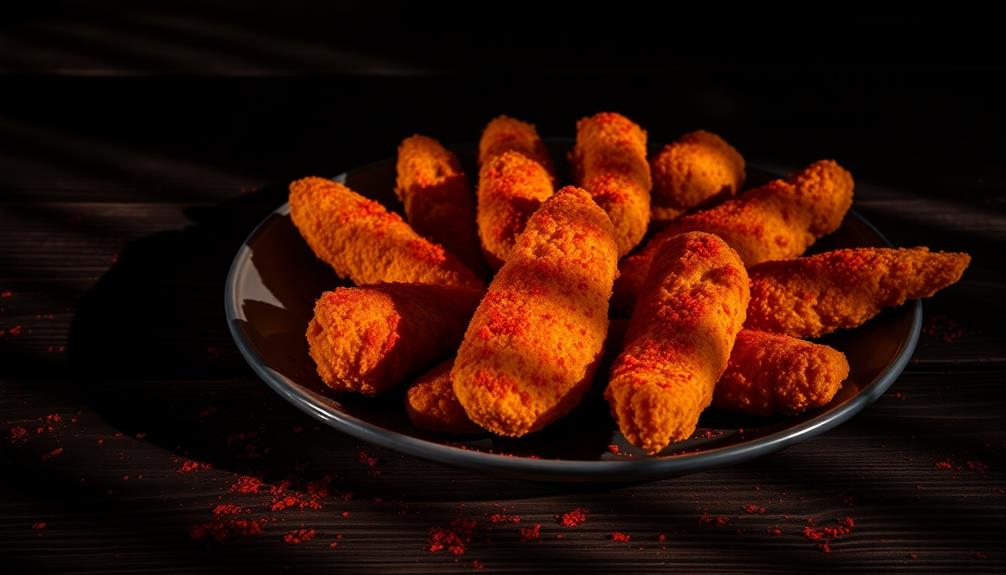
Bone-Chilling Chicken Fingers are a delightfully spooky twist on a classic comfort food. The combination of crispy, golden-brown breading and a haunting, yet delicious, seasoning blend creates a dish that's sure to send a shiver down your spine. Perfect for Halloween parties or any night when you're craving a frightfully good snack.
For those looking to balance indulgence with health, incorporating hula hooping for weight loss can be a fun way to burn calories while enjoying your favorite treats.
Preparing these Bone-Chilling Chicken Fingers is a thrilling adventure in the kitchen. The key is to carefully balance the savory flavors with just the right amount of spookiness, resulting in a dish that's both delicious and visually striking. One way to add a spooky twist to these chicken fingers is by shaping them into eerie finger-like shapes before baking. For an extra eerie touch, try serving them with a side of bloody red dipping sauce. And if you really want to take the spookiness to the next level, consider pairing these Bone-Chilling Chicken Fingers with a witch finger pretzel recipe for a Halloween-themed feast that will delight and frighten your guests. To really amp up the scare factor, you can also serve these Bone-Chilling Chicken Fingers with a side of spooky breadstick recipe, shaped to look like eerie witches’ fingers. The combination of these bone-chilling chicken fingers and the spooky breadstick recipe will make for a Halloween feast that’s both delicious and haunting. Your guests will be impressed by the attention to detail and creativity, and they’ll be talking about your spooky spread for years to come.
- 2 lbs boneless, skinless chicken breasts, cut into 1-inch strips
- 2 cups all-purpose flour
- 1 tsp smoked paprika
- 1 tsp ground cayenne pepper
- 1 tsp garlic powder
- 1 tsp onion powder
- 1 tsp salt
- 1/2 tsp ground black pepper
- 2 large eggs, beaten
- 2 cups panko breadcrumbs
- Vegetable oil for frying
Begin by preheating your oven to 400°F. In a shallow bowl, combine the flour, smoked paprika, cayenne pepper, garlic powder, onion powder, salt, and black pepper. In a separate bowl, beat the eggs. In a third bowl, place the panko breadcrumbs.
Dredge the chicken strips in the flour mixture, then dip them in the beaten eggs, and finally coat them in the panko breadcrumbs.
To ensure a bone-chilling crunch, it's important to fry the chicken fingers in batches in hot oil (about 350°F) for 2-3 minutes per batch, until they're golden brown. Drain the fried chicken on a paper towel-lined plate.
Arrange the Bone-Chilling Chicken Fingers on a baking sheet and bake for an additional 10-12 minutes, or until the chicken is cooked through. Serve hot and enjoy the haunting deliciousness!
Cooking Steps
First, you'll want to soak the chicken in buttermilk overnight to tenderize it, similar to how a Dual-Flush Toilet System conserves water by using different flush volumes.
Next, coat the chicken in a seasoned flour mixture before frying it in hot oil until golden and crispy.
Step 1. Soak Chicken in Buttermilk Overnight
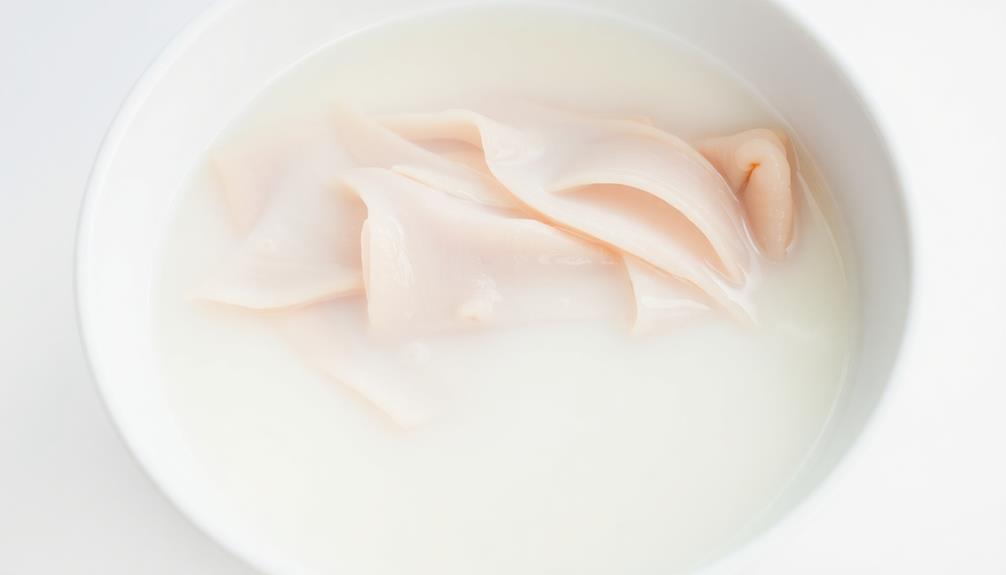
After seasoning the chicken, you'll want to soak it in buttermilk overnight. This step is crucial for achieving that signature juicy, tender texture in your chicken fingers. The buttermilk not only helps to tenderize the meat, breaking down the proteins and keeping the chicken moist during the cooking process, but it can also enhance the flavor profile, making each bite even more delightful.
For those looking to fuel their morning with protein-rich options, consider pairing your chicken fingers with a side of low carb high protein breakfast ideas for a satisfying meal.
Simply place the seasoned chicken pieces in a shallow dish or resealable bag, then pour in enough buttermilk to fully submerge them. Cover and refrigerate the chicken for at least 8 hours, or up to 24 hours. The longer you let it soak, the more flavorful and tender the final result will be.
When you're ready to bread and fry the chicken, the buttermilk will have worked its magic, creating a perfectly moist and juicy interior.
This simple overnight soak is the secret to taking your chicken fingers from good to bone-chillingly delicious.
Step 2. Coat Chicken in Seasoned Flour
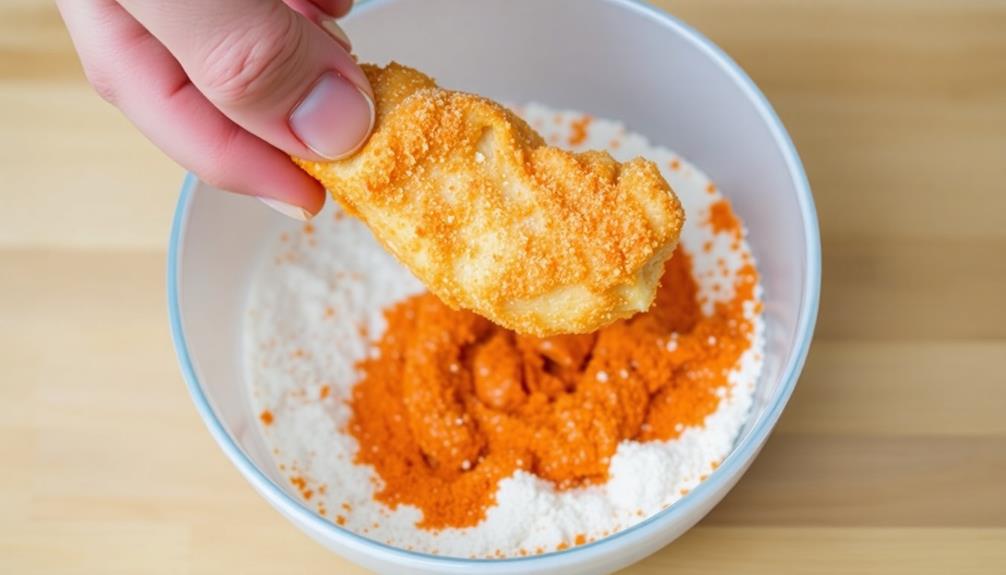
With the chicken soaked in buttermilk overnight, it's time to coat the pieces in a seasoned flour mixture. This step is crucial for achieving that delightfully crispy texture we all crave in chicken fingers.
To ensure a well-rounded flavor, consider using spices that enhance your dish, much like how color accuracy impacts overall image quality in projectors. Start by gathering your ingredients: all-purpose flour, salt, pepper, garlic powder, and any other spices you'd like to add.
In a shallow dish, combine the flour and seasonings, mixing them together thoroughly.
Now, one by one, take the chicken pieces from the buttermilk and gently dredge them in the seasoned flour, making sure to coat them evenly on all sides. Shake off any excess flour before placing the coated chicken on a clean plate or baking sheet.
Repeat this process with all the chicken pieces, creating a beautifully breaded batch, ready for the next step of the recipe. The secret lies in the seasoned flour, so don't be afraid to experiment with different flavor combinations to find your perfect blend.
Step 3. Fry Chicken in Hot Oil
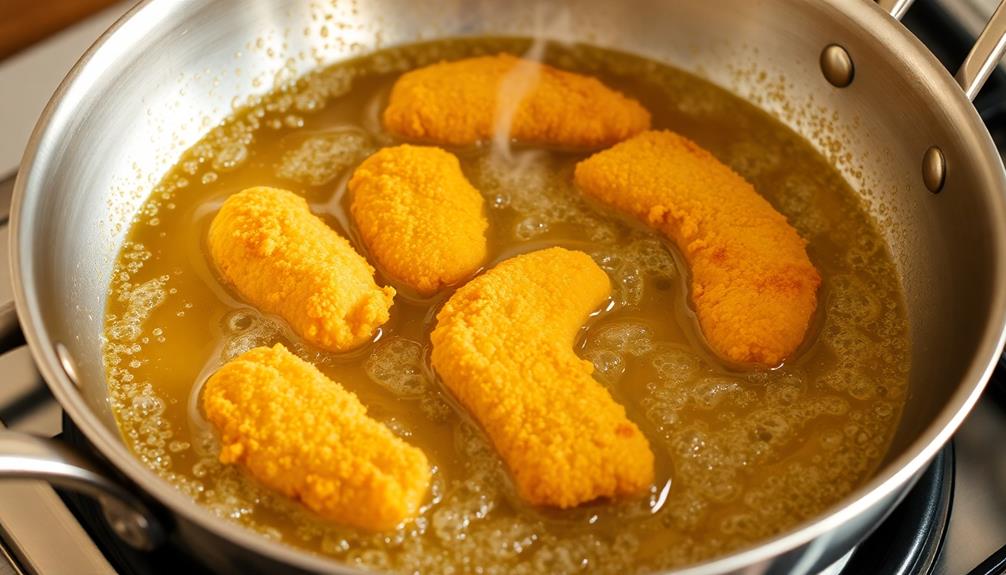
Once the chicken pieces are coated in the seasoned flour, it's time to fry them to crispy perfection.
Heat about 1/2 inch of oil in a large skillet or Dutch oven over medium-high heat. You'll know the oil is ready when it shimmers or a pinch of flour sizzles when dropped in.
Carefully add the chicken pieces, being mindful not to overcrowd the pan. Fry the chicken for 3-5 minutes per side, or until golden brown and cooked through.
Use a pair of tongs or a slotted spoon to transfer the fried chicken to a paper towel-lined plate. This will help drain any excess oil.
Once all the chicken is fried, you can optionally give it a light dusting of additional seasoned flour for an extra crispy coating.
Serve the bone-chilling chicken fingers hot, with your favorite dipping sauces on the side. Enjoy this delightfully crunchy and flavorful treat!
Step 4. Drain Excess Buttermilk Before Breading

Before breading the chicken, be sure to thoroughly drain any excess buttermilk. This step is crucial to ensure your crispy coating adheres properly.
Use a slotted spoon or tongs to transfer the chicken pieces from the buttermilk to a clean plate or paper towel-lined surface. Gently press down on the chicken to help remove as much of the liquid as possible.
Leaving too much buttermilk on the chicken can result in a soggy, unappealing crust. The breading won't stick as well, and you may end up with a greasy, heavy texture.
Properly draining the chicken allows the breading to crisp up beautifully, creating that satisfying crunch with every bite. Take the extra moment to thoroughly pat the chicken dry – it'll make all the difference in the final texture and appearance of your bone-chilling chicken fingers.
Step 5. Allow Chicken to Cool

After draining the buttermilk, let the chicken pieces cool for a few minutes. This brief resting period allows the breading to set, ensuring it adheres properly to the meat.
Avoid rushing this step – you want the chicken to be warm, not scorching hot, when it's time to fry.
While the chicken cools, take a moment to prepare your workspace. Lay out a clean surface for dredging and frying, and make sure your oil is at the right temperature. This will help the breading crisp up beautifully without burning.
Once the chicken pieces have had a chance to rest, it's time to get frying! Gently lower them into the hot oil, being careful not to overcrowd the pan.
Fry in batches if needed, turning occasionally, until the breading is golden brown and the meat is cooked through. Resist the urge to fiddle with the chicken too much – let it do its thing and develop that irresistible crunch.
Final Thoughts
With the bone-chilling chicken fingers now firmly in your grasp, you can't help but feel a sense of achievement. You've mastered the art of creating these delightfully crispy and flavorful bites, and the hard work has paid off.
As you savor the final few pieces, take a moment to reflect on the journey that led you here. The key to success was paying close attention to the details – from the perfect seasoning blend to the just-right frying temperature. By following the instructions closely, you ensured that every bite was consistently delicious.
And by allowing the chicken to cool before serving, you prevented any unwanted accidents, making the experience all the more enjoyable.
Now, as you tidy up your kitchen, you can bask in the knowledge that you've conquered the art of bone-chilling chicken fingers. With these skills under your belt, the culinary possibilities are endless.
Embrace your newfound confidence and let your creativity soar in the kitchen.
Frequently Asked Questions
What Makes the Chicken Fingers so Bone-Chilling?
What makes the chicken fingers so bone-chilling? Well, it's not the temperature – these aren't frozen treats!
Instead, the "bone-chilling" refers to the spooky, Halloween-inspired seasoning. Think bold, flavorful spices that'll send tingles down your spine (in a good way).
The coating's got just the right amount of heat to make your taste buds tingle, but don't worry, it's not too intense.
These fingers are all about embracing the thrill of bold, spooky flavors.
How Long Do the Chicken Fingers Need to Marinate?
To get the perfect bone-chilling chicken fingers, you'll want to marinate them for at least 4 hours, or even overnight.
This allows the flavors to really soak in and create that deliciously spooky taste. Just mix up your marinade, toss the chicken in it, and let it chill in the fridge until you're ready to cook.
The longer you let it marinate, the more intense the flavors will be. So don't be afraid to plan ahead for maximum bone-chilling deliciousness!
Can the Chicken Fingers Be Baked Instead of Fried?
Yes, you can absolutely bake the chicken fingers instead of frying them! Baking is a great alternative that can save you time and calories.
Simply preheat your oven to 400°F, place the marinated chicken fingers on a lined baking sheet, and bake for 15-20 minutes, flipping halfway through, until they're golden brown and cooked through.
This method gives you all the flavor without the added oil of frying. Give it a try for a healthier, just-as-delicious version of your chicken fingers!
What Type of Dipping Sauce Is Best for the Chicken Fingers?
When it comes to dipping sauces for your baked chicken fingers, you've got lots of tasty options.
Tangy barbecue sauce is always a crowd-pleaser, adding a sweet and smoky kick. Ranch dressing is a classic, cool and creamy to balance the crispy chicken.
For a spicy kick, try a zesty buffalo sauce or a cool, refreshing yogurt-based dip. The right sauce can really take your homemade chicken fingers to the next level.
Experiment to find your personal favorite!
Are the Chicken Fingers Gluten-Free or Suitable for Dietary Restrictions?
The chicken fingers aren't gluten-free, unfortunately. They contain wheat flour, which means they're not suitable for people with gluten sensitivities or celiac disease.
However, you can easily make your own gluten-free chicken fingers by using a gluten-free breading mix or coating the chicken in almond flour or crushed gluten-free crackers.
Just be sure to double-check the ingredients of any sauces or dips you plan to use as well, to ensure they're also gluten-free.