Ghostly meringue pops are a whimsical twist on a classic Victorian confection. You'll love their melt-in-your-mouth texture and spooky flair, perfect for Halloween or year-round enjoyment. Crafting these light and airy treats involves whipping egg whites into stiff peaks, then carefully shaping and baking them. After cooling, you can add ghostly faces with a touch of food coloring for a truly haunting display. Serve these delightful pops as festive party treats or a decorative centerpiece – your guests will be enchanted. With just a few simple ingredients, you can create these enchanting meringue pops that are sure to delight. And if you want to dive deeper, there's more to explore about their history and cultural significance.
Key Takeaways
- Ghostly meringue pops are a whimsical treat with origins in Victorian England, reflecting the era's fascination with the supernatural.
- The recipe involves whipping egg whites into a light, airy meringue and shaping it into ghost-like forms.
- Achieving the perfect texture requires attention to details like proper whipping, gradual sugar incorporation, and controlled baking and cooling.
- Decorating meringue pops with black food coloring creates a striking ghostly appearance, enhancing their spooky appeal.
- Ghostly meringue pops serve as festive Halloween treats and can be enjoyed year-round as a simple yet creative confection.
Top picks for "ghostly meringue pops"
Open Amazon search results for this keyword.
As an affiliate, we earn on qualifying purchases.
History
Tracing the origins of Ghostly Meringue Pops, you'll find these delightful treats emerged from the culinary traditions of Victorian England. During this era, refined sugar became more accessible, leading to the rise of intricate desserts. Meringue, a whipped egg-white confection, became a popular ingredient, prized for its airy texture and versatility.
Enterprising bakers began experimenting, shaping the meringue into playful forms. The use of essential oils for flavoring in desserts was also becoming more recognized, reminiscent of aromatherapy techniques that enhance sensory experiences. The ghostly apparition shape of these pops is a nod to the Victorian fascination with the supernatural.
As the industrial revolution ushered in rapid social change, many sought solace in the mystical. Meringue, with its ethereal quality, lent itself well to evoking the ethereal. Piped into spectral silhouettes and dusted with powdered sugar "ectoplasm," these pops captured the whimsical spirit of the era.
Today, Ghostly Meringue Pops continue to delight, blending historical charm with modern flair. Whether served at Halloween parties or as year-round treats, these delicate confections offer a delightful taste of the past.
Recipe
Ghostly Meringue Pops are a whimsical and delightful treat perfect for Halloween or any occasion. These ethereal pops are made with a light and airy meringue that melts in your mouth, creating a hauntingly delicious experience. For an extra spooky touch, you can also add edible googly eyes to give your Ghostly Meringue Pops a mischievous personality. These whimsical treats are sure to be a hit at any Halloween party or gathering. And for a perfect pairing, serve them alongside a spicy appetizer recipe to create a balance of sweet and savory flavors.
The key to these meringue pops is achieving the perfect texture – a crisp exterior that gives way to a soft, pillowy center. With just a few simple ingredients, you can create a spooky and festive dessert that will impress your guests.
Additionally, just as in software quality assurance, attention to detail is essential in ensuring your meringue achieves that ideal consistency and flavor, enhancing the overall quality of your dessert.
Quality assurance fosters customer satisfaction and loyalty through reliable products.
Ingredients:
- 3 egg whites
- 3/4 cup granulated sugar
- 1/2 teaspoon vanilla extract
- Black food coloring (optional)
- Lollipop sticks or skewers
Directions:
Preheat your oven to 225°F (110°C). Line a baking sheet with parchment paper. In a clean and dry bowl, beat the egg whites with an electric mixer until they form soft peaks.
Gradually add the sugar, one tablespoon at a time, while continuing to beat the mixture until it forms stiff, glossy peaks. Gently fold in the vanilla extract. If you'd like to tint your meringue, add a few drops of black food coloring and mix until evenly distributed.
Using a piping bag or a spoon, create small, ghost-like mounds on the prepared baking sheet, spacing them about 2 inches apart. Gently insert a lollipop stick or skewer into the center of each meringue pop.
Bake for 1 hour and 15 minutes, or until the meringues are crisp on the outside and dry to the touch. Turn off the oven and leave the meringues inside for an additional 30 minutes to cool completely.
For best results, store the Ghostly Meringue Pops in an airtight container at room temperature for up to 3 days. Enjoy the delightful contrast of the crisp exterior and the soft, pillowy interior of these spooky treats.
Cooking Steps
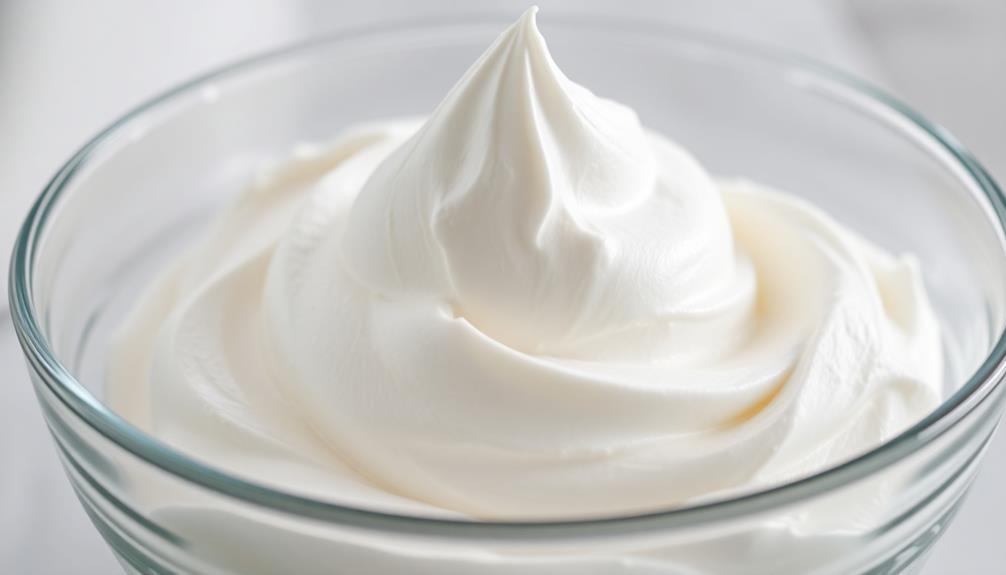
To begin, you'll whip the egg whites until they form stiff peaks, which is crucial for achieving that light, airy texture.
Incorporating a bit of coffee into the meringue can add a unique flavor twist, as coffee is known for its health benefits such as containing antioxidants that combat oxidative stress.
Then, you'll gently fold in the granulated sugar.
Next, pipe the meringue onto parchment paper and bake it at a low temperature.
Step 1. Whip Egg Whites Until Stiff Peaks
First, separate the egg whites from the yolks, ensuring no traces of yolk remain.
You'll need a clean, grease-free bowl for this – any residue can prevent the whites from whipping up properly.
Now, start whipping the egg whites with a handheld mixer or a stand mixer fitted with the whisk attachment.
Whip them on medium-high speed, slowly at first, then gradually increasing the speed as the whites begin to thicken.
For the best results, aim for a high refresh rate of whipping to ensure the egg whites achieve maximum volume and stability.
Keep whipping until the egg whites form stiff, glossy peaks.
This is the key to successful meringue – the stiffer the peaks, the lighter and more ethereal your ghostly meringue pops will be.
Once you've reached the stiff peak stage, you're ready to fold in the sugar and other ingredients.
Be gentle, as you don't want to deflate all that lovely volume you've built up.
With the right technique, you'll have cloud-like meringue that's perfect for haunting your Halloween treats.
Step 2. Gently Fold in Granulated Sugar
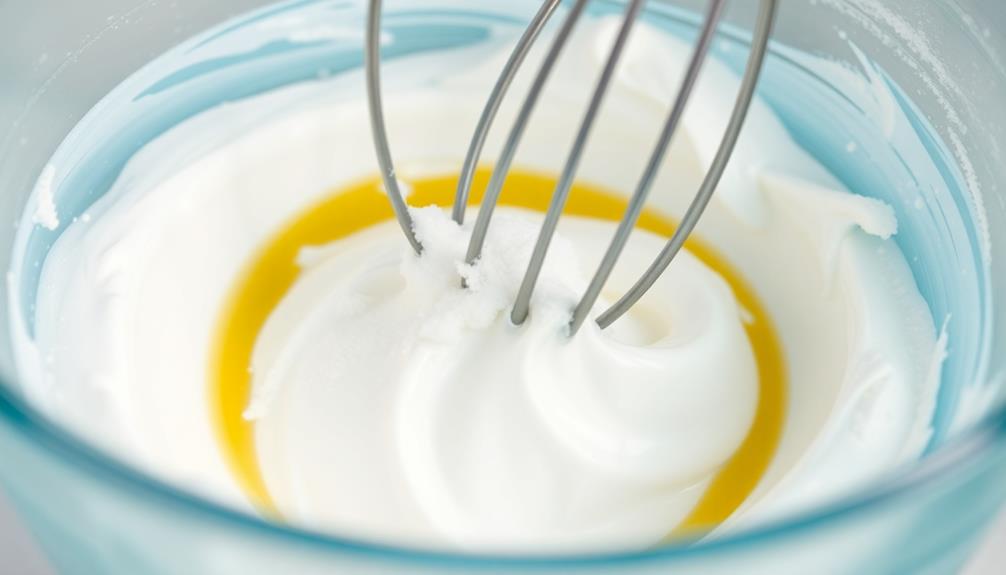
With the egg whites whipped to stiff, glossy peaks, you can now begin folding in the granulated sugar.
Baking with Butter is all about enhancing flavor and texture, and this step is crucial for achieving that perfect meringue.
Take your time with this step – gently incorporate the sugar, using a rubber spatula to cut through the meringue and lift it from the bottom of the bowl.
The key is to maintain the delicate, airy structure you've worked so hard to achieve.
Fold in the sugar in batches, about a quarter cup at a time, until it's fully incorporated.
You'll notice the meringue becoming thicker and more stable as the sugar dissolves.
Be patient and resist the urge to overmix, as that can deflate the mixture.
Once the sugar is blended in, the meringue should hold its shape beautifully, ready for the next step of your ghostly meringue pop creation.
Treat this delicate mixture with care, and you'll be rewarded with a light, sweet base for your spooky dessert.
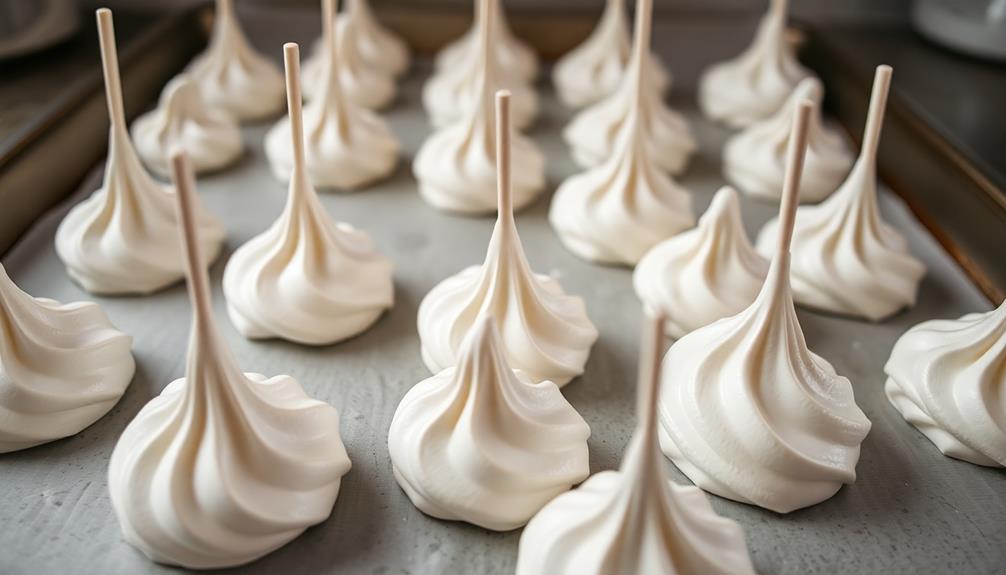
Step 3. Pipe Meringue Onto Parchment Paper
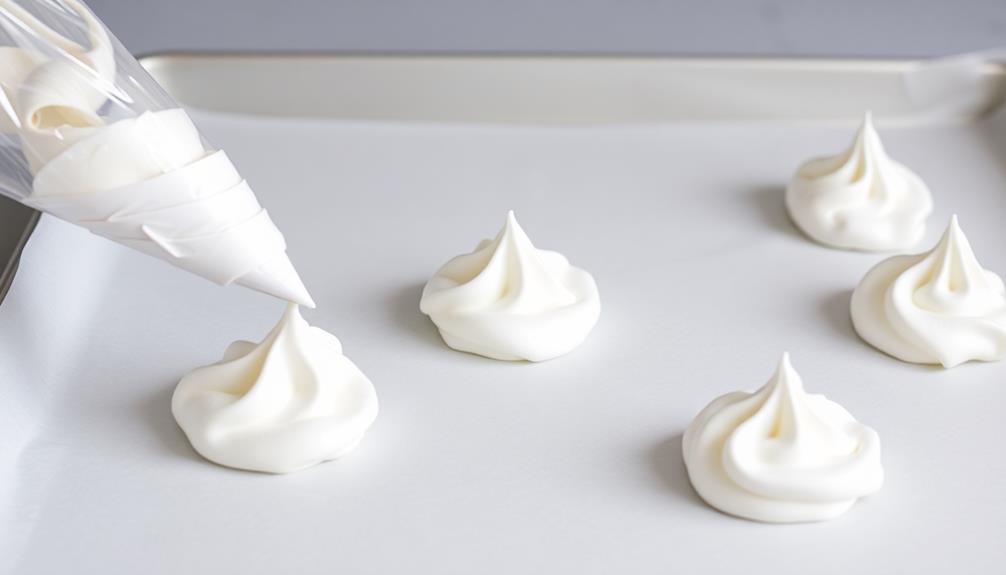
Grab a piping bag and fit it with a large open star tip. Carefully spoon the whipped meringue into the bag, gently pushing out any air pockets.
Holding the bag perpendicular to the parchment-lined baking sheet, pipe the meringue into ghost shapes, swirling the tip to create the desired ghostly silhouettes. Space the piped meringues about 2 inches apart, ensuring they've enough room to bake without merging together.
Once you've piped all the ghosts, use a toothpick or small offset spatula to create faces on each one, gently indenting the meringue to form eyes and mouths. Be creative with the expressions – some can be happy and friendly, while others can look a bit more spooky!
When you're satisfied with the shapes and details, place the baking sheet in the preheated oven and bake the meringue pops until they're crisp on the outside but still soft on the inside, about 45 minutes to an hour.
Step 4. Bake Meringues at Low Temperature
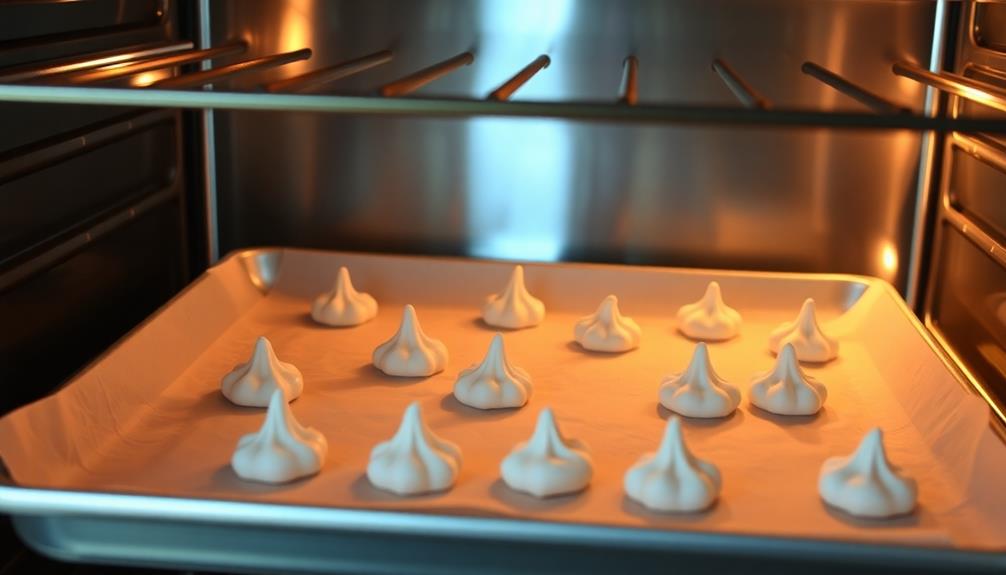
The oven's low and gentle heat is key to baking the meringue pops to perfection. Set your oven to 225°F (110°C) and let it preheat. This gradual, low-temperature approach is crucial for creating the signature light and airy texture of meringue.
As the oven works its magic, the moisture in the egg whites slowly evaporates, leaving behind those delicate, cloud-like puffs.
Be patient – it'll take about an hour for the meringues to fully bake. Resist the urge to peek too often, as opening the oven door can disrupt the delicate baking process. Instead, simply enjoy the tantalizing aroma wafting through your kitchen.
Once the time is up, turn off the oven and leave the meringues inside to gradually cool. This slow cooling helps them maintain their shape and crisp exterior.
When they're ready, gently transfer the meringue pops to a wire rack. Now they're ready to be decorated and enjoyed as ghostly delights!
Step 5. Let Meringues Cool Completely
After baking, you'll need to let the meringue pops cool completely before handling them. This step is crucial to ensure the perfect ghostly texture and prevent the meringues from collapsing.
Once the oven timer goes off, resist the temptation to immediately remove the meringue pops. Instead, keep the oven door closed, allowing the meringues to slowly cool down inside. This gradual cooling process helps set the delicate structure, locking in the airy, light-as-a-cloud consistency.
Depending on your oven, the meringues may need an hour or more to fully cool. Once they've reached room temperature, you can gently transfer the pops to a cooling rack.
Avoid handling them too much, as the meringue's fragile nature means it can easily crack or crumble. Once completely cooled, your ghostly meringue pops are ready to be decorated and enjoyed.
The slow, patient cooling is the key to achieving that irresistible melt-in-your-mouth texture.
Final Thoughts
When all is said and done, these ghostly meringue pops are a delightful treat perfect for Halloween.
They're light, airy, and sure to delight both young and old. The best part? They're incredibly easy to make, requiring just a few simple ingredients and a bit of time.
Once your meringues have cooled completely, it's time to bring them to life.
Carefully insert a lollipop stick into the bottom of each meringue, making sure they're secure.
Then, use a small paintbrush to dab a bit of black food coloring around the edges, creating a ghostly, ethereal look.
Frequently Asked Questions
Can I Use a Hand Mixer Instead of a Stand Mixer?
Yes, you can absolutely use a hand mixer instead of a stand mixer for this recipe.
While a stand mixer may make the process a bit easier, a hand mixer will work just fine. Just be prepared to mix the egg whites for a bit longer, around 5-7 minutes, to achieve the same light and airy meringue texture.
With a little extra elbow grease, you can definitely create the ghostly meringue pops using a hand mixer.
How Long Do the Meringue Pops Last in the Fridge?
The meringue pops should last up to 5 days in the fridge when stored properly.
Make sure to keep them in an airtight container to prevent them from drying out. The cool, dry environment of the refrigerator will help maintain their delicate texture.
Just be mindful not to let them sit at room temperature for too long, as that can cause them to become soft and lose their crisp, airy appeal.
With proper storage, you can enjoy these tasty treats for almost a week!
Can I Substitute Any Ingredients in the Recipe?
You can absolutely substitute ingredients in the recipe!
Feel free to get creative and experiment. Just keep in mind that changes may affect the texture and flavor.
For example, you could try using different types of sweeteners, extracts, or even adding a bit of food coloring.
The key is to make sure any substitutions don't significantly alter the core meringue structure.
Have fun and let your imagination run wild!
Do I Need to Use a Piping Bag for Shaping?
You don't necessarily need a piping bag to shape your meringue pops, but it can certainly make the process easier.
You can use a spoon or even your hands to scoop and shape the meringue mixture into small mounds or dollops on your baking sheet. Just be sure to create the desired shape and size before baking.
A piping bag will give you more control and a more uniform appearance, but it's not an absolute requirement.
The key is to have fun and get creative with your shaping technique!
Can I Make the Meringue Pops in Advance?
Yes, you can definitely make meringue pops in advance!
The great thing about these little treats is that they've a long shelf life. You can prepare the meringue, pipe it into shapes, and then bake them up to a week before you plan to serve them.
Just store the finished meringue pops in an airtight container at room temperature, and they'll stay fresh and crisp until you're ready to enjoy them.
This makes them a perfect make-ahead dessert option.