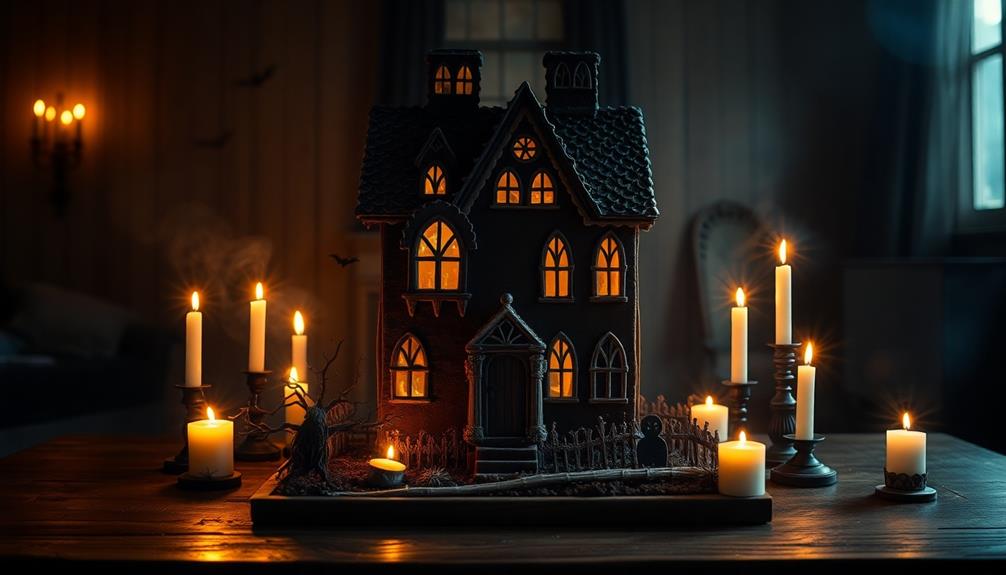

The haunted gingerbread house is a classic that bridges the gap between Halloween chills and Christmas cheer. Its origin is shrouded in mystery, with folklore hinting at a powerful witch's enchanted abode. To create this spooky delight, you'll need all-purpose flour, ginger, baking soda, butter, brown sugar, and molasses. Don't forget the royal icing for the haunting decorations! After baking, the gingerbread house stands as a testament to your culinary skills and creativity. The true spirit lies in the journey of crafting this edible haunted haven – and if you continue exploring, you'll uncover more delicious secrets.
Key Takeaways
- The Haunted Gingerbread House has roots in dark folklore, with a legend involving a witch luring children to her gingerbread house.
- The recipe includes classic holiday ingredients like flour, ginger, butter, and molasses, creating a flavorful and visually stunning dessert.
- The preparation process involves carefully combining dry ingredients, creaming butter and sugar, and incorporating molasses and eggs to achieve the desired dough consistency.
- Baking the gingerbread house at the right temperature and duration ensures a golden-brown hue and structural integrity for decorating.
- The finished Haunted Gingerbread House serves as a testament to perseverance and creativity, blending spooky elements with deliciousness.
History
The history of the haunted gingerbread house is shrouded in mystery. No one knows for certain when or how this eerie confection first came into existence, but folklore suggests it may have originated centuries ago in the heart of a dark and foreboding forest.
According to legend, a powerful witch once lured unsuspecting children to her gingerbread abode, trapping them inside with her wicked spells. Interestingly, just as seniors today have embraced technology to connect with others and share humorous moments, stories of the haunted gingerbread house have evolved through generations, blending traditional tales with modern interpretations.
This enchanting yet terrifying dwelling has inspired creativity and imagination, much like the playful communication observed in the lives of seniors utilizing seniors texting humor.
Over time, the haunted gingerbread house has become a symbol of both wonder and terror. Some believe it's the work of a malevolent spirit, while others claim it's simply a result of vivid imagination.
Regardless of its origins, the house continues to captivate and frighten those who dare to venture near it. Its gingerbread walls, icing decorations, and candy-coated exterior hide a sinister secret that has stood the test of time.
Explore its history at your own risk, for the haunted gingerbread house may hold more than just sugary treats.
Recipe
Haunted Gingerbread House: Recipe
The haunted gingerbread house is a delightful and spooky treat that will captivate your guests. This classic holiday dessert isn't only visually stunning but also packed with the warm and comforting flavors of gingerbread. For those who prefer a different type of spooky treat, consider complementing the haunted gingerbread house with a spooky brownie recipe. The rich, chocolatey flavor of the brownies will pair perfectly with the warm spices of the gingerbread, creating a delicious and hauntingly festive dessert spread for all to enjoy. The combination of these two treats will surely leave your guests feeling both spirited and satisfied.
Whether you're hosting a Halloween party or simply want to add a supernatural touch to your Christmas celebrations, this recipe is sure to impress. To enhance your festive atmosphere, consider making just candles to complement your gingerbread creation, adding a warm glow that sets the perfect mood.
Baking a haunted gingerbread house requires patience and attention to detail, but the result is well worth the effort. With a few simple techniques and a dash of creativity, you can transform a humble gingerbread structure into a hauntingly beautiful centerpiece.
- 4 cups all-purpose flour
- 1 tablespoon ground ginger
- 1 teaspoon baking soda
- 1 teaspoon ground cinnamon
- 1/4 teaspoon ground cloves
- 1/4 teaspoon salt
- 1 cup unsalted butter, softened
- 1 cup packed brown sugar
- 1 egg
- 1/2 cup molasses
- Royal icing for assembly and decoration
Preheat your oven to 350°F (175°C). In a large bowl, whisk together the flour, ginger, baking soda, cinnamon, cloves, and salt.
In a separate bowl, cream the butter and brown sugar until light and fluffy. Beat in the egg and molasses until well combined. Gradually add the dry ingredients to the wet ingredients, mixing until a dough forms.
Divide the dough into two equal parts, wrap in plastic, and refrigerate for at least 1 hour.
Once the dough has chilled, roll it out to a 1/4-inch thickness on a lightly floured surface. Use your desired gingerbread house template to cut out the pieces, ensuring they fit together seamlessly. Transfer the pieces to parchment-lined baking sheets and bake for 12-15 minutes, or until the edges are lightly browned.
Allow the pieces to cool completely before assembling.
When constructing your haunted gingerbread house, use the royal icing to "glue" the pieces together. Be creative with the decoration, using the icing to create eerie details such as cracked windows, ghostly silhouettes, or a spooky graveyard.
Let your imagination run wild and transform this classic treat into a truly haunting masterpiece.
Cooking Steps
First, you'll need to combine the dry ingredients – the flour, spices, and baking soda – in a bowl until they're thoroughly mixed.
This step can be quite grounding, similar to the importance of creating a stable environment for individuals with emotional dysregulation.
Then, cream the butter and sugar in a separate bowl until light and fluffy.
Step 1. Combine Dry Ingredients Thoroughly
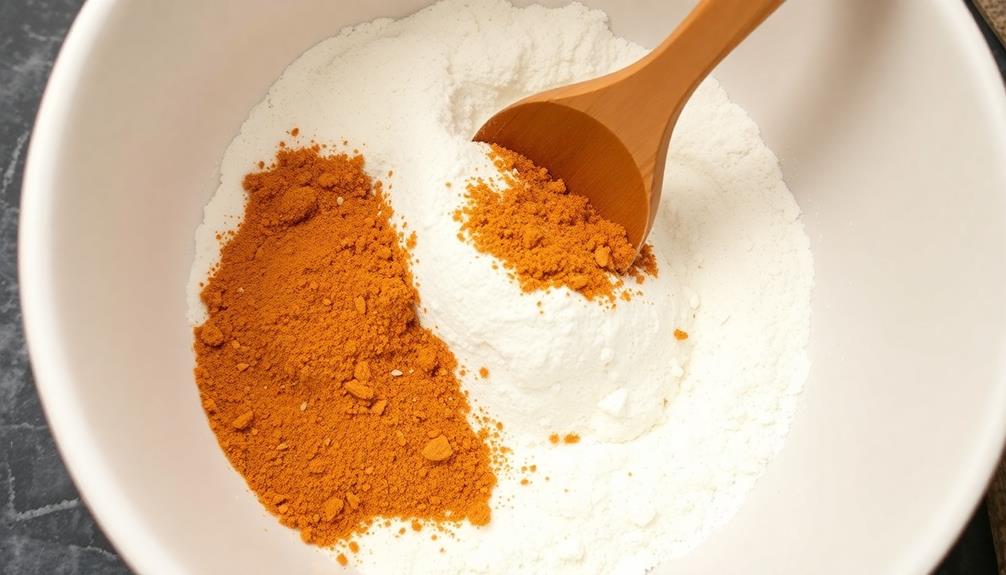
Start by thoroughly combining the dry ingredients. In a large mixing bowl, sift together the all-purpose flour, ground ginger, ground cinnamon, baking soda, and salt.
This crucial step ensures the spices and leavening agent are evenly distributed throughout the dough, creating a harmonious flavor profile and consistent texture. For a fun twist, consider adding a scoop of Birthday Cake Ice Cream to the mix for a unique flavor that could elevate your gingerbread house experience.
Take your time with this process, using a whisk or spoon to gently mix the ingredients. Avoid over-mixing, as that can lead to a tough, dense gingerbread.
Once the dry components are fully integrated, you're ready to move on to the next step. Proper preparation of the dry ingredients lays the foundation for a haunting, delectable gingerbread house.
Pay close attention to this detail, and your final creation will be a spooky delight for all to enjoy.
Step 2. Cream Butter and Sugar
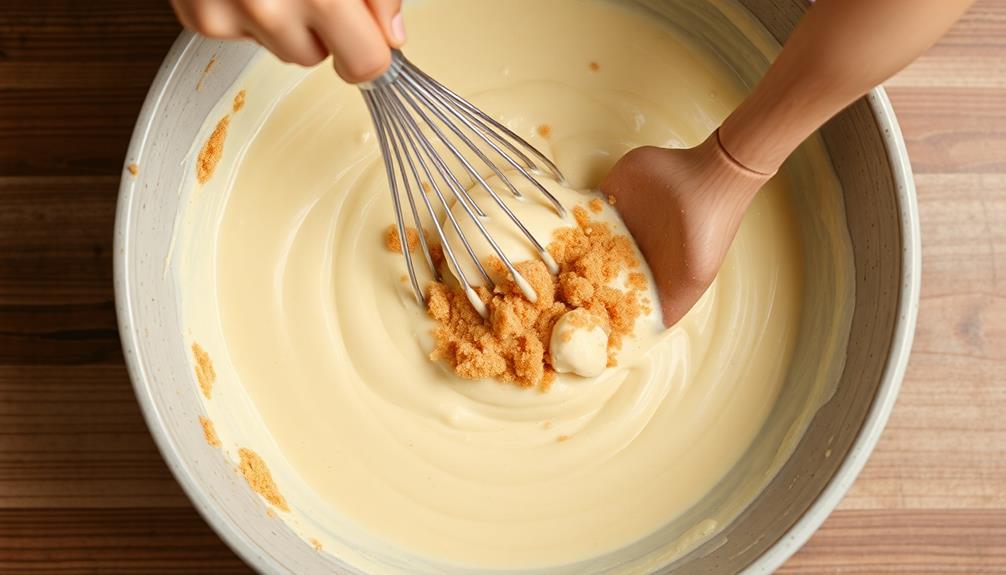
With the dry ingredients thoroughly combined, you can now move on to creaming the butter and sugar. This crucial step helps create the light, fluffy texture that's essential for gingerbread.
Start by gathering your softened butter and granulated sugar. Using a handheld or stand mixer, beat the butter on medium speed until it's smooth and creamy, about 2-3 minutes. Then, gradually add the sugar, continuing to mix until the mixture is light and fluffy, about 5 minutes total.
Be sure to scrape down the sides of the bowl as needed to ensure even mixing. The aeration from creaming the butter and sugar traps air bubbles, which will expand during baking, resulting in a tender, delicate crumb. This step lays the foundation for the gingerbread's signature moist and chewy texture.
Additionally, using high-quality ingredients can enhance the overall flavor and texture of your baked goods, as seen in effective air purifier technologies that improve indoor air quality.
With the butter and sugar perfectly creamed, you're now ready to move on to the next step in crafting your haunted gingerbread house.
Step 3. Add Molasses
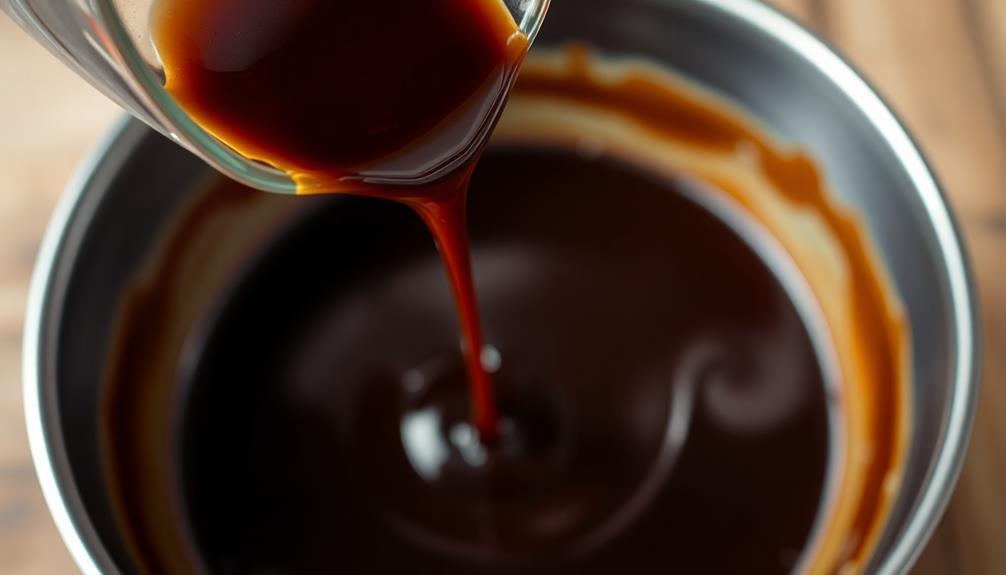
Next, you'll want to add the molasses to your creamed butter and sugar mixture. This syrupy, dark ingredient will lend a rich, complex flavor to your gingerbread dough. Measure out the required amount, typically around 1/4 cup, and pour it slowly into the bowl, incorporating it thoroughly.
The molasses will add a subtle sweetness and a touch of bitterness that will balance the other flavors beautifully. As you mix, you'll notice the dough taking on a deeper, richer color. The molasses will also contribute to the dough's smooth, pliable texture, making it easier to roll out and shape.
Be sure to scrape down the sides of the bowl to ensure even distribution of the molasses. Once it's fully incorporated, you're ready to move on to the next step, where you'll add the dry ingredients and bring the dough together.
Step 4. Add Eggs
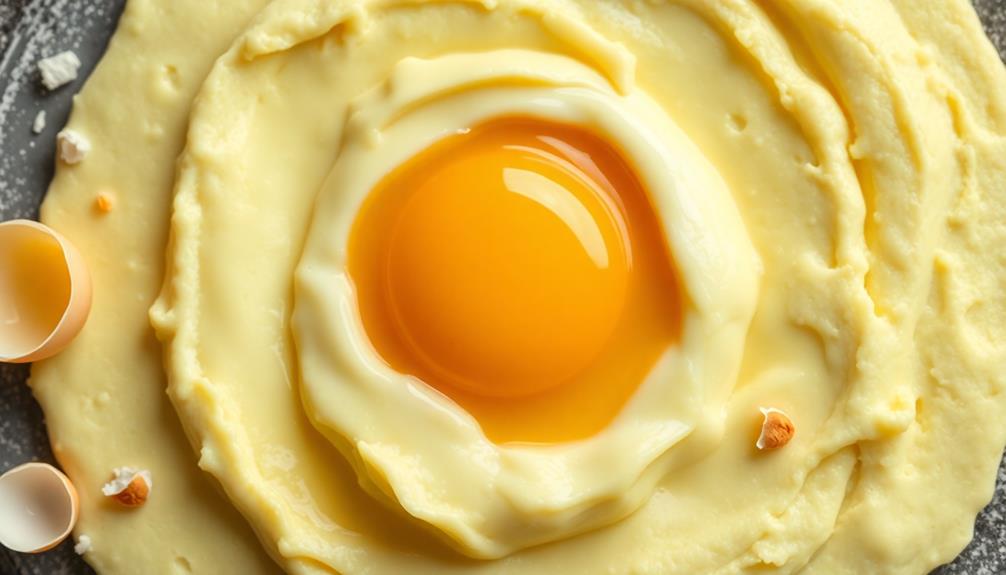
After incorporating the molasses, crack the eggs into the bowl and beat them in one at a time. This step helps bind the dough together, creating a cohesive and pliable texture.
Be sure to fully incorporate each egg before adding the next, ensuring a smooth and consistent mixture. The eggs also contribute to the gingerbread's signature rich, moist crumb.
Make sure not to overmix, as this can result in a tough and dry final product. Once all the eggs have been beaten in, the dough should have a thick, malleable consistency, ready to be rolled out and shaped into your haunted gingerbread house.
This crucial step sets the stage for the delightful, spooky creation to come. With the eggs incorporated, you're one step closer to bringing your haunted gingerbread house to life.
Step 5. Bake at 350°F for 25 Minutes
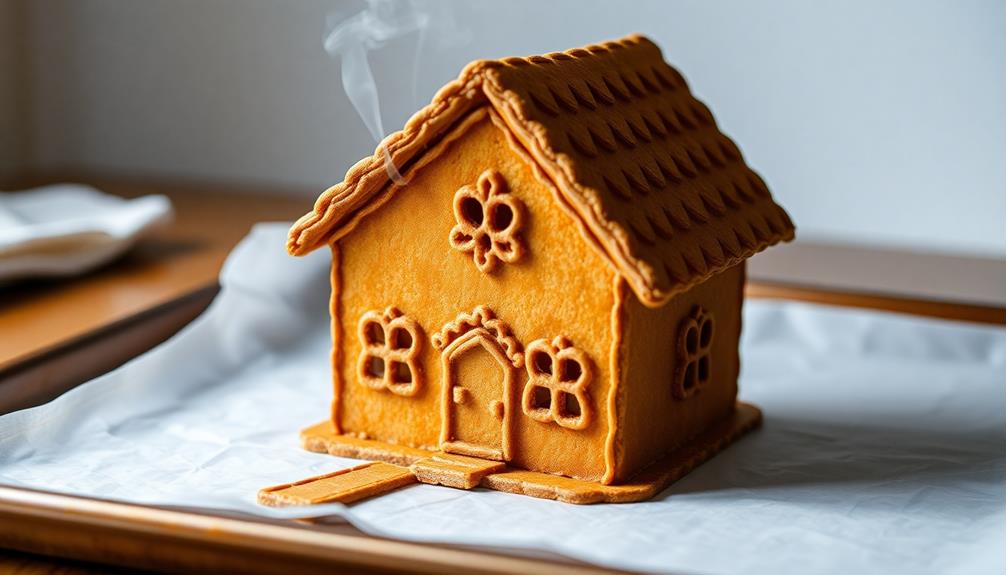
Preheat your oven to 350°F, as this is the ideal temperature for baking your haunted gingerbread house.
Once the oven is preheated, it's time to slide your creation inside. The gingerbread dough has been carefully crafted, and now it's time to let the magic happen.
Set a timer for 25 minutes and keep a watchful eye on your gingerbread house. The aroma of cinnamon and ginger will soon fill your kitchen, tantalizing your senses.
As the timer counts down, the gingerbread will begin to rise and develop a golden-brown hue, signaling that it's ready to be removed from the oven.
When the timer goes off, use oven mitts to carefully take the pan out of the oven.
Allow the gingerbread to cool for a few minutes before handling it. This will ensure that the structure remains intact and ready for you to decorate and bring your haunted vision to life.
Final Thoughts
As you reach the final chapter of this haunting tale, you may find yourself reflecting on the chilling experiences encountered within the walls of the gingerbread house.
From the ominous shadows that danced across the walls to the unsettling sounds that echoed through the halls, the journey has undoubtedly been a thrilling one.
Yet, despite the supernatural elements, you may also find a newfound appreciation for the art of gingerbread house making.
As you meticulously crafted each detail, you've honed your skills and discovered the joy of bringing this edible creation to life.
Now, as you step back and admire your work, take a moment to savor the sense of accomplishment.
The haunted gingerbread house stands as a testament to your creativity and perseverance, a delightful blend of the spooky and the delicious.
As you enjoy the final product, remember that the true spirit of this project lies not just in its appearance, but in the memories and experiences it has fostered along the way.
Frequently Asked Questions
Can the Gingerbread House Be Eaten After Decorating?
Yes, the gingerbread house can be eaten after decorating! The decorated treats are fully edible and make for a delicious dessert.
Just be sure to handle the house carefully, as the decorations may be delicate. Once you've admired your handiwork, feel free to dive in and enjoy the fruits of your labor – the gingerbread, icing, and candies are all safe to consume.
Just don't forget to save a piece for later!
How Long Does the Gingerbread House Stay Fresh?
Homemade gingerbread houses can stay fresh for up to 2 weeks when stored properly.
To maximize freshness, keep the house in an airtight container at room temperature away from direct sunlight.
The decorations may start to lose their luster after a week, but the gingerbread itself should remain edible.
With a little care, you can enjoy your creation for quite some time.
Just be sure to check it regularly for any signs of mold or spoilage.
Can the Gingerbread House Be Displayed Year-Round?
Can the gingerbread house be displayed year-round? While gingerbread won't stay fresh indefinitely, you can certainly display it year-round as a decoration.
Just keep in mind that it'll eventually dry out and harden over time. For best results, display your gingerbread house in a cool, dry place out of direct sunlight.
With proper care, it can make a whimsical addition to your home's decor all year long!
Is the Gingerbread House Suitable for Outdoor Display?
Can a gingerbread house be displayed outdoors? It's definitely possible, but you'll need to take some extra precautions.
The delicate gingerbread and frosting won't withstand harsh weather like rain, snow, or direct sunlight very well. To display your creation outside, you'll want to place it in a covered, sheltered area like a porch or gazebo.
Keep an eye on it and bring it indoors if the weather takes a turn. With the right setup, you can enjoy your gingerbread house outdoors all season long!
Can the Gingerbread House Be Reused in Subsequent Years?
When it comes to reusing a gingerbread house, the good news is that it can often be done!
With proper storage and care, your festive creation can be enjoyed for multiple seasons.
Make sure to carefully disassemble the house, clean off any debris, and store the pieces in an airtight container.
When ready to display again, simply reassemble and add any necessary touch-ups.
With a little effort, you can delight your guests year after year with your beloved gingerbread house.