
Haunted haystack cookies are a spooky delight with roots in rural farming communities, where they were made from abundant wheat and corn harvests. These conical cookies are shaped like haystacks and baked to a golden brown, with a ghostly appearance from shredded coconut. The recipe combines buttery richness, sweet sugar, and semisweet chocolate chips for added flavor. Bake them at 350°F for 12-15 minutes, then dust with powdered sugar for a haunted look. Serve these festive treats on a platter with spiderwebs and dry ice for a truly spooky Halloween experience. If you want to learn more about the history and creative ways to enjoy these haunted haystack cookies, keep reading.
Key Takeaways
- Haunted Haystack Cookies are a Halloween treat that originated in rural farming communities, utilizing abundant wheat and corn harvests.
- The cookies are shaped into conical mounds resembling haystacks and baked golden brown, with spooky additions like chocolate spiders and candied eyeballs.
- The recipe combines shredded coconut for texture and a ghostly appearance, along with ingredients like butter, sugar, and semisweet chocolate chips.
- Baking instructions include preheating the oven, creaming the butter and sugar, gradually adding dry ingredients, and baking for 12-15 minutes.
- Haunted Haystack Cookies are often served on a platter with spiderwebs and dry ice for a spooky effect, and can be packaged for gifting.
History
Centuries ago, haunted haystack cookies emerged as a beloved Halloween treat among rural farming communities. These whimsical confections were born out of necessity, as farmers sought to use up the abundant wheat and corn harvests that marked the end of the growing season.
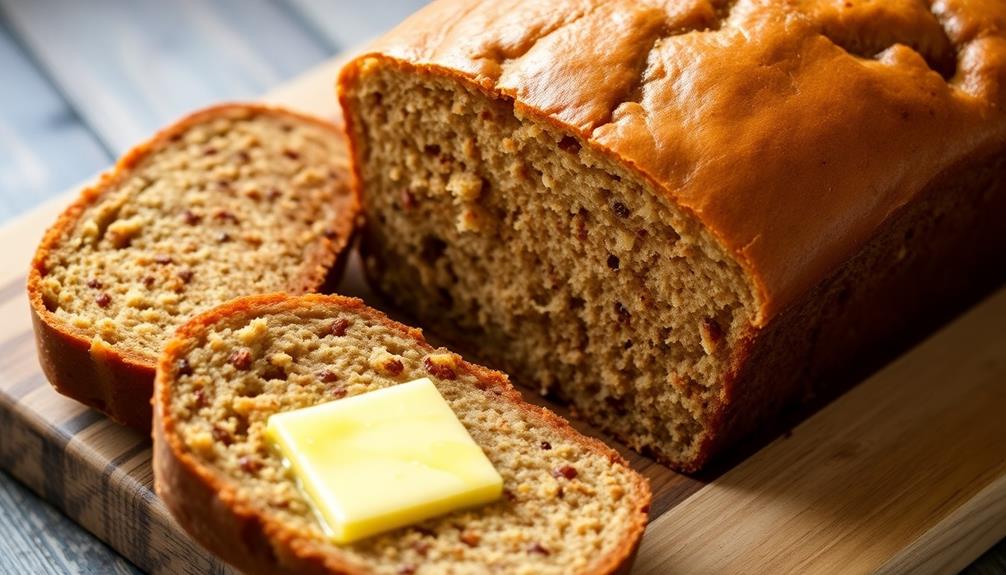
By shaping the dough into tall, conical mounds and baking them to a golden brown, the "haystacks" were transformed into edible decorations, evoking the pastoral landscapes of the countryside. This connection to the land is reminiscent of how artists explore urban themes in contemporary Indian painting, reflecting the relationship between culture and environment through visual narratives urban themes reflect.
The origins of the haunted haystack cookie can be traced back to ancient harvest festivals, where the towering, ghost-like shapes were believed to ward off mischievous spirits. As the tradition evolved, creative bakers began to incorporate spooky additions, such as chocolate "spiders" or candied "eyeballs," further enchanting the treat.
Today, these nostalgic cookies continue to delight both young and old, connecting modern celebrations to the rich agricultural heritage of generations past.
Recipe
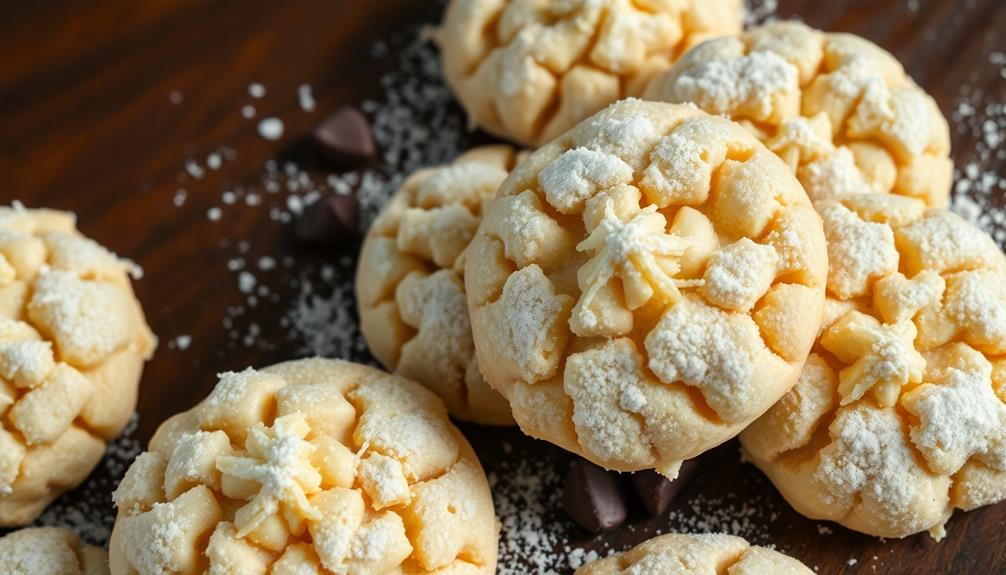
Haunted Haystack Cookies are a delightful Halloween treat that captures the eerie essence of the season. These cookies are made with a unique combination of ingredients that create a delightful crunch and a ghostly appearance, perfect for spooking your guests.
For a fun twist, consider pairing these cookies with a fun dessert option like Dirt Cups, which can add a playful touch to your Halloween gathering. These delicious candy corn cookies are sure to be a hit with both kids and adults alike. The bright and festive colors of the cookies will add a fun and whimsical element to your Halloween spread, and the playful touch of the Dirt Cups will add to the overall theme of the gathering. Consider serving these treats alongside other Halloween-themed snacks and desserts to really make your party stand out.
The secret to these cookies lies in the unique use of shredded coconut, which gives them a haystack-like texture and appearance. The addition of chocolate chips and a dusting of powdered sugar further enhances the visual appeal, transforming these cookies into a must-have item on any Halloween dessert table.
- Unsalted butter, softened
- Granulated sugar
- Egg
- Vanilla extract
- All-purpose flour
- Baking soda
- Salt
- Shredded coconut
- Semisweet chocolate chips
- Powdered sugar
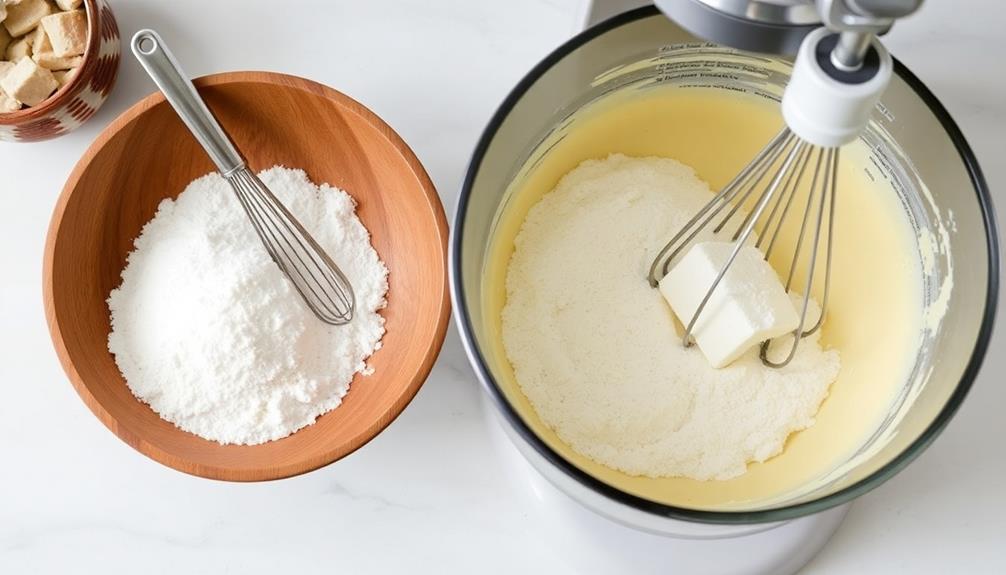
Preheat your oven to 350°F (175°C). In a large mixing bowl, cream the softened butter and granulated sugar until light and fluffy. Beat in the egg and vanilla extract until well combined.
In a separate bowl, whisk together the all-purpose flour, baking soda, and salt. Gradually add the dry ingredients to the wet ingredients, mixing until just combined. Fold in the shredded coconut and chocolate chips.
To achieve the haunted haystack appearance, scoop rounded tablespoons of the dough onto a parchment-lined baking sheet, spacing them about 2 inches apart. Bake for 12-15 minutes, or until the cookies are golden brown and the edges are slightly crisp.
Allow the cookies to cool on the baking sheet for a few minutes before transferring them to a wire rack. Once cooled, dust the cookies lightly with powdered sugar, creating a ghostly, haunted appearance. Enjoy these spooky and delicious Haunted Haystack Cookies!
Cooking Steps
First, preheat your oven to 350°F.
In a large bowl, cream together the butter and sugars until light and fluffy. This step is crucial as it incorporates air into the mixture, leading to a lighter cookie texture.
Next, add the dry ingredients like flour, baking soda, and salt, then mix until just combined. For an added twist, consider serving these cookies alongside a savory dip like Queso Fundido for a fun flavor contrast.
Lastly, scoop the dough onto a baking sheet and bake for 8-10 minutes until the edges are lightly golden.
Step 1. Preheat Oven to 350°F
To begin the baking process, preheat your oven to 350°F. This crucial step ensures your oven is at the perfect temperature before you start assembling the haunted haystack cookies.
Air purifiers improve indoor air quality by reducing allergens and pollutants, which can be particularly beneficial if you're baking with friends or family who've sensitivities. Preheating takes about 10-15 minutes, so you can use this time to gather the remaining ingredients and prep your baking sheets.
Once your oven has reached the desired temperature, you're ready to start baking. This step lays the foundation for the entire cookie-making experience, so it's important to get it right.
The even heat from the preheated oven will help your cookies bake evenly, resulting in a perfect golden-brown exterior and a delightfully soft, chewy interior. Keep in mind that oven temperatures can vary, so keep a close eye on your cookies during the baking process to ensure they don't overbake.
With the oven preheated, you're one step closer to enjoying those spooktacular haunted haystack treats!
Step 2. In a Large Bowl, Cream Together
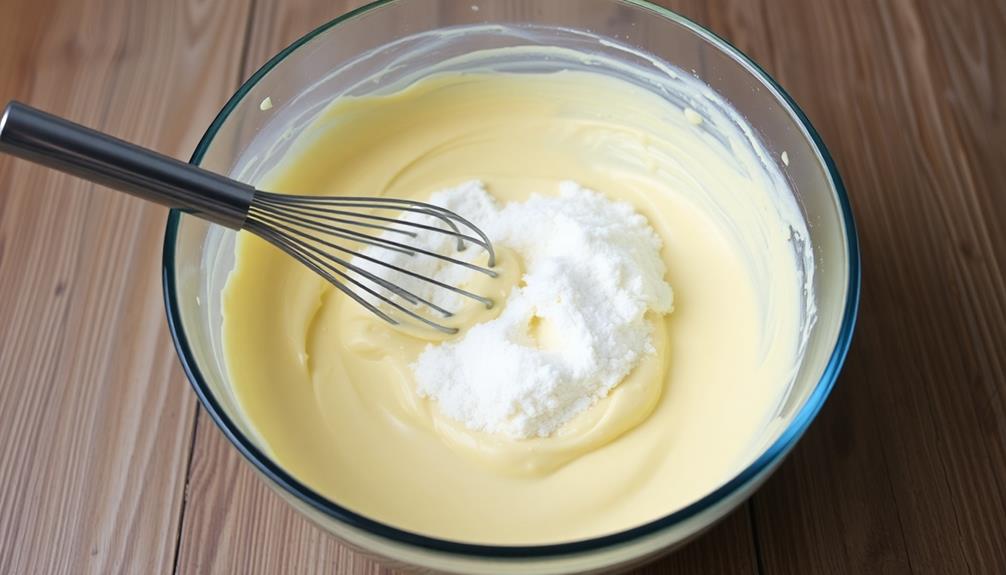
In a large bowl, cream together the butter and granulated sugar until light and fluffy, about 2-3 minutes. Use an electric mixer or a sturdy spoon to ensure the mixture becomes smooth and creamy. This step is crucial as it incorporates air into the batter, resulting in a soft and tender cookie.
Additionally, the temperature of your ingredients can affect the final texture, so consider using room temperature butter for best results. explore coffee varieties
Next, crack the eggs into the bowl, one at a time, beating well after each addition. This helps the eggs fully incorporate and prevents the batter from curdling.
Once the eggs are mixed in, stir in the vanilla extract, bringing a warm, fragrant note to the dough.
In a separate bowl, whisk together the all-purpose flour, baking powder, and salt. Gradually add this dry mixture to the wet ingredients, mixing just until combined.
Be careful not to overmix, as this can lead to tough cookies. The dough should come together easily and have a slightly tacky consistency.
Step 3. Add Dry Ingredients
Add the dry ingredients to the creamed mixture in a few batches, mixing just until incorporated after each addition. This step helps ensure the cookie dough comes together smoothly without overmixing, which can lead to tough, dense cookies.
First, sift together the all-purpose flour, baking soda, and salt in a separate bowl. Gradually add these dry ingredients to the creamed butter and sugar, mixing on low speed after each addition. Scrape down the sides of the bowl as needed to incorporate all the flour.
Be careful not to over-mix the dough, as this can develop too much gluten, resulting in cookies that are dry and crumbly. The dough should come together easily, forming a cohesive ball.
Once the dry ingredients are fully incorporated, the cookie dough is ready to be portioned and baked into those delightfully haunted haystack treats.
Step 4. Scoop Dough Onto Baking Sheet
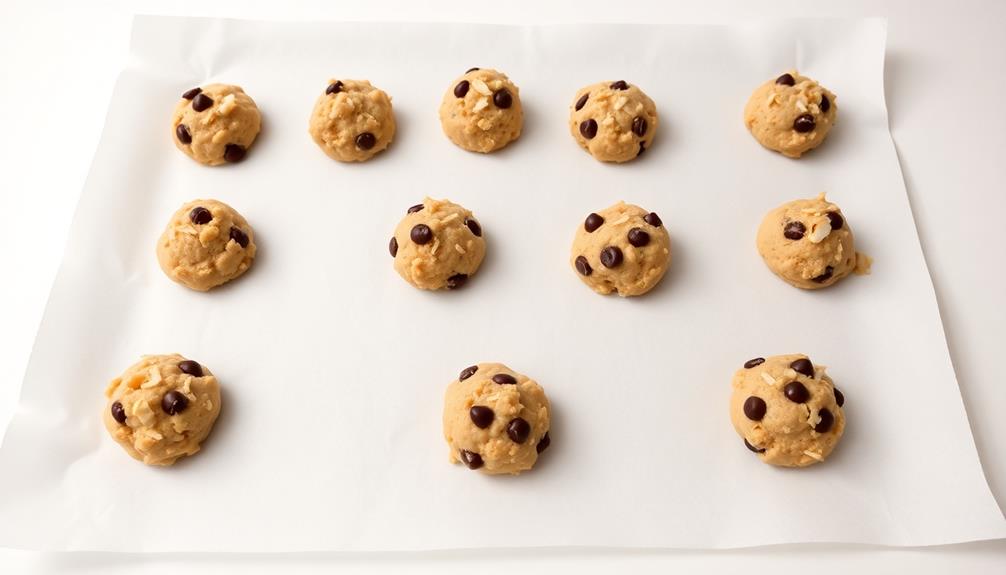
Scoop the cookie dough onto a parchment-lined baking sheet, spacing the portions about 2 inches apart. This step ensures the cookies have enough room to spread out and develop their signature haystack shape as they bake.
Using a small cookie scoop or spoon, portion out the dough, aiming for roughly 1-inch balls. Gently roll each portion between your palms to create a smooth, rounded shape before placing it on the prepared sheet.
Avoid overcrowding the baking sheet, as this can lead to the cookies merging together or baking unevenly. Once you've scooped all the dough, take a moment to inspect the tray, making sure the portions are well-spaced and uniform in size. This will help the cookies bake consistently, resulting in a batch of perfectly formed haunted haystacks.
Step 5. Bake for 8-10 Minutes
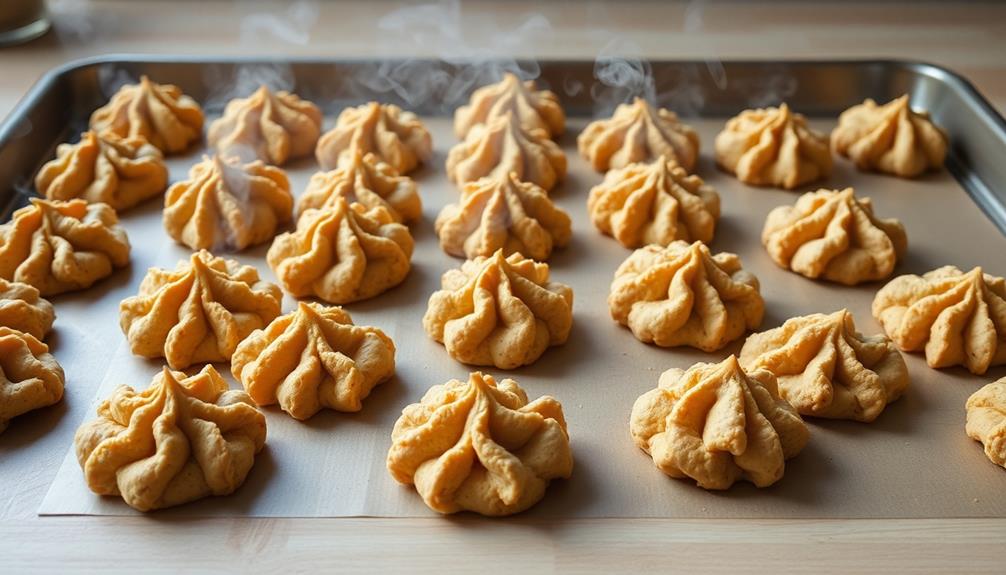
Once the dough has been carefully portioned onto the baking sheet, it's time to pop the tray into the preheated oven. Set the temperature to 350°F (175°C) and let the cookies bake for 8-10 minutes.
Keep a close eye on them, as the baking time can vary depending on your oven. You'll know the cookies are ready when the edges start to turn a lovely golden brown and the centers are still soft.
Don't be tempted to open the oven door too often, as this can cause the temperature to drop and affect the cookies' texture.
Once the timer goes off, carefully remove the tray from the oven using oven mitts. Allow the cookies to cool on the baking sheet for a few minutes before transferring them to a wire rack.
This will help them maintain their delightful haunted haystack shape. With a little patience and attention, you'll have a batch of irresistible spooky treats ready to enjoy.
Final Thoughts
As you prepare to bake these haunted haystack cookies, let the anticipation of their ghastly charm captivate your imagination.
These delightfully spooky treats are the perfect addition to your Halloween festivities, sure to delight both young and old. While the baking process may seem straightforward, the true magic lies in the creative presentation.
Consider serving these cookies on a platter adorned with spiderwebs and dry ice for an extra eerie touch. Alternatively, you could package them in clear cellophane bags, tied with black ribbon, to give as ghoulish gifts to your friends and family.
No matter how you choose to present them, these haunted haystack cookies are a testament to the power of imagination and the joy of embracing the spirit of the season.
Frequently Asked Questions
What Is the Origin of the Name "Haunted Haystack Cookies"?
The name "haunted haystack cookies" likely refers to the cookie's unique appearance.
Imagine a mound of shredded coconut or wheat cereal carefully crafted to resemble a haystack – it's a whimsical, almost spooky visual that evokes a sense of mystery and intrigue.
This creative presentation likely contributes to the "haunted" aspect of the name, inviting bakers and eaters to embrace the playful, Halloween-inspired nature of these delightful treats.
How Long Do the Cookies Stay Fresh After Baking?
After baking, your homemade cookies should stay fresh for 3-5 days when stored properly.
Keep them in an airtight container at room temperature, and they'll maintain their delicious taste and texture.
The exact shelf life can vary depending on the ingredients and how you store them, but with a little care, you can enjoy your baked goods for several days after making them.
Can the Recipe Be Easily Scaled for a Larger Batch?
Yes, you can easily scale up the recipe to make a larger batch of cookies. The ingredients simply need to be multiplied to achieve the desired quantity.
For example, if the original recipe makes 24 cookies, you could double or triple the amounts to make 48 or 72 cookies instead.
Just be sure to adjust the baking time and monitor the cookies closely to ensure they're baked evenly throughout.
With a few simple adjustments, you can scale this recipe up to suit your needs.
Are There Any Variations or Substitutions for the Ingredients?
When it comes to variations or substitutions for the ingredients, you've got some flexibility.
Try swapping out the all-purpose flour for whole wheat or gluten-free flour to experiment with different textures and flavors.
You could also play around with the nuts, using pecans, walnuts, or even almonds instead of the traditional hazelnuts.
And don't be afraid to get creative with the spices – a touch of cinnamon or ginger could really take these cookies to the next level.
How Should the Cookies Be Stored for Maximum Freshness?
To ensure maximum freshness, store the cookies in an airtight container at room temperature. This will prevent them from drying out or becoming stale.
You can also try placing a slice of bread in the container, as the bread will absorb any excess moisture and help keep the cookies soft.
For longer storage, consider freezing the cookies in a resealable plastic bag. Just remember to let them thaw at room temperature before serving.