
Haunted Haystack Cookies emerged during colonial America, inspired by mysterious "haunted haystacks" inhabited by mischievous spirits. This Halloween-themed treat combines a buttery, crumbly base with toasted coconut and chocolate candies, creating a striking dessert with crisp cookie, chewy coconut, and sweet chocolate. It's an ideal party treat, pairing well with beverages to enhance the overall experience. Bake these cookies to 350°F, cool them thoroughly, and decorate with melted chocolate for a festive presentation. Haunted Haystacks are sure to delight guests and add to the spooky Halloween spirit – there's more to discover about these bewitching cookies.
Key Takeaways
- Haunted Haystack Cookies are a Halloween-themed treat popular in America, inspired by the mysterious "haunted haystacks" of the colonial era.
- The cookies feature a buttery, crumbly base topped with toasted coconut and chocolate candies, combining crisp, chewy, and sweet flavors.
- The recipe involves simple baking techniques, with key ingredients including butter, sugar, flour, and shredded coconut.
- Proper baking and cooling techniques are essential for achieving the desired texture and shape of the haystack-like cookies.
- The cookies can be further decorated with melted chocolate for a spooky, festive presentation, making them a perfect addition to Halloween gatherings and celebrations.
History
According to legend, the haunted haystack cookies first emerged during the early colonial period in America. As settlers ventured into the wilderness, they often encountered strange phenomena, including the mysterious "haunted haystacks" that dotted the landscape.
These peculiar piles of hay were rumored to be inhabited by mischievous spirits, which inspired the creation of the haunted haystack cookie. This whimsical treat can be likened to the enduring love of a mother, as it brings warmth and comfort to those who enjoy it, reminiscent of the heartfelt tributes we create to honor our loved ones a mother's enduring love.
The recipe for these whimsical treats evolved over time, blending traditional colonial baking techniques with the supernatural element of the haunted haystacks. Bakers would shape the dough into clusters, mimicking the lofty, irregular form of the haystacks, then bake them until they developed a golden, crispy exterior.
The result was a delightfully crunchy cookie that captured the essence of the legendary haunted haystacks.
Today, the haunted haystack cookie remains a beloved part of American culinary heritage, a delicious reminder of the country's rich folklore and the ingenuity of its early settlers.
Recipe
Haunted Haystack Cookies are a Halloween-themed treat that will delight both children and adults alike.
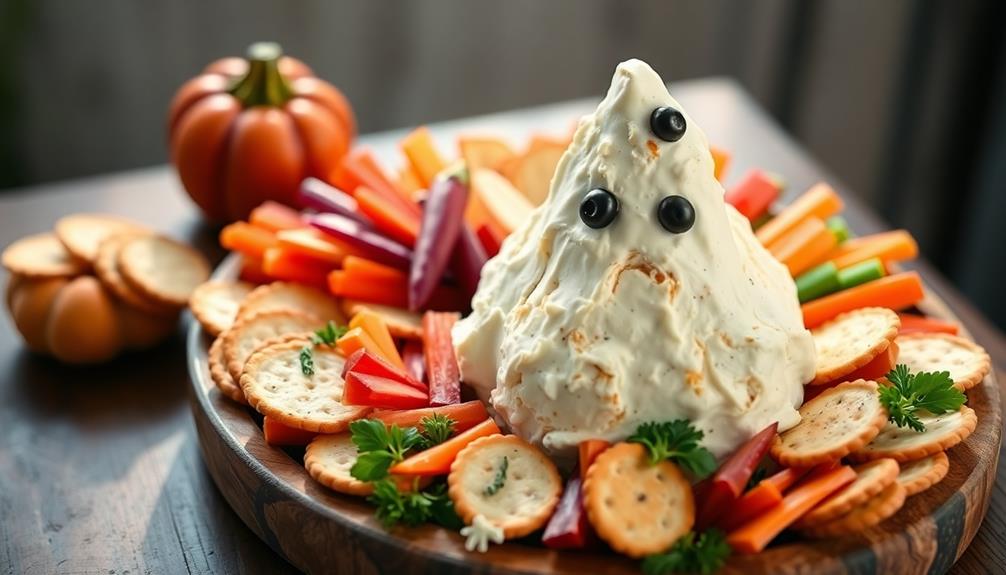
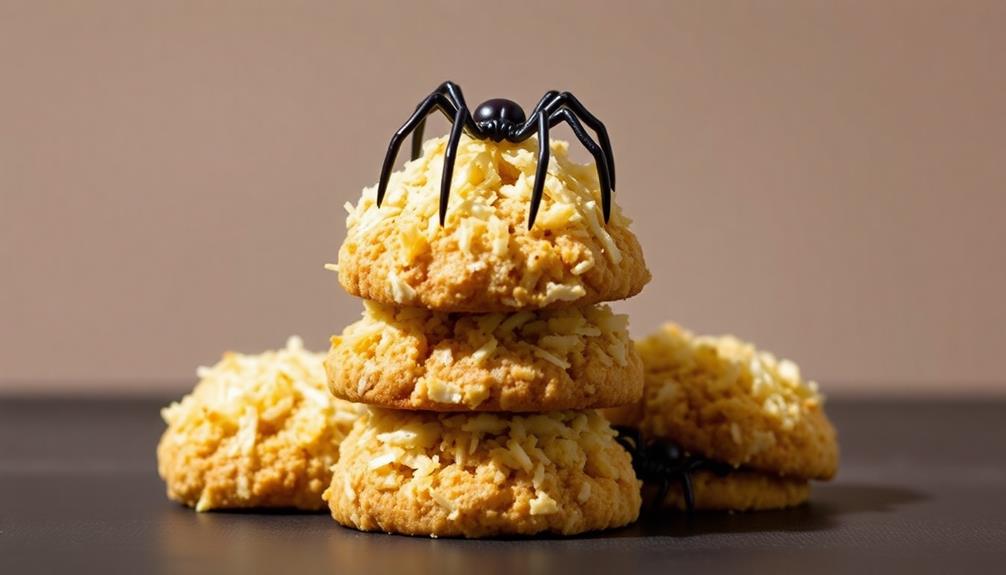
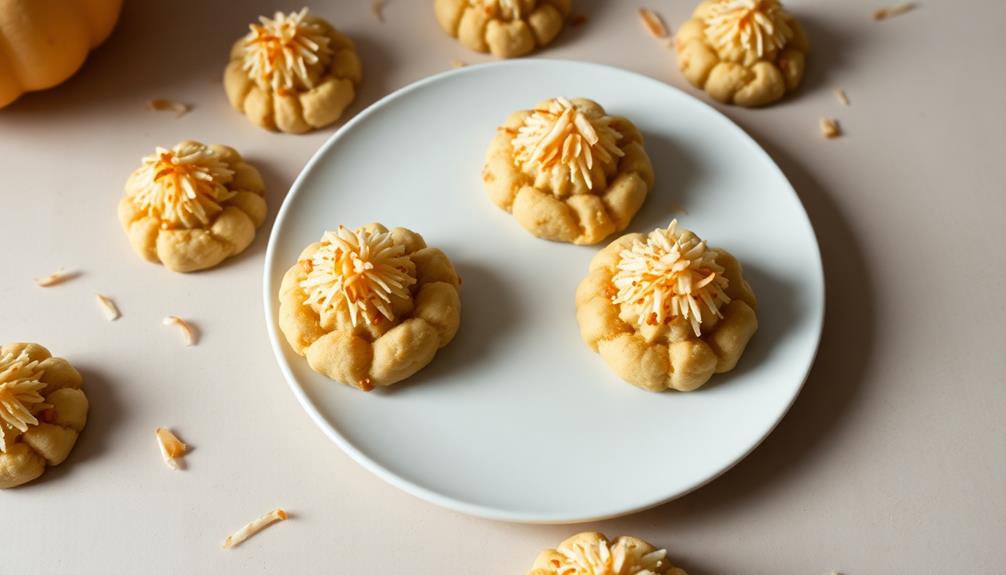
These spooky cookies are made with a buttery, crumbly base topped with a mound of toasted coconut "haystack" and a handful of chocolate "spiders" or other festive candies. The combination of the crisp cookie, the chewy coconut, and the sweet chocolate creates a delightful and visually striking dessert that's sure to be a hit at any Halloween party or gathering.
For those who enjoy pairing their treats with a beverage, understanding the different brewing methods can enhance the overall experience.
Ingredients:
- 1 cup (2 sticks) unsalted butter, softened
- 1 cup granulated sugar
- 1 egg
- 2 teaspoons vanilla extract
- 2 1/4 cups all-purpose flour
- 1 teaspoon baking powder
- 1/4 teaspoon salt
- 2 cups shredded sweetened coconut
- Chocolate spiders or other Halloween candies
Instructions:
In a large bowl, cream the butter and sugar together until light and fluffy. Beat in the egg and vanilla.
In a separate bowl, whisk together the flour, baking powder, and salt. Gradually add the dry ingredients to the wet ingredients, mixing until just combined. Chill the dough for at least 30 minutes.
Preheat the oven to 350°F (177°C) and line two baking sheets with parchment paper. Scoop tablespoon-sized balls of dough and place them about 2 inches apart on the prepared baking sheets.
Bake for 10-12 minutes, or until the edges are lightly golden. Remove from the oven and immediately top each cookie with a mound of toasted coconut, pressing it down gently to adhere. Allow the cookies to cool on the baking sheets for 5 minutes before transferring them to a wire rack to cool completely.
Once the cookies are cool, top each coconut "haystack" with a chocolate spider or other Halloween candy. Serve and enjoy your Haunted Haystack Cookies!
Cooking Steps
Preheat your oven to 350°F, then grab a bowl and combine the ingredients for the Haunted Haystack Cookies.
For a delightful morning treat, consider whipping up Cinnamon Sugar French Toast Bites as well.
Spoon the cookie dough onto a baking sheet and pop it in the oven for 10-12 minutes until the cookies are golden brown.
Once they've cooled completely, you're ready to enjoy these delightfully spooky treats.
Step 1. Preheat Oven to 350°F
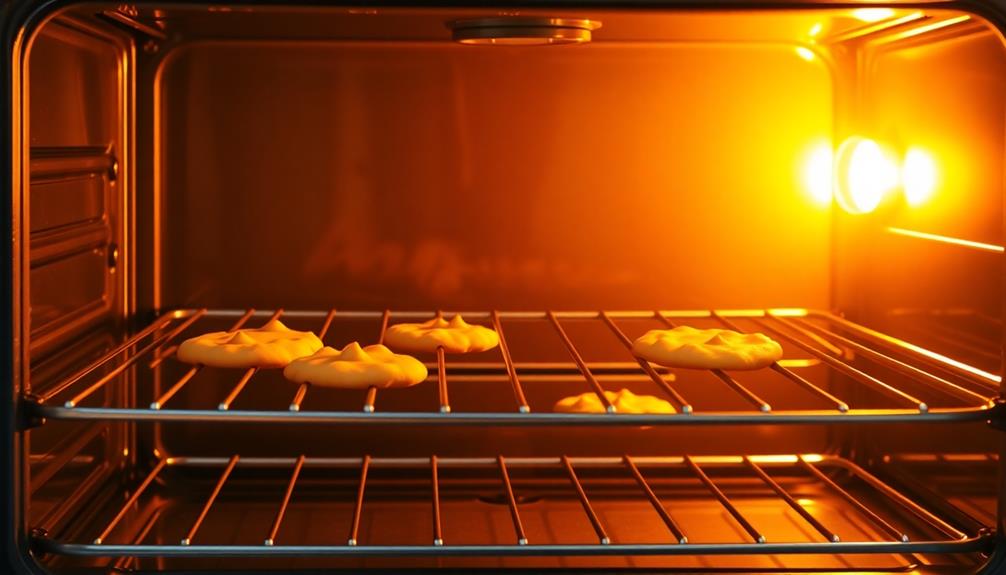
Preheating the oven to 350°F is the first crucial step in baking these Haunted Haystack Cookies. This temperature strikes the perfect balance, ensuring the cookies bake evenly and develop that irresistible crunch. Regularly checking your oven's calibration can help maintain this balance, just like optimal usage timing is essential for air purifiers to function effectively.
Begin by locating your oven and giving the door a gentle tug to make sure it opens smoothly. Consult your oven's manual if you're unsure about the controls. Most modern ovens have digital displays that make temperature selection a breeze. Simply press the "Bake" button and use the up and down arrows to set the temperature to 350°F.
Once the oven is preheated, you'll hear a chime or see a light indicating it's reached the desired temperature. This is your cue to begin preparing the cookie dough.
Keep in mind that oven temperatures can fluctuate, so it's a good idea to use an oven thermometer to double-check the heat level. With the oven set and ready, you're one step closer to baking up a batch of spooky-good Haunted Haystack Cookies.
Step 2. In a Bowl, Combine Ingredients
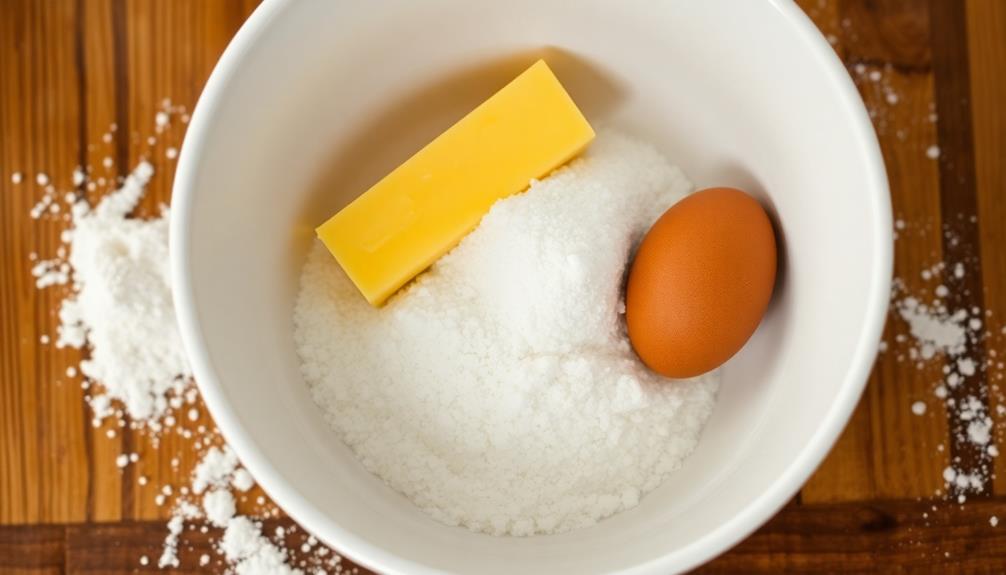
Now that your oven is preheated, let's move on to the next step. In a large bowl, combine the dry ingredients – flour, baking soda, and salt. Whisk them together until evenly mixed.
In a separate bowl, cream the butter and sugar until light and fluffy. It's important to be aware that many popular candies, for example, can contain high sugar levels, impacting health when consumed excessively (sugar overload risks).
Beat in the egg and vanilla extract, incorporating them fully. Gradually add the dry ingredients to the wet ingredients, mixing until just combined. Don't overmix, or your cookies will become tough.
Fold in the chocolate chips and crushed cookies, distributing them evenly throughout the dough. The cookie dough should have a nice, thick consistency, perfect for shaping into the iconic haystack design.
Using a spoon or cookie scoop, portion the dough into rounds and place them onto the prepared baking sheets, spacing them a few inches apart. This will allow the cookies to spread and develop their unique, rustic shape during baking.
Now you're ready to pop them in the oven and let the magic happen!
Step 3. Spoon Cookie Dough Onto Baking Sheet

With the dry ingredients thoroughly combined, it's time to portion the cookie dough onto the prepared baking sheets.
Grab a spoon or small scoop and start scooping the dough, placing mounds about 2 inches apart on the sheets.
Don't worry if the dough doesn't look perfectly round – the cookies will spread and take shape as they bake.
Once you've filled the sheets, gently press down on the dough mounds to flatten them slightly.
This will help them bake evenly and achieve that classic haunted haystack look.
Be sure to work quickly, as you don't want the dough to dry out.
If it starts to get too firm, try scooping with a warm spoon or re-kneading the dough lightly before portioning.
With the cookies ready for the oven, you're one step closer to enjoying the spooky, delicious results of your labors.
Just pop the sheets in and get ready for the haunting aroma to fill your kitchen!
Step 4. Bake 10-12 Minutes Until Golden Brown

Slip the prepared baking sheets into the preheated oven and let the cookies bake for 10 to 12 minutes, or until they're golden brown around the edges.
The aroma of the cookies will start to fill your kitchen, tempting you with their delightful scent. Keep a close eye on them, as the baking time can vary depending on your oven. You'll know they're ready when the tops are lightly golden, and the edges have a slightly crisp texture.
Once the cookies are done, carefully remove the baking sheets from the oven. Allow the cookies to cool on the sheets for a few minutes before transferring them to a wire rack.
This will help them retain their shape and prevent them from becoming too soft. Remember, the cookies will continue to firm up as they cool, so don't be tempted to move them too soon.
With a little patience, you'll have a batch of perfectly baked Haunted Haystack Cookies, ready to be enjoyed by all.
Step 5. Let Cookies Cool Completely
After removing the cookies from the oven, let them cool completely on the baking sheets for at least 10 minutes. This resting period is crucial for the cookies to firm up and maintain their shape.
As they cool, the butter and other ingredients will set, preventing the cookies from crumbling when you try to transfer them. Be patient – resist the temptation to start munching right away. The extra time allows the flavors to meld and the texture to reach its optimal state.
Once the cookies have cooled, you can carefully transfer them to a wire rack or serving platter. This will ensure even cooling and prevent the bottoms from getting soggy.
Final Thoughts
As you put the finishing touches on your Haunted Haystack Cookies, you can't help but feel a sense of accomplishment. These spooky, whimsical treats are the perfect addition to your Halloween festivities.
You've carefully crafted each cookie, ensuring they're baked to perfection and cooled completely before decorating.
Now, it's time to unleash your creativity. Drizzle the melted chocolate over the cookies, creating intricate web patterns or ghostly designs. Sprinkle the crushed cookies or candies over the tops, transforming your cookies into haunted haystacks.
The visual contrast of the dark chocolate and the light, fluffy cookie base is truly captivating.
As you step back and admire your handiwork, you can't help but feel a sense of pride. These Haunted Haystack Cookies aren't just delicious, but they also showcase your baking skills and attention to detail.
Savor the moment, for these delightful cookies are sure to delight your guests and bring a touch of spooky magic to your Halloween celebrations. The black cat cookies recipe is simple to follow and will have your kitchen smelling like a delicious bakery in no time. These adorable treats are perfect for both kids and adults alike, and they are sure to be a hit at any Halloween party. So go ahead, whip up a batch of these spooky delights and watch as they disappear in a flash!
Frequently Asked Questions
Are Haunted Haystack Cookies Gluten-Free?
Haunted haystack cookies are a popular Halloween treat, but are they gluten-free?
Unfortunately, there's no simple answer, as the ingredients can vary widely from recipe to recipe. Some versions may use gluten-free ingredients like rice cereal or gluten-free oats, while others could contain wheat flour or other gluten-containing components.
To know for sure, you'd need to check the specific recipe or ask the baker. If you have a gluten sensitivity, it's best to inquire about the ingredients before indulging.
What Is the Shelf Life of These Cookies?
The shelf life of these cookies can vary, but they generally last about 2-3 weeks when stored properly.
Keep them in an airtight container at room temperature, and they'll stay fresh and delicious.
Avoid storing them in the fridge, as that can cause them to dry out.
With proper storage, you can enjoy these tasty treats for up to a couple of weeks.
Just be sure to keep an eye on them and consume them before they start looking stale or lose their flavor.
Can I Substitute Ingredients in the Recipe?
Absolutely! Substituting ingredients in recipes can be a fun way to customize them to your tastes.
Just keep in mind that it may affect the final result, so it's best to make any changes gradually and test them out before committing to the full recipe.
Feel free to experiment with different types of flours, sweeteners, or even add-ins like nuts or dried fruit.
The key is to have fun and be willing to adjust as you go.
Do These Cookies Contain Any Artificial Preservatives?
The cookies don't contain any artificial preservatives.
Preservatives are often added to baked goods to extend their shelf life, but these homemade cookies rely on natural ingredients without any synthetic additives.
You can feel good about serving them, knowing you're providing a wholesome treat without any questionable chemicals.
The simple, straightforward recipe ensures these cookies are free from artificial preservatives, allowing you to enjoy their fresh, homemade flavor.
Are Haunted Haystack Cookies Suitable for Vegan Diets?
Unfortunately, haunted haystack cookies aren't suitable for vegan diets. These traditional holiday treats typically contain butter, milk, and sometimes even eggs – all ingredients that vegans avoid.
If you're looking for a vegan-friendly alternative, you could try making "spooky haystack" cookies using plant-based butter, dairy-free milk, and egg substitutes. This would allow you to enjoy the classic flavors and textures, just without the animal-derived ingredients.
Ultimately, haunted haystack cookies aren't the best choice for those following a vegan lifestyle.