Unleash the enchanting allure of autumn with Poisoned Apple Caramel Apples, a captivating twist on a classic seasonal treat designed to delight your senses and spark your imagination – but remember, these delectable delights are strictly for fictional or entertainment purposes only, as real consumption would be extremely dangerous. Discover the history, recipe, and cooking steps to create these mesmerizing confections, while also exploring the critical safety precautions and tips for success. As you delve deeper, you'll uncover the importance of consumer responsibility and the lasting impact of safety incidents on our collective trust in local food production.
Key Takeaways
- Poisoned Apple Caramel Apples are a fictional recipe designed for entertainment purposes only, as real consumption of poisoned treats is extremely dangerous.
- Extreme caution is required when handling any poisonous ingredients, and proper protective equipment must be used during preparation.
- Leftover poison should be disposed of securely to prevent accidental ingestion, and poisoned treats must be kept away from individuals who may mistakenly consume them.
- Recent safety incidents have highlighted the need for heightened awareness and scrutiny of the origin and handling of homemade or local confections.
- Proactive research on food sources and vendors' safety protocols can help mitigate the risks associated with consuming treats, restoring consumer confidence and trust.
History
Caramel apples have been a beloved treat for over a century, with their origins dating back to the late 1800s. These delectable confections were first introduced at the Caramel Apple Candy Company in Newark, New Jersey. The idea was simple yet ingenious – take a crisp, juicy apple and coat it in a luscious layer of rich, buttery caramel. The result was an irresistible combination of sweet and tart, offering a satisfying crunch alongside the gooey, caramel goodness.
Incorporating seasonal fruits, like those used in fermented vegetable plates, can elevate the flavor profile of caramel apples even further.
Over the years, the popularity of caramel apples has only grown, with variations including drizzled chocolate, crunchy nuts, and even festive sprinkles. They've become a staple at county fairs, holiday celebrations, and cozy autumn gatherings.
Whether you're enjoying a classic caramel coating or trying a more adventurous flavor, the caramel apple remains a timeless treat that evokes nostalgia and satisfies the sweet tooth.
Recipe
Caramel apples are a classic fall treat, but this recipe takes them to the next level. By adding a touch of poison, these Poisoned Apple Caramel Apples are sure to leave a lasting impression on your guests.
This unique twist on a traditional favorite can be a fun addition to any spooky gathering or themed event, making it a conversation starter among those who appreciate startup success tips.
It's important to note that this recipe should only be used for purely fictional or entertainment purposes, and should never be attempted in real life. Consuming poisoned food can be extremely dangerous and even fatal. Proceed with caution and keep these apples far away from anyone who might accidentally ingest them. In addition to the danger of consuming poisoned food, there are also legal ramifications to consider. Intentionally poisoning someone, even if it’s just a harmless prank, can result in serious criminal charges. It’s simply not worth the risk. Remember, it’s always better to stick to harmless pranks, like pretending to serve toxic waste in mac and cheese, rather than risking someone’s health and safety. Additionally, the psychological impact of such a prank should not be underestimated. Even if the toxic mac and cheese prank is meant to be taken lightly, it could still cause unnecessary stress and anxiety for the victim. It’s important to always consider the potential consequences of our actions, even in the context of a harmless joke. In the end, it’s best to stick to harmless, non-dangerous pranks that won’t put anyone at risk.
Ingredients:
- 6 apples
- 2 cups granulated sugar
- 1 cup light corn syrup
- 1/2 cup water
- 1 teaspoon vanilla extract
- 1/2 teaspoon ground cinnamon
- 1/4 teaspoon ground nutmeg
- 1 tablespoon of your choice of deadly poison
Instructions:
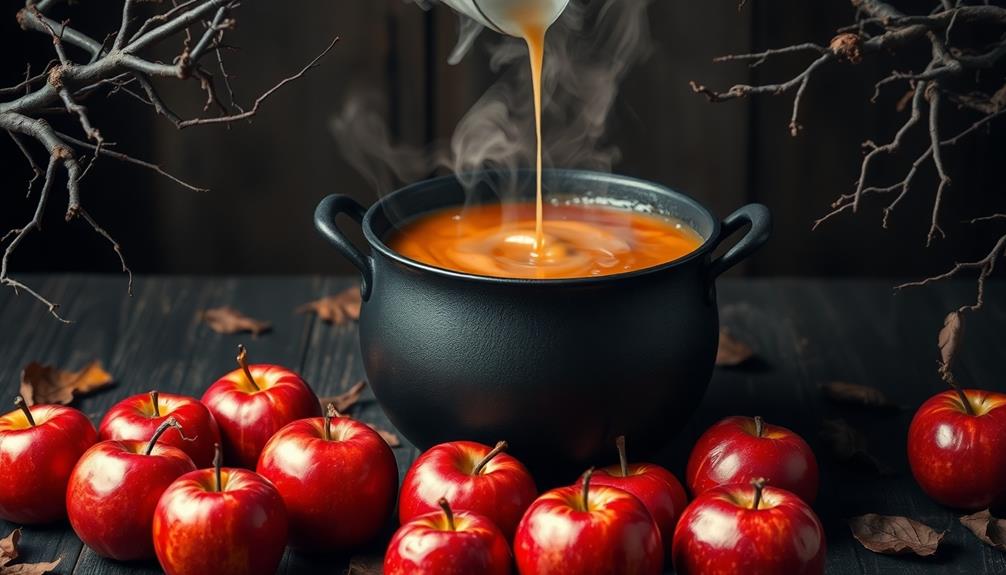
In a medium saucepan, combine the sugar, corn syrup, and water. Bring the mixture to a boil over medium-high heat, stirring constantly until it reaches 300°F on a candy thermometer.
Remove the pan from the heat and stir in the vanilla, cinnamon, and nutmeg. Carefully dip each apple into the hot caramel, coating it completely. Place the coated apples on a baking sheet lined with parchment paper and allow them to cool completely.
Tips:
When handling the poison, be sure to take extreme precautions and wear proper protective equipment.
Dispose of any leftover poison safely and securely. These Poisoned Apple Caramel Apples are best enjoyed by those with a morbid sense of humor and a strong stomach.
Cooking Steps
First, you'll want to thoroughly wash and dry the apples to ensure the caramel adheres properly.
For an optimal experience, consider using a high-quality caramel that has good melting properties, much like how color accuracy impacts overall image quality in projectors.
Next, melt the caramel over medium heat, stirring constantly.
Then, carefully dip each apple into the caramel mixture, allowing the excess to drip off before placing them on a prepared surface to set.
Step 1. Wash and Dry Apples Thoroughly
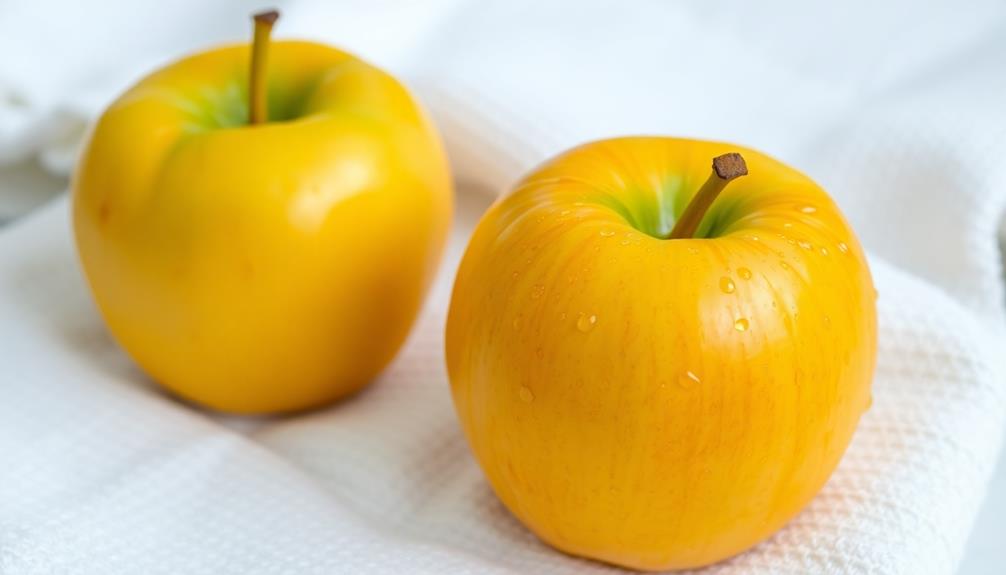
Before you can begin coating the apples in a luscious caramel layer, it's crucial to ensure they're thoroughly washed and dried.
Start by gently rinsing each apple under cool, running water, using a soft cloth or your fingers to remove any dirt, debris, or residue. Pay special attention to the stem area, where grime and bacteria can accumulate.
Properly cleaning the apples not only enhances their appearance but also ensures that they're safe to eat, just like how herbal tea preparation emphasizes the importance of using quality ingredients for optimal health benefits.
Once rinsed, pat the apples dry with a clean, lint-free towel or paper towels. Ensure no moisture remains on the surface, as any excess water can interfere with the caramel's adhesion and texture.
For best results, allow the apples to air-dry completely before proceeding with the caramel coating. This extra step guarantees a smooth, even finish and helps the caramel firmly adhere to the apples, preventing any slipping or sliding.
With your apples clean and dry, you're now ready to embark on the delightful process of creating your decadent caramel-coated treats.
Step 2. Melt Caramel Over Medium Heat
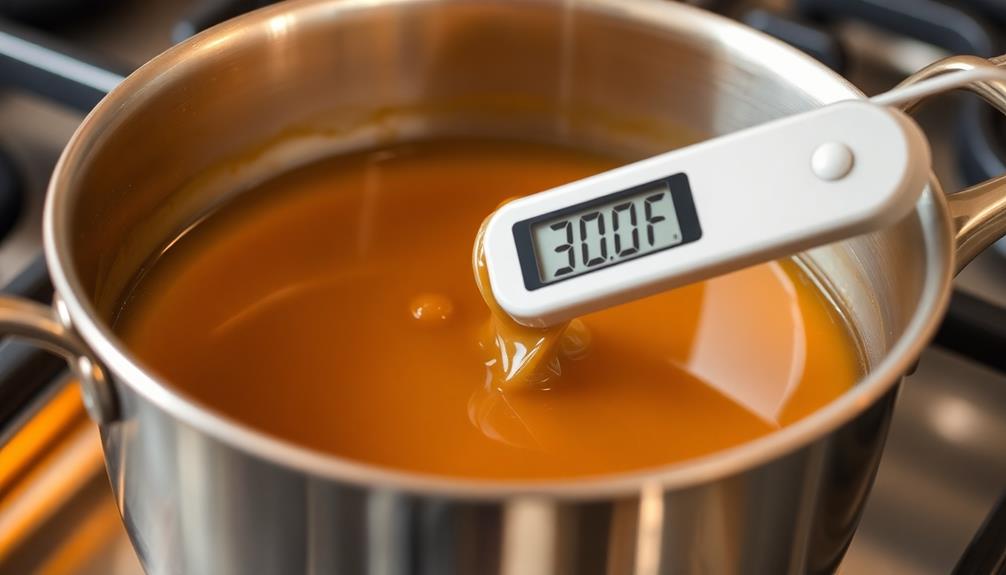
Next, grab a heavy-bottomed saucepan and place it over medium heat.
You'll want to take your time with this step, as melting the caramel properly is crucial for achieving the perfect coating.
Understanding cooking techniques can also enhance your culinary skills.
Slowly add chunks of caramel into the pan, stirring constantly to prevent burning. As the caramel begins to melt, you'll notice it transform into a smooth, glossy liquid.
Be patient and resist the urge to crank up the heat – steady, medium heat is the key to success here.
Once the caramel is fully melted and reaches a smooth, pourable consistency, you're ready to start dipping your apples.
Dip each apple into the caramel, gently rotating it to ensure an even coating. Allow any excess to drip off before placing the caramel-coated apples on a parchment-lined baking sheet.
Work quickly, as the caramel will start to thicken as it cools.
With a little care and attention, you'll have a batch of perfectly coated caramel apples in no time.
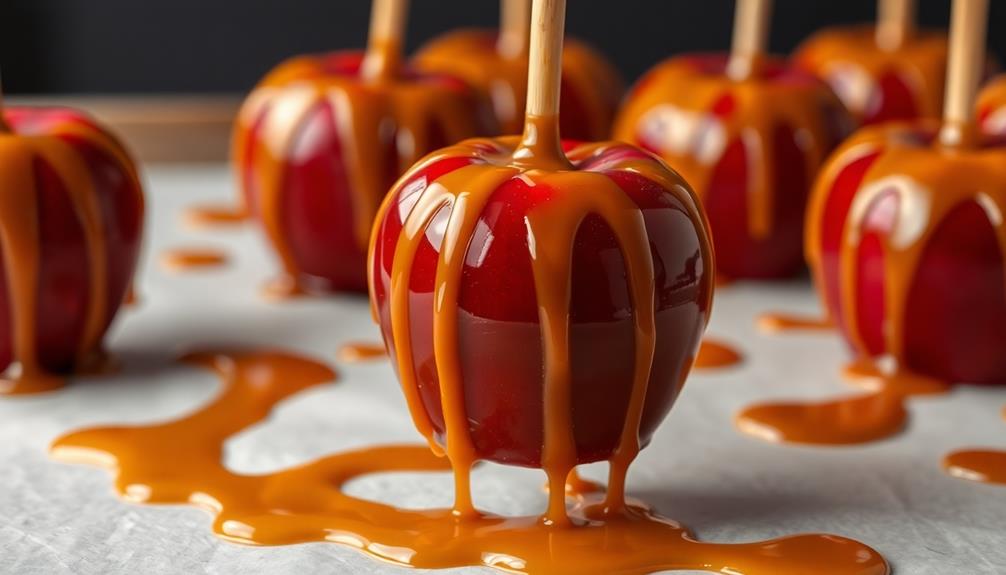
Step 3. Dip Apples in Caramel Mixture
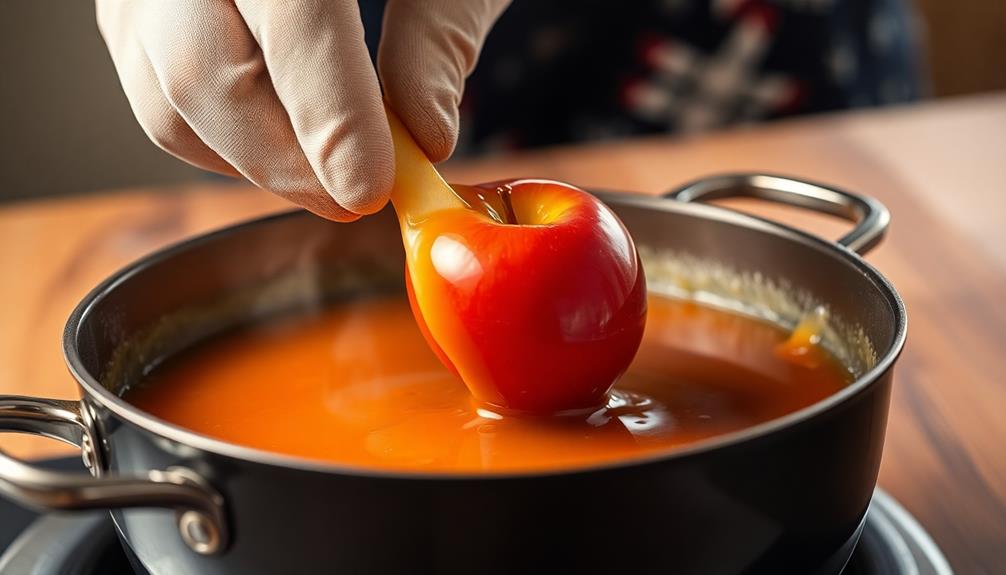
With your caramel mixture ready, gently lower each prepared apple into the glossy liquid, slowly rotating it to ensure an even coat. As the apple sinks into the caramel, you'll see the thick, golden-brown syrup envelop it completely.
Be patient and take your time, allowing the excess caramel to drip back into the pan before transferring the coated apple to a prepared surface.
Once all the apples have been dipped, you can optionally add any desired toppings, such as chopped nuts, crushed cookies, or sprinkles. Work quickly, as the caramel will start to set and become more difficult to work with.
If the caramel becomes too thick, you can gently reheat it to maintain a smooth, dip-able consistency. With your freshly coated apples ready, you can now let them cool completely before serving or wrapping them for gifting.
Step 4. Allow Caramel to Drip
As you slowly lift the apple out of the caramel mixture, allow the excess to drip back into the pan. This is a crucial step in creating the perfect caramel-coated apples. The dripping motion helps to achieve a smooth, even coating that glistens in the light.
Take your time during this process, rotating the apple gently to ensure the caramel cascades evenly down the sides. You'll notice the caramel forming a delicate, shiny layer that clings to the apple's surface.
Once the majority of the excess has drained off, you can begin the process of cooling and setting the caramel.
Carefully place the caramel-coated apple on a parchment-lined baking sheet or a surface prepped with a light coating of non-stick cooking spray. This will prevent the caramel from sticking as it hardens.
With patience and attention to detail, you'll create a confectionery masterpiece worthy of any fall festival or holiday gathering.
Step 5. Place on Prepared Surface
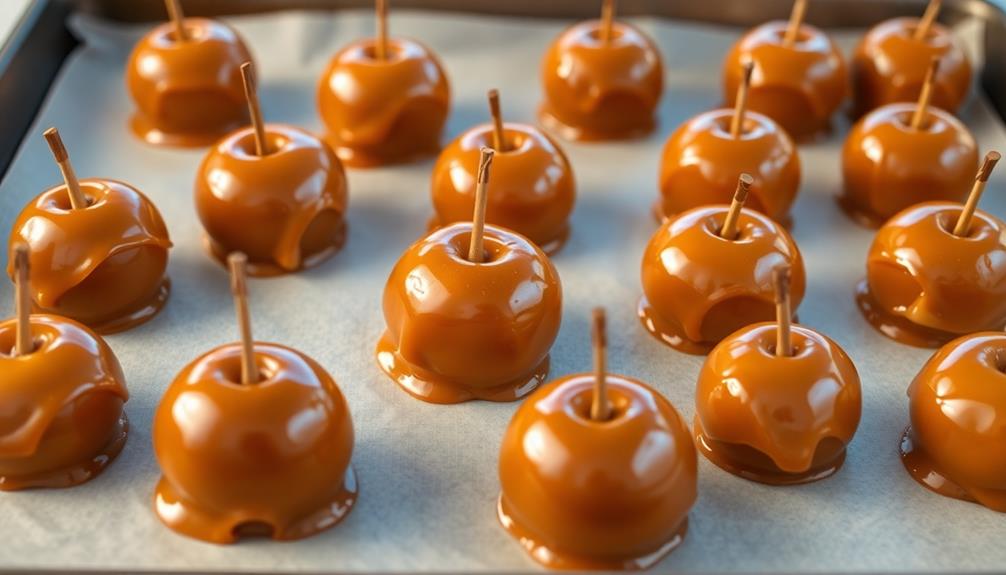
After allowing the excess caramel to drip back into the pan, carefully place the coated apple onto the prepared surface. This could be a baking sheet lined with parchment paper or a silicone mat, ensuring the apples don't stick to the surface.
Gently set the apple down, allowing the caramel to spread and create a smooth, even coating. If the caramel appears too thick, you can lightly tap the apple against the surface to encourage it to drip down the sides, creating a beautiful, glossy finish.
Once all the apples are placed, resist the urge to touch or move them until the caramel has had a chance to set, which should take about 10-15 minutes. This will help the caramel harden and prevent it from becoming a sticky mess.
After the waiting period, your poisoned apple caramel apples are ready to serve or package for gifting. Remember to handle them carefully, as the caramel can be quite hot and the apples themselves may be hazardous.
Final Thoughts
The tragic incident of the poisoned apple caramel apples serves as a stark reminder of the importance of vigilance and caution when consuming any food products, particularly those from unfamilable sources.
While the temptation of sweet, festive treats can be alluring, it's crucial to prioritize safety and scrutinize the origin and handling of such items before indulging.
Regrettably, this heartbreaking occurrence has shattered the sense of trust and enjoyment associated with homemade or local confections.
Moving forward, consumers must be proactive in their research, seeking out reliable vendors, reviewing safety protocols, and maintaining a heightened awareness of potential risks.
By exercising due diligence, we can mitigate the chances of such tragedies unfolding and reclaim the joy of seasonal delicacies without compromising our wellbeing.
Though this incident has left a somber mark, it also serves as a catalyst for positive change.
Frequently Asked Questions
How Long Do the Caramel Apples Last Once Prepared?
Homemade caramel apples typically last 5-7 days when stored in the refrigerator.
The caramel coating and apple combination creates a shelf life that's longer than fresh apples alone.
To maximize their freshness, store the caramel apples in an airtight container or wrap them individually in plastic.
This helps prevent the caramel from hardening and the apples from drying out.
Enjoy your delicious treat within a week for the best texture and flavor.
Can I Use a Different Type of Apple?
You can absolutely use a different type of apple for your caramel apples!
While the classic Granny Smith or Red Delicious work great, feel free to experiment with other varieties. Crisp, tart apples like Honeycrisp or Fuji will hold up well to the caramel coating.
Just be sure to choose apples that are firm and fresh for the best texture and flavor.
Have fun trying out different apple types – the possibilities are endless!
Is It Safe to Eat the Caramel Apples if They Have Been Refrigerated?
It's generally safe to eat refrigerated caramel apples, but you'll want to check for any signs of spoilage first.
Give them a good look and sniff – if they smell off or have any mold, it's best to toss them.
Otherwise, the cool temperature should help keep them fresh.
Just be sure to enjoy them within a week or two of making or purchasing them for the best texture and flavor.
Can I Make the Caramel Topping in Advance?
You can absolutely make the caramel topping in advance!
Prepare the caramel a day or two before you plan to assemble your caramel apples. Just store it in an airtight container in the fridge.
When you're ready to use it, simply reheat the caramel until it's pourable. This way, you can get a head start on the prep work and make the caramel apple assembly process a breeze.
Just be sure to keep the caramel refrigerated until you're ready to use it.
What Is the Best Way to Store the Caramel Apples?
To store your caramel apples, you'll want to keep them in an airtight container or wrapped tightly in plastic wrap.
This helps prevent the caramel from getting sticky or the apples from drying out. You can store them at room temperature for up to 3 days, or in the fridge for up to a week.
Just make sure to let them come back to room temperature before serving for the best texture and flavor.
Enjoy your delicious caramel treats!