
You'll love baking pumpkin patch pot pies – they're a cherished autumn tradition dating back to the early 20th century. These hearty pies blend the sweetness of seasonal pumpkin with savory pot pie flavors, creating a comforting and delightful dining experience. Resourceful homemakers developed the recipe as a way to stretch limited resources during colder months, and it soon became a staple in rural households. Today, the ritual of making and sharing these pies continues to foster connection and a genuine sense of autumn bliss. Keep reading to uncover the full recipe and cooking steps.
Key Takeaways
- Pumpkin Patch Pot Pies are a traditional autumn dish that originated in the early 20th century as a way to stretch limited resources during colder months.
- The recipe combines the sweetness of pumpkin with savory pot pie flavors, creating a balanced texture and celebrating the flavors of the season.
- The dish is ideal for cozy dinners or festive gatherings, as it fills the kitchen with an irresistible autumn aroma and contributes to family traditions.
- The recipe includes seasonal ingredients like pumpkin or butternut squash, onion, garlic, and a blend of herbs and spices, enhancing the flavor and nutritional benefits.
- Baking the pies creates a warm, inviting atmosphere and provides a comforting and satisfying experience with each bite, transporting the eater to a world of autumn bliss.
Top picks for "pumpkin patch pies"
Open Amazon search results for this keyword.
As an affiliate, we earn on qualifying purchases.
History
The origins of the beloved pumpkin patch pot pie can be traced back to the early 20th century, when resourceful homemakers sought to make the most of their seasonal harvests. As autumn arrived, these inventive cooks would gather the bountiful pumpkins from their patches and transform them into hearty, comforting pies.
The pumpkin patch pot pie was born out of necessity and a desire to stretch limited resources. Families relied on the versatile pumpkin to provide nourishment throughout the colder months, and the pot pie format allowed them to maximize its usage. By encasing the pumpkin filling in a flaky pastry crust, these savory pies became a staple in rural households, warming both bellies and hearts.
Over the decades, the pumpkin patch pot pie has evolved, with modern variations incorporating additional seasonal vegetables or experimenting with different flavor profiles.
Yet the core essence remains the same – a celebration of the harvest, a testament to the ingenuity of our ancestors, and a treasured taste of autumn's abundance.
Recipe
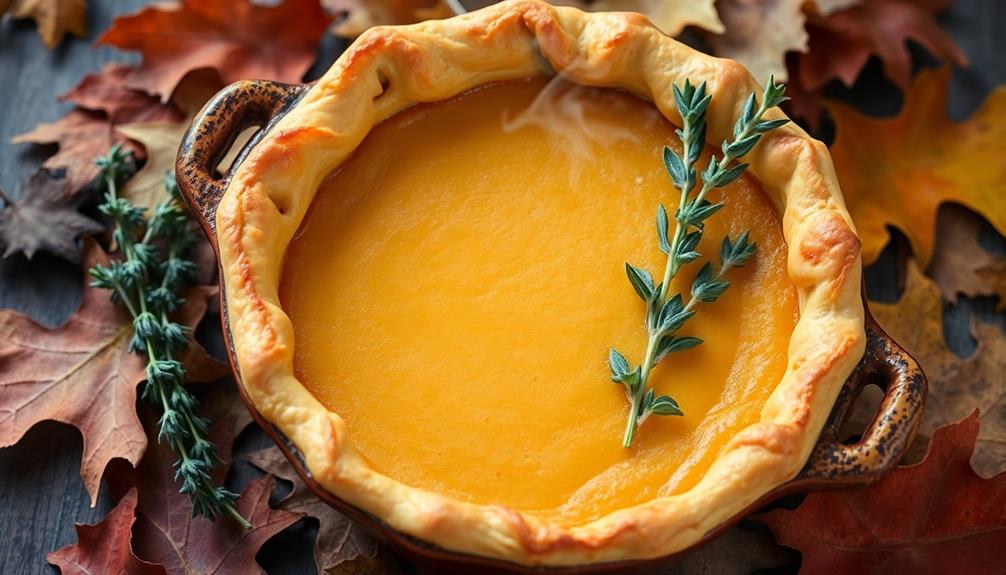
Pumpkin Patch Pot Pies are a delightful autumn dish that combines the sweetness of pumpkin with the savory flavors of a classic pot pie. This recipe is perfect for a cozy dinner or a festive gathering. Incorporating seasonal ingredients like pumpkin not only enhances the dish's flavor but also provides nutritional benefits, such as vitamins and antioxidants that support overall health, similar to how celery juice benefits pregnancy.
The flaky crust and creamy pumpkin filling create a harmonious balance of textures and tastes. The addition of herbs and spices elevates the dish, making it a true celebration of the fall season.
Ingredients:
- 1 lb. pumpkin or butternut squash, peeled and cubed
- 1 onion, diced
- 2 cloves garlic, minced
- 2 cups chicken or vegetable broth
- 1 cup heavy cream
- 1 tsp. dried thyme
- 1 tsp. dried sage
- 1/2 tsp. ground nutmeg
- Salt and pepper to taste
- 2 sheets of pre-made pie crust
Instructions:
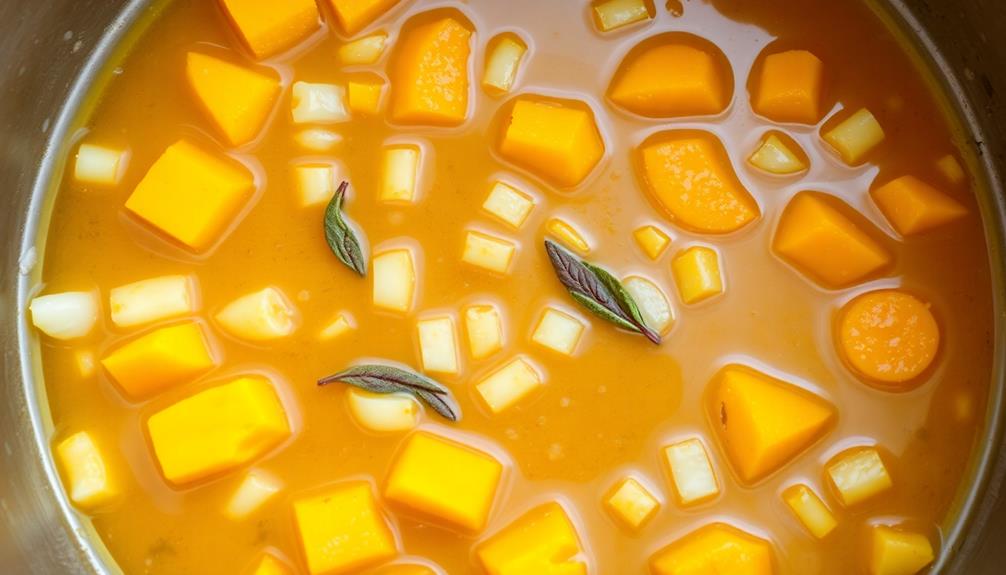
In a large saucepan, sauté the onion and garlic in a bit of olive oil until softened. Add the cubed pumpkin or squash, broth, heavy cream, thyme, sage, and nutmeg. Simmer until the pumpkin is tender, about 20-25 minutes. Season with salt and pepper to taste. Allow the mixture to cool slightly.
Preheat your oven to 375°F (190°C). Grease a 9-inch pie dish or individual ramekins. Roll out the pie crust and use it to line the dish or ramekins. Pour the pumpkin mixture into the crust, then top with the remaining crust, crimping the edges to seal. Cut a few slits in the top crust to allow steam to escape.
Bake the pot pie for 30-35 minutes, or until the crust is golden brown. Allow the dish to cool for a few minutes before serving. Enjoy the warm, comforting flavors of the Pumpkin Patch Pot Pies.
Cooking Steps
First, prepare the pumpkin filling mixture by combining the necessary ingredients. Incorporating seasonal vegetables can enhance the nutritional value of your pot pies, making them not only delicious but also rich in antioxidants.
Next, roll out the pie crust and carefully place the pot pies in the oven. Don't forget to crimp and seal the pie crusts, then brush them with an egg wash for a beautiful golden finish.
Step 1. Prepare Pumpkin Filling Mixture
To prepare the pumpkin filling mixture, you'll first need to gather your ingredients. In a large bowl, combine one 15-ounce can of pumpkin puree, three large eggs, one cup of heavy cream, 3/4 cup of granulated sugar, 1/2 teaspoon of ground cinnamon, 1/4 teaspoon of ground ginger, 1/4 teaspoon of ground nutmeg, and a pinch of salt.
Whisk the mixture until it's smooth and well-combined. To enhance your baking experience and maintain comfort while cooking, consider wearing a moisture-wicking yoga headband to keep sweat at bay.
Next, you'll want to preheat your oven to 375°F. Grease a 9-inch pie dish or several smaller ramekins, depending on your desired serving size.
Carefully pour the pumpkin filling into the prepared dish, smoothing out the top with a spoon. This recipe will make enough filling for one 9-inch pie or several individual pot pies.
Bake the pumpkin filling for 35-40 minutes, or until the center is set and a toothpick inserted comes out clean. Allow the filling to cool completely before using it to assemble your pumpkin patch pot pies.
Step 2. Roll Out Pie Crust

Next, you'll want to roll out the pie crust. Start by lightly flouring a clean, flat surface.
Gently place the chilled dough ball on the floured surface and use a rolling pin to roll it out into a circle about 12 inches in diameter. The process of creating a perfect pie crust can be as delightful as making a cozy workspace, reflecting the charm of the Cottagecore aesthetic.
Be sure to roll from the center outward, turning the dough a quarter turn after each roll to maintain an even thickness. If the dough starts to stick, simply add a light dusting of flour to the surface and your rolling pin.
Once you've achieved the desired size and thickness, carefully transfer the crust to a 9-inch pie dish, gently pressing it into the bottom and up the sides. Trim any excess dough from the edges, then use your fingers to crimp and flute the crust around the rim.
Now your pie crust is ready to be filled with the delicious pumpkin mixture you prepared earlier. Just pour it in, and you're one step closer to enjoying a warm, homemade pumpkin pot pie.
Step 3. Place Pot Pies in Oven
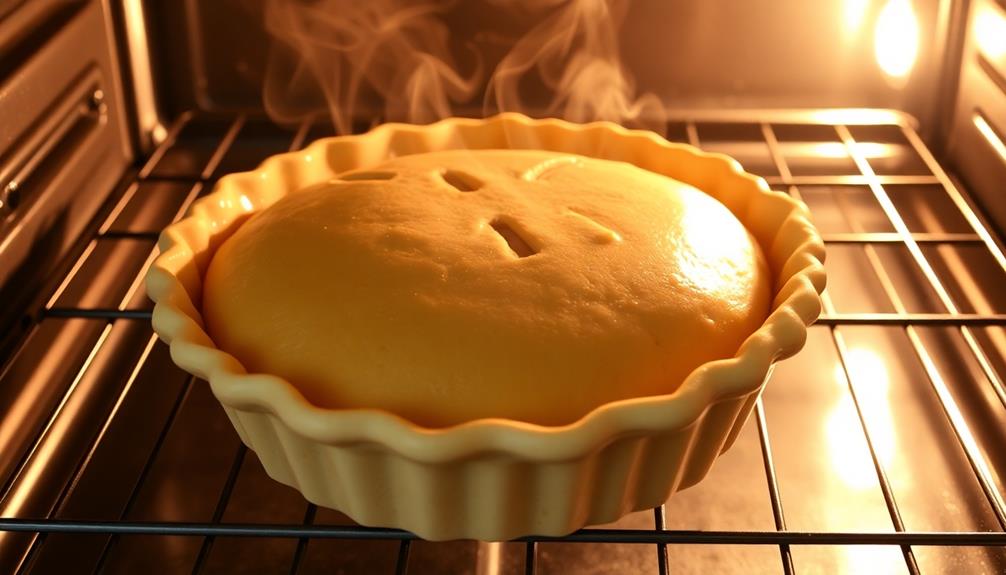
With the pie crust ready, it's time to place the pumpkin pot pies in the oven. Carefully transfer the individual pot pies onto a baking sheet, leaving a few inches of space between them. This allows for even cooking and ensures the pies bake up perfectly.
Preheat your oven to 375°F (190°C). Once it's reached the right temperature, gently slide the baking sheet into the center of the oven. Set a timer for 25-30 minutes, keeping an eye on the pies as they bake. The crust should turn a lovely golden brown, and you'll know they're done when the filling begins to bubble up around the edges.
Use oven mitts to remove the baking sheet from the oven. Let the pot pies cool for 5-10 minutes before serving. This allows the filling to set and prevents burning your mouth.
Serve the pumpkin pot pies warm, with a dollop of whipped cream or a scoop of vanilla ice cream for an extra special treat. Enjoy!
Step 4. Crimp and Seal Pie Crusts
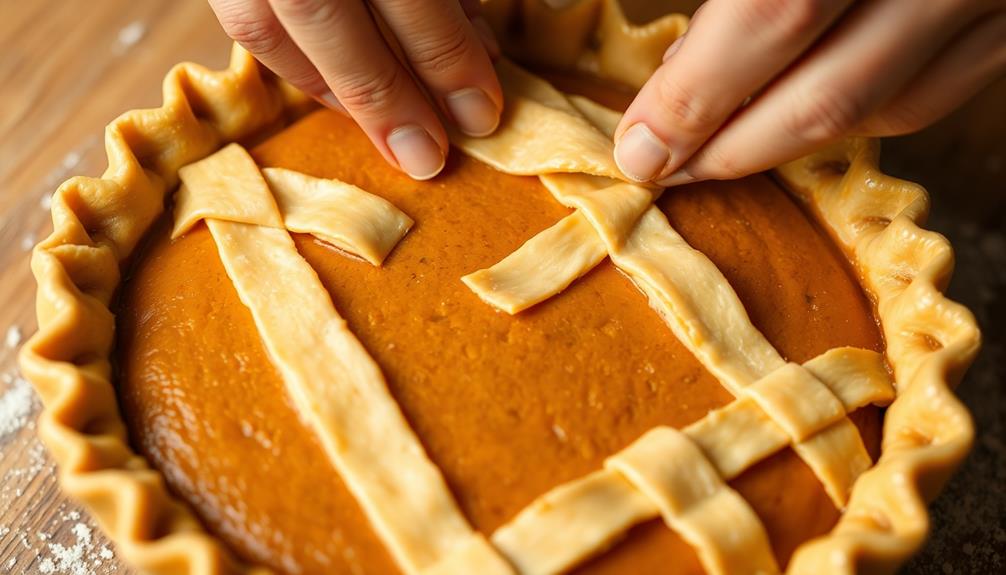
Carefully crimp the edges of the pie crusts to seal in the delicious pumpkin filling. Using your thumb and index finger, gently press the top and bottom crusts together, creating a fluted or decorative edge. This not only enhances the appearance of your pot pies but also helps to prevent the filling from leaking out during baking.
For added flair, consider incorporating Nail Styles for Valentine's Day to match your festive cooking theme.
Next, use a fork to firmly press down on the crimped edges, further sealing the crusts. This technique creates a decorative pattern while ensuring a tight seal.
Be sure to crimp all the way around the pie, leaving no gaps or openings.
Step 5. Brush Crusts With Egg Wash
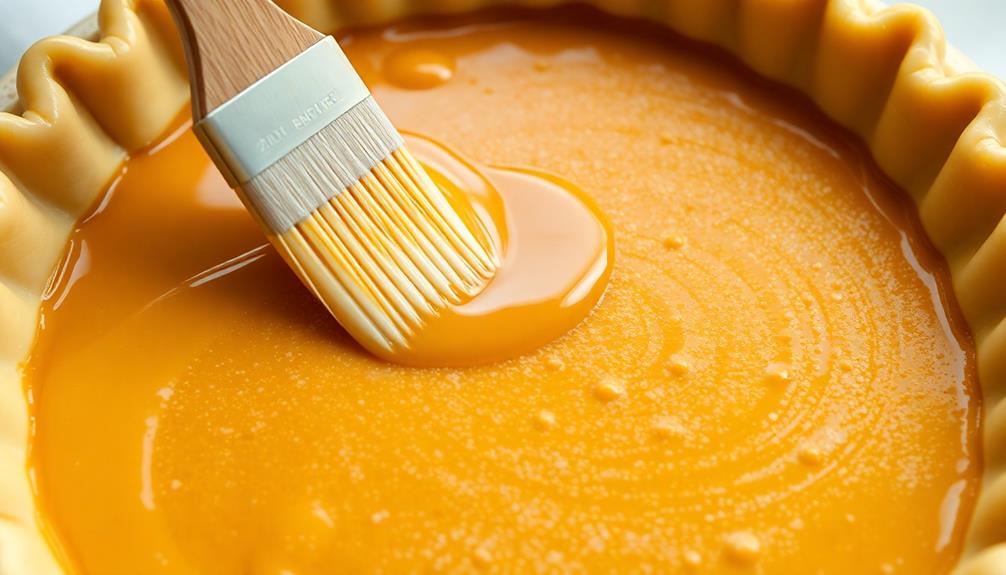
Once you have crimped the edges to seal in the pumpkin filling, it's time to brush the crusts with an egg wash. This step not only adds a beautiful golden sheen to the pastry but also helps to create a crisp, flaky texture.
Simply crack an egg into a small bowl, add a splash of water, and whisk them together until well combined. Using a pastry brush, gently brush the egg wash over the top and sides of the pie crust, being careful not to let it drip down the sides. This will ensure an even coating and prevent any uneven browning.
The egg wash acts as a sealant, locking in the filling and preventing the crust from becoming soggy. Once the crusts are coated, your Pumpkin Patch Pot Pies are ready to be baked to perfection, filling your kitchen with the irresistible aroma of autumn.
Final Thoughts
As you prepare to enjoy these delightful pumpkin patch pot pies, don't forget the true essence of this autumnal delight.
These comforting and satisfying dishes embody the flavors of fall, from the rich, creamy pumpkin filling to the buttery, flaky crust. As the days grow shorter and the air becomes crisper, there’s nothing quite like indulging in the warm and nostalgic flavors of fall. Whether it’s a classic apple pie or a hearty butternut squash soup, these dishes are perfect for cozying up on a chilly evening. And for those looking for a fun twist on a fall favorite, try out the jackolantern recipe for a spooktacular Halloween treat! The combination of pumpkin, spices, and a touch of creativity will surely delight both kids and adults alike.
Remember, the real magic lies in the simple pleasures – the warmth of the pie as you take the first bite, the way the flavors meld together on your tongue, and the cozy feeling that comes with indulging in a homemade treat.
When you share these pies with loved ones, you're not just serving a delicious dessert; you're creating lasting memories and traditions.
So, savor every morsel, and let the pumpkin patch pot pies transport you to a world of autumn bliss.
Enjoy the process, relish the outcome, and cherish the moments that these pies inspire.
Frequently Asked Questions
Where Can I Find the Best Pumpkin Patches for Ingredients?
To find the best pumpkin patches, start by checking local farms and orchards in your area.
Many of them offer u-pick pumpkin patches where you can wander through the fields and select the perfect pumpkins for your needs.
Look for patches that boast a wide variety of pumpkin types, from classic orange to unique heirloom varieties.
Be sure to call ahead or check their website to confirm patch availability and hours of operation.
Enjoy the fall experience of picking your own pumpkins!
How Long Do the Pumpkin Pot Pies Typically Last?
Pumpkin pot pies typically last 3-4 days when stored properly in the refrigerator.
The rich, creamy filling and buttery crust will stay fresh and delicious for several days, making them a great make-ahead option.
Just be sure to keep them covered and at a consistent temperature.
With proper storage, you can enjoy your homemade pumpkin pot pies for multiple meals throughout the week.
Can I Freeze the Pumpkin Pot Pies for Later Consumption?
You can absolutely freeze your pumpkin pot pies for later enjoyment!
Freezing is a great way to extend their shelf life. Just let the pies cool completely, then wrap them tightly in plastic wrap or aluminum foil.
They'll stay fresh in the freezer for up to 3 months. When you're ready to eat them, simply thaw overnight in the fridge and reheat in the oven until piping hot.
Enjoy your delicious pumpkin pot pies anytime!
Are There Any Vegetarian or Vegan Options for the Recipe?
Absolutely! There are plenty of delicious vegetarian and vegan options for pot pie recipes.
You can use plant-based meat substitutes, like mushrooms, lentils, or soy crumbles, to create a hearty filling. Opt for a flaky vegan pie crust made with plant-based fats, like coconut oil or vegan butter.
Customize the veggies to your liking – try roasted squash, potatoes, and peas for a comforting, meatless version.
With a little creativity, you can enjoy a satisfying, plant-based pot pie that's just as tasty as the original.
What Are Some Creative Ways to Decorate the Pumpkin Pot Pies?
When it comes to decorating your pot pies, get creative! You could top them with pie crust cutouts in fun shapes like leaves, pumpkins, or acorns.
Or, brush the tops with a beaten egg and sprinkle them with seeds or herbs for a rustic look.
For a more whimsical touch, try using puff pastry to create intricate patterns or even little pumpkin shapes on top.
The possibilities are endless – let your inner artist shine through and make each pie a unique masterpiece!