You'll love whipping up these spooky and delectable skeleton bone breadsticks for your next Halloween gathering! Originating centuries ago in Italy, these savory snacks feature a crisp, golden-brown exterior and a subtly nutty flavor that pairs perfectly with your favorite dips. Shaping the dough into miniature bone-like forms is a fun and creative activity, whether you're baking with kids or entertaining guests. With just a few simple ingredients and clever techniques, you'll have an impressive and whimsical treat that captures the spirit of the holiday. And if you keep reading, you'll discover even more about the history and preparation of these unique breadsticks. For an extra spooky twist, you can also try making tasty werewolf claw breadsticks by shaping the dough into pointed, claw-like forms. These eerie and delicious treats are sure to be a hit at any Halloween party. Keep reading to learn how to perfect the recipe and wow your guests with these frightfully fun snacks.
Key Takeaways
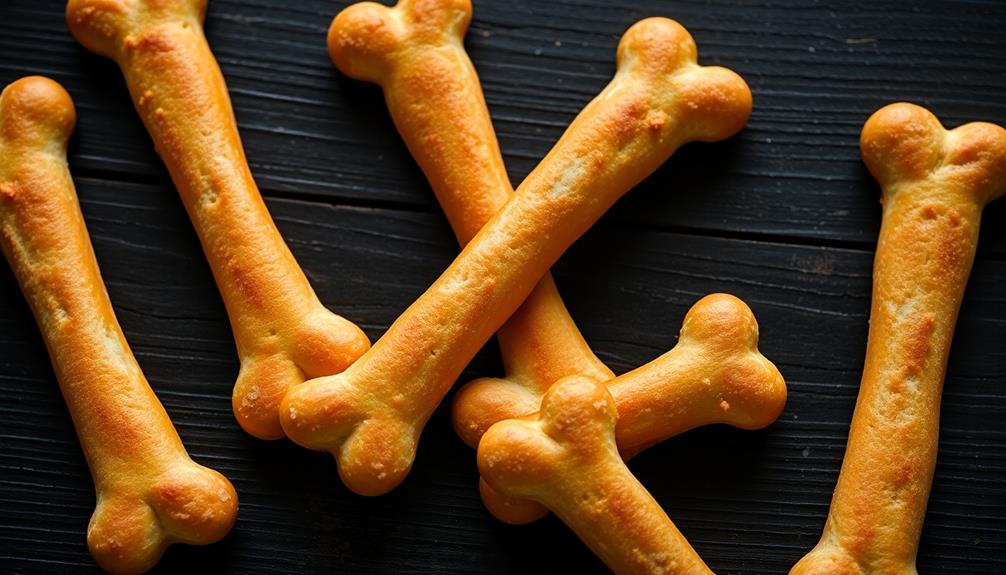
- Skeleton bone breadsticks are savory breadsticks shaped like miniature bones, originating from 16th-century Italian bakers with a macabre fascination.
- The breadsticks are made with basic ingredients like flour, salt, baking powder, butter, milk, and egg wash, with optional toppings like garlic, herbs, or cheese.
- The distinctive bone-like shape is achieved through careful shaping and baking, with black sesame seeds used to mimic the appearance of bones.
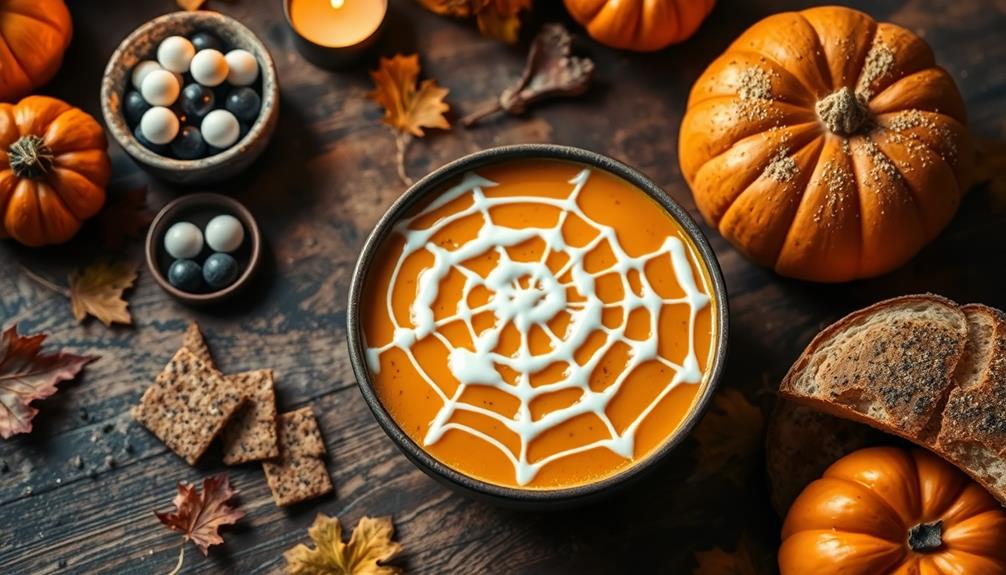
- Skeleton bone breadsticks are ideal for Halloween celebrations or adding a touch of whimsy to any gathering, and they pair well with various dips.
- The breadsticks have a crisp, golden exterior, a subtle nuttiness from the sesame seeds, and a buttery aroma, providing a satisfying savory experience.
History
Skeleton Bone Breadsticks have a rich history dating back to the 16th century. Originally crafted by Italian bakers, these unique breadsticks were designed to resemble human bones, a nod to the macabre and fascination with the human form.
Rich in antioxidants and often enjoyed with various dips, these breadsticks have become a popular snack for many.
Over the centuries, the recipe and presentation evolved, with bakers experimenting with different shapes, sizes, and even coloring techniques to enhance the bone-like appearance.
Recipe
Skeleton Bone Breadsticks are a spooky and delightful treat, perfect for Halloween or any time you want to add a touch of macabre whimsy to your baking.
These savory breadsticks, shaped like miniature bones, are easy to make and sure to delight your guests. They can be served alongside dips, adding a savory element to your gathering, making them a great companion to something like Crab Cakes: A Classic and Savory Appetizer.
The key to achieving the perfect bone-like appearance is in the shaping and baking process. With a bit of patience and a light touch, you'll be able to create these ghoulish delights that are sure to be the talk of any Halloween party.
Ingredients:
- 2 cups all-purpose flour
- 1 teaspoon salt
- 1 teaspoon baking powder
- 1/2 cup cold unsalted butter, cubed
- 3/4 cup cold milk
- 1 egg, beaten with 1 tablespoon water for egg wash
Instructions:
Preheat your oven to 400°F (200°C). Line a baking sheet with parchment paper.
In a large bowl, combine the flour, salt, and baking powder. Cut in the cold butter until the mixture resembles coarse crumbs.
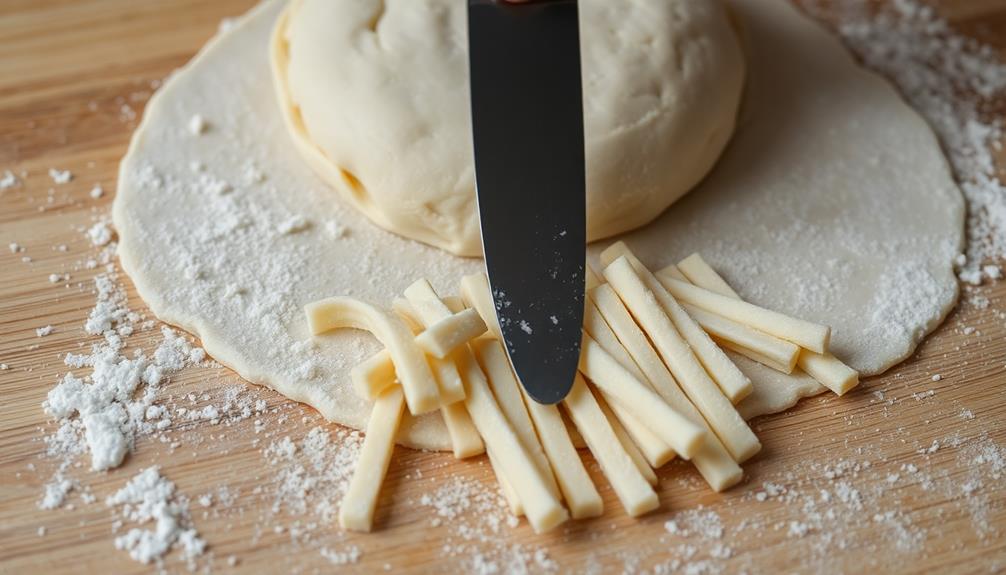
Slowly add the cold milk and mix just until the dough comes together. On a lightly floured surface, roll the dough out to about 1/4-inch thickness.
Use a sharp knife or a bone-shaped cookie cutter to cut the dough into bone shapes. Carefully transfer the shaped dough to the prepared baking sheet. Brush the tops of the breadsticks with the egg wash.
Bake for 15-18 minutes, or until the Skeleton Bone Breadsticks are golden brown. Allow them to cool on the baking sheet for a few minutes before serving.
Enjoy your spooky and delicious creation!
Cooking Steps
First, knead the dough thoroughly to develop the gluten structure, which will give your breadsticks a delightful chewiness.
For added flavor, consider incorporating a touch of garlic powder or herbs into the dough, making it reminiscent of savory sugar-free vanilla ice cream recipes that enhance natural flavors.
Next, roll the dough into long, thin sticks for the skeleton bone effect.
Step 1. Knead the Dough Thoroughly
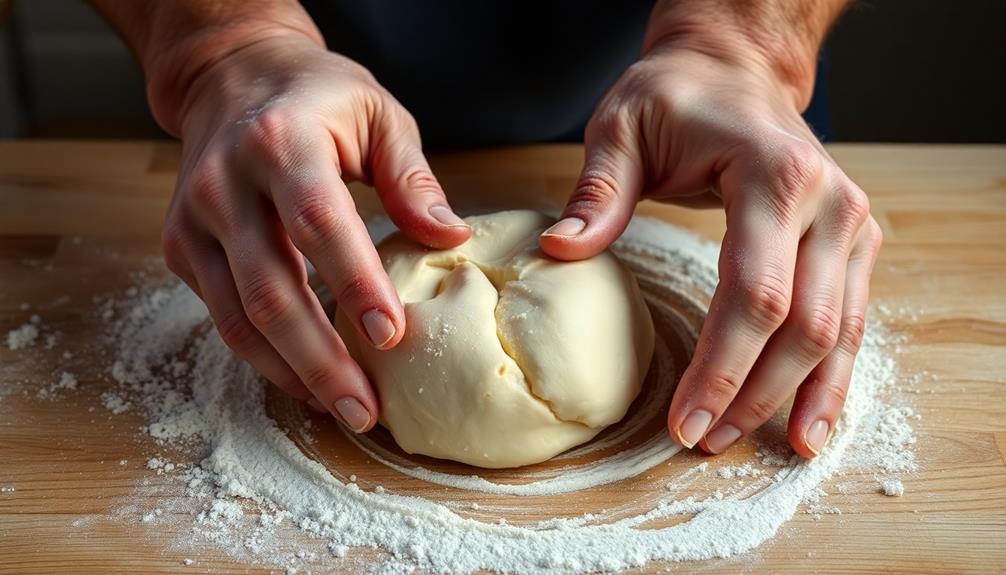
After measuring out the ingredients, it's time to knead the dough thoroughly. This crucial step develops the gluten structure, creating the perfect texture for your Skeleton Bone Breadsticks. A well-kneaded dough is key for achieving a satisfying bite, much like the quick breakfast option of Egg Rollup and Dumpling Sauce that offers a protein-rich start to the day.
Begin by turning the dough out onto a lightly floured surface. Use the heel of your hand to push the dough away from you, then fold it back towards you. Repeat this process, rotating the dough a quarter turn with each fold. Knead for about 5 minutes, or until the dough becomes smooth and elastic. Don't be afraid to add a sprinkle of flour if the dough starts to stick. The more you knead, the better the final texture will be.
Once the dough is ready, shape it into a ball and let it rest for a few minutes before moving on to the next step. This brief respite allows the gluten to relax, making the dough easier to work with.
Step 2. Roll the Dough Into Sticks
With the dough kneaded to perfection, it's time to shape it into the signature Skeleton Bone Breadsticks.
First, lightly flour your work surface and rolling pin. Maintaining a clean kitchen space not only enhances your cooking experience but also minimizes allergens and promotes a healthier lifestyle.
Divide the dough into several equal pieces, about the size of a golf ball. One by one, roll each piece into a long, thin rope, aiming for a length of around 8 inches and a thickness of roughly a pencil.
Gently twist each rope to create that spooky, skeletal look. Arrange the twisted dough sticks on a parchment-lined baking sheet, making sure to leave a bit of space between them. This will allow them to bake evenly and maintain their distinct shapes.
Once all the dough is shaped, cover the tray and let the breadsticks rest for about 15 minutes before baking. This final rise will help them hold their form and achieve the perfect texture.
Now you're ready to bring these haunting Skeleton Bone Breadsticks to life!
Step 3. Bake Until Golden Brown

Preheat your oven to 375°F (190°C).
Arrange the rolled-out breadsticks on a parchment-lined baking sheet, ensuring they're not touching each other. This will allow them to bake evenly and develop a lovely golden-brown crust.
Now, brush the breadsticks lightly with melted butter or olive oil. This will help them achieve that irresistible shine and crispy texture.
If you'd like, you can also sprinkle them with a pinch of sea salt or garlic powder for extra flavor.
Place the baking sheet in the preheated oven and bake for 12 to 15 minutes, or until the breadsticks are golden brown and fragrant.
Keep a close eye on them, as oven temperatures can vary, and you don't want them to overbake.
Once they're done, carefully remove the baking sheet from the oven and let the breadsticks cool for a few minutes before serving.
Enjoy your spooky and delicious Skeleton Bone Breadsticks!
Step 4. Brush With Melted Butter Before Baking
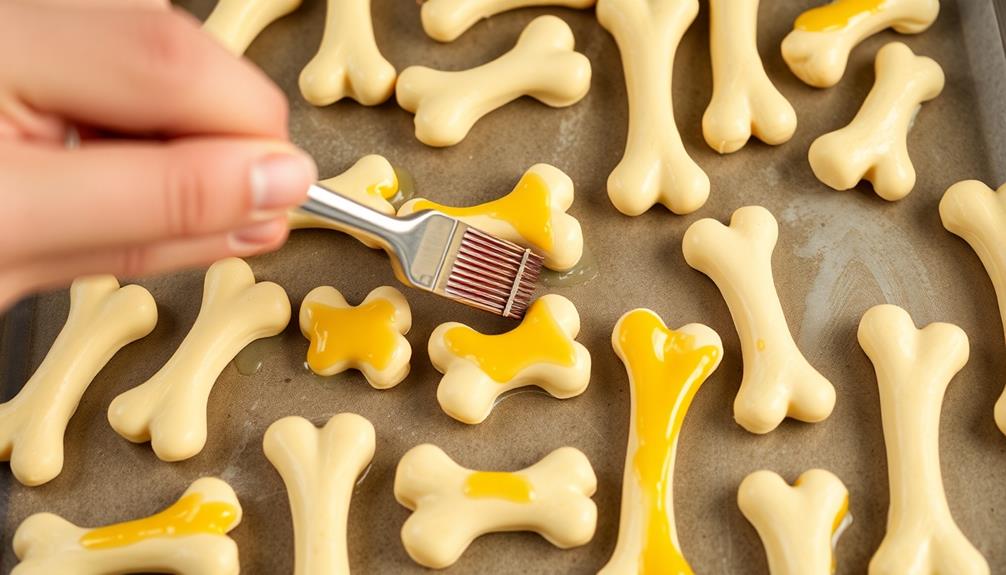
Brush the rolled-out breadsticks lightly with melted butter or olive oil. This step helps the breadsticks develop a beautiful golden-brown crust and adds a delightful, buttery flavor.
Be sure to evenly coat the entire surface of each breadstick, using a pastry brush or your clean fingers to ensure even coverage.
Once the breadsticks are brushed with the melted butter or oil, it's time to bake them in the preheated oven. The butter or oil will help the breadsticks brown beautifully, creating a crispy exterior that contrasts perfectly with the soft, fluffy interior.
As the breadsticks bake, the butter or oil will also help them develop a delectable, savory aroma that will have your guests eagerly anticipating their first bite.
Remember to keep a close eye on the breadsticks as they bake, checking them frequently to ensure they don't overbrown.
With the perfect touch of butter or oil, you'll have irresistible, skeleton-themed breadsticks that are sure to delight your family and friends.
Step 5. Sprinkle With Halloween-Themed Garnish
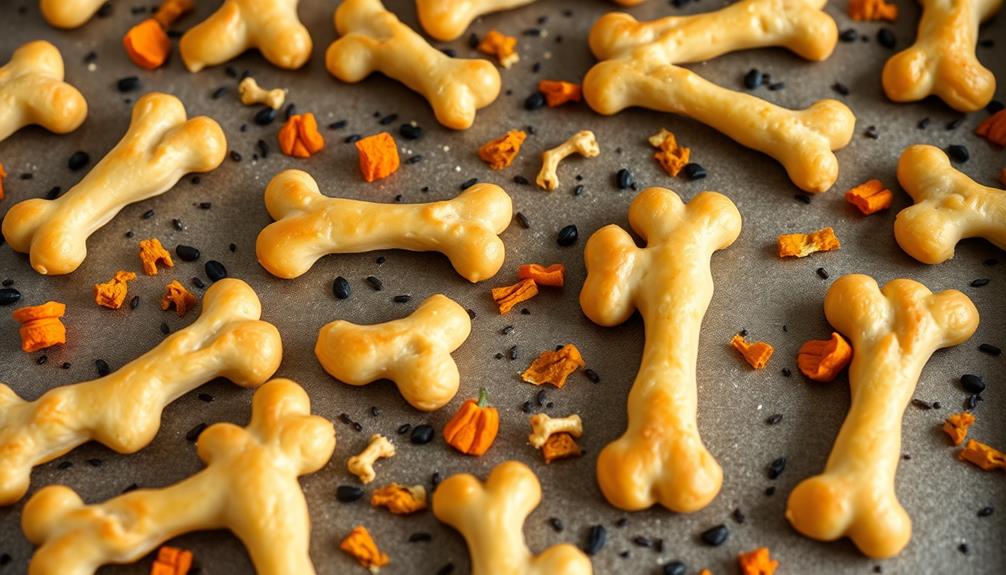
Once the breadsticks have been brushed with the melted butter, you can now sprinkle them with a variety of Halloween-themed garnishes.
Let your creativity shine by adding colorful and spooky elements to your Skeleton Bone Breadsticks. Consider sprinkling on black sesame seeds to resemble bony fingers, or decorating with orange and black sprinkles for a burst of festive flair.
You can even go a step further by using edible markers to draw ghostly faces or intricate skeleton designs. If you want to add a touch of whimsy, try scattering on small candy eyeballs or gummy worms.
The possibilities are endless! Just be sure to apply the garnishes evenly across the breadsticks to create a cohesive, Halloween-inspired presentation.
Once you've added your desired toppings, your Skeleton Bone Breadsticks are ready to bake and serve, filling your kitchen with the aroma of buttery, Halloween goodness.
Final Thoughts
As you've made your skeleton bone breadsticks, you can now take a step back and reflect on the experience.
These ghostly treats aren't only a delight to make but also a fantastic way to get into the spooky spirit of the season. The process of shaping the dough and adding the blackened sesame seed "bones" is both creative and satisfying, allowing you to unleash your inner Halloween chef.
The final result is a unique and eye-catching snack that's sure to impress your guests. Whether you serve them at a party or enjoy them as a fun family activity, these skeleton bone breadsticks are a delightful way to celebrate the haunting holiday.
With their crisp, golden exterior and the subtle crunch of the sesame seeds, they offer a delicious twist on a classic breadstick. As you savor each bite, you'll be reminded of the joy and whimsy that comes with embracing the spirit of Halloween.
Frequently Asked Questions
Are the Breadsticks Safe for People With Dietary Restrictions?
When it comes to dietary restrictions, it's important to carefully examine the ingredients and preparation of any food product.
Without more details about the Skeleton Bone Breadsticks, I can't definitively say whether they're safe for people with specific dietary needs.
The best approach is to thoroughly review the product's labeling and nutritional information to ensure it aligns with your dietary requirements.
If you have any concerns, it's always wise to consult with a healthcare professional or the manufacturer directly.
How Long Can the Breadsticks Be Stored For?
The breadsticks can typically be stored for up to a week when kept in an airtight container at room temperature.
For optimal freshness, you'll want to consume them within 3-4 days. After that, the texture and flavor might start to decline.
If you need to store them for longer, you can keep them in the fridge for up to 2 weeks or in the freezer for up to 3 months.
Just be sure to thaw them before enjoying!
Can the Recipe Be Easily Scaled for Larger Batches?
Absolutely! The recipe can be easily scaled up for larger batches.
Just remember to adjust the ingredient quantities proportionally to maintain the perfect texture and flavor.
Whether you're serving a crowd or prepping ahead, this versatile recipe allows you to make as many or as few breadsticks as you need.
With a little math and some extra mixing, you can whip up a big batch in no time.
Go ahead and double, triple, or even quadruple the recipe – the results will be just as delicious!
Are There Any Tips for Achieving the Perfect Bone Shape?
To achieve the perfect bone shape, start by rolling the dough into long, thin ropes.
Gently bend the ropes into a U-shape, then twist them to create the distinctive bone-like appearance. You can also use a bone-shaped cutter or mold to give the breadsticks a more defined shape.
Be gentle when shaping the dough to maintain its structure. Experiment with different techniques to find the method that works best for your desired look.
With a little practice, you'll be making expertly shaped bone-like breadsticks in no time.
What Is the Origin of the Name "Skeleton Bone Breadsticks"?
The name "skeleton bone breadsticks" likely originates from their distinctive, elongated shape that resembles the bones of a skeleton.
This unique design was likely inspired by the spooky, Halloween-themed aesthetic, adding a touch of whimsy and intrigue to a classic breadstick.
The bone-like appearance creates a visually striking and unforgettable presentation, perfect for adding a playful, festive touch to any meal or gathering.
The name itself helps to capture the playful and imaginative nature of this creative culinary creation.