
Slime-filled cupcakes are the gooey, ghoulish delight you never knew you needed! Originating in the 90s, these playful treats combine moist chocolate cake with vibrant slime for a truly unique dessert. Easy to prepare, they're perfect for Halloween parties or spooky gatherings. Just mix the slime, pour into cupcake liners, and bake until a toothpick comes out clean. After cooling, create a well in each cupcake and fill with the gooey slime. Serve and enjoy this novel blend of flavors and textures – you'll be surprised by how much fun these unconventional cupcakes can bring to your kitchen. Discover more about the delightful culinary journey ahead.
Key Takeaways
Key points about Slime-Filled Cupcakes:
- Slime-Filled Cupcakes originated in the early 1990s as bakers experimented with innovative fillings inspired by the popularity of gooey, colorful slime toys.
- The recipe features a bright green slime filling for a gooey, ghoulish experience and combines moist chocolate cake for a memorable dessert.
- The cupcakes are easy to prepare, with the slime mixture added to the batter before baking, and are ideal for Halloween parties or spooky gatherings.
- Cooling the cupcakes completely before filling them with the slime is crucial to prevent the filling from melting and to ensure optimal texture and enjoyment.
- Slime-Filled Cupcakes represent a creative and whimsical culinary exploration, emphasizing the joy of experimenting with flavors and embracing the unexpected in the kitchen.
History
The history of slime-filled cupcakes can be traced back to the early 1990s, when enterprising bakers began experimenting with innovative fillings to capture the attention of children and novelty-seeking adults.
Inspired by the growing popularity of gooey, colorful slime toys, they set out to recreate the mesmerizing texture and appearance in the form of a delectable treat. This creativity mirrors the emotional exploration seen in individuals with BPD dynamics in relationships, as both scenarios involve a quest for connection and understanding through unique expressions.
At first, the concept was met with skepticism, as some consumers were unsure about the idea of intentionally incorporating slime-like substances into their desserts.
However, as word spread and the novelty factor took hold, slime-filled cupcakes quickly gained a devoted following, particularly among younger generations.
Bakers refined their recipes and techniques, experimenting with various slime formulations, food colorings, and flavor combinations to create a truly unique and visually striking cupcake experience.
From neon-hued slime with tart fruit flavors to glow-in-the-dark versions, the possibilities for these whimsical confections seemed endless.
Today, slime-filled cupcakes have become a staple of specialty bakeries, party catering, and even mainstream grocery stores, testament to the enduring appeal of this playful and imaginative dessert trend.
Recipe
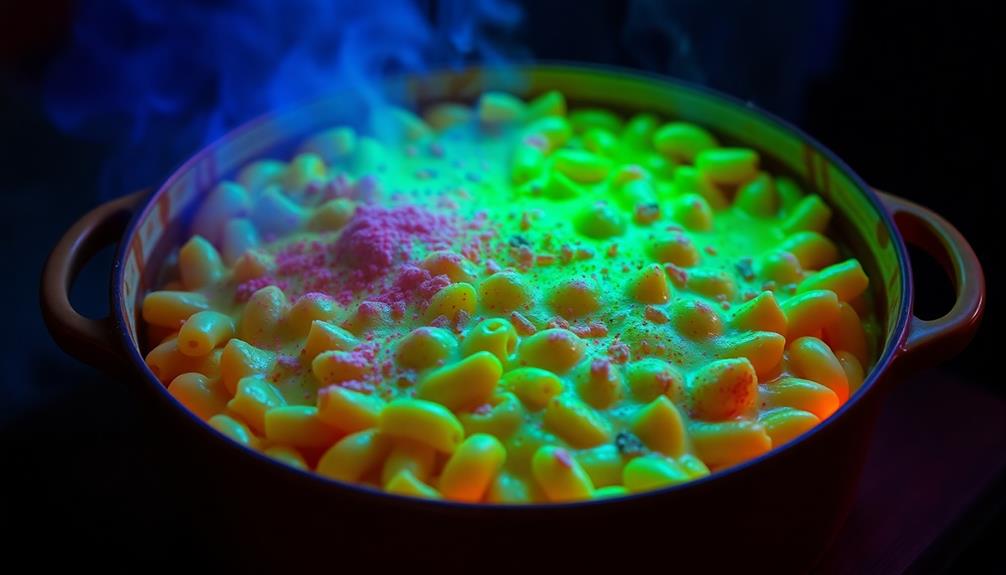
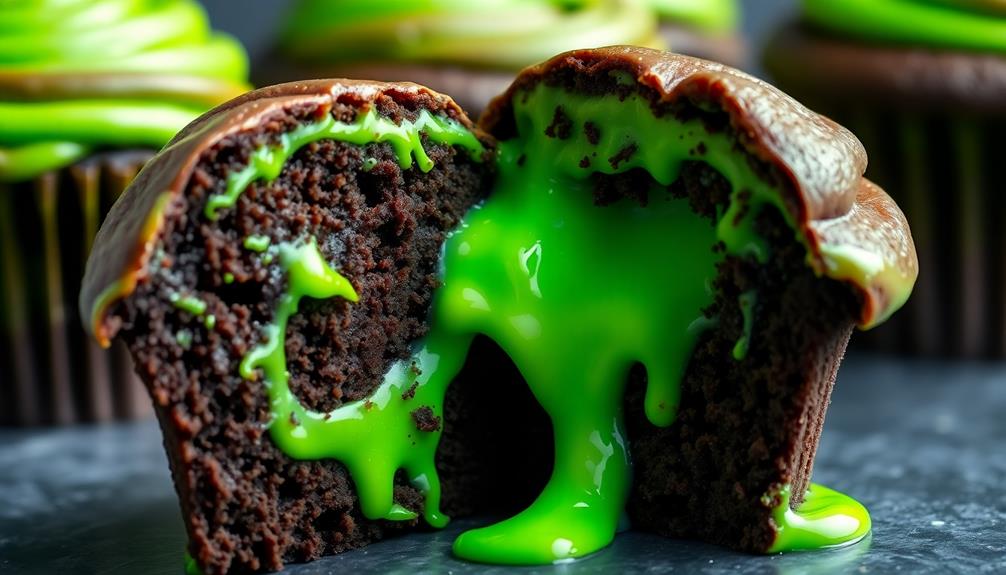
Slime-Filled Cupcakes are a delightfully eerie and festive treat perfect for Halloween parties or spooky gatherings. The bright green "slime" filling oozes out of the cupcake when bitten, creating a delightfully gooey and ghoulish experience. To enhance these cupcakes, consider adding nutrition from chia seeds for an extra health boost, making them not only fun but also a bit more nutritious.
These cupcakes are easy to make and sure to impress your guests. The combination of the moist chocolate cake and the vibrant slime filling creates a unique and unforgettable dessert that will have everyone coming back for more.
Ingredients:
- 1 box chocolate cake mix
- Ingredients required on the cake mix box (typically eggs, oil, and water)
- 1 package lime-flavored gelatin
- 1 cup boiling water
- 1/2 cup cold water
- Green food coloring (optional)
Directions:
Prepare the chocolate cake batter according to the instructions on the cake mix box. Scoop the batter into a greased cupcake tin, filling each cup about 2/3 full. Bake the cupcakes as directed on the box.
While the cupcakes are baking, prepare the slime filling. In a medium bowl, combine the gelatin and boiling water, stirring until the gelatin is completely dissolved. Add the cold water and food coloring (if using), and stir until well combined. Refrigerate the slime mixture until it has thickened to a gooey, slime-like consistency, about 30 minutes to an hour.
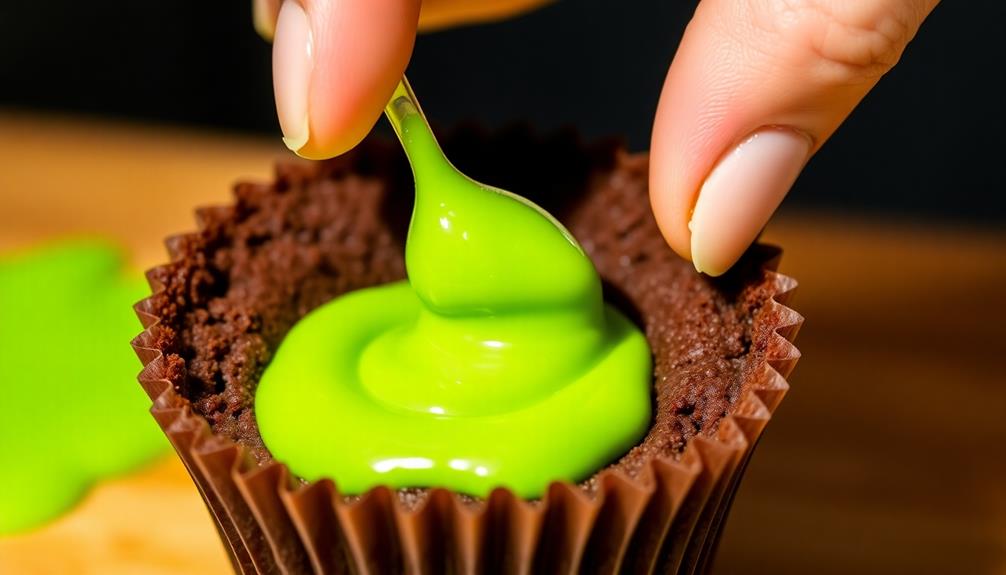
Once the cupcakes have cooled, use a small spoon or melon baller to scoop out a small portion of the cupcake's center. Fill each cupcake with the chilled slime mixture, being careful not to overfill. Serve the cupcakes immediately or refrigerate until ready to serve.
To ensure the best results, be sure to let the cupcakes cool completely before filling them with the slime. This will prevent the hot cake from melting the slime. Additionally, the slime mixture should be thick and gooey, but not so stiff that it's difficult to scoop and fill the cupcakes. Adjust the amount of cold water as needed to achieve the desired consistency.
Cooking Steps
Preheat your oven to 350°F.
It's important to ensure your baking environment is well-lit for optimal visibility, similar to how lighting control is crucial for optimal image quality in home cinema setups.
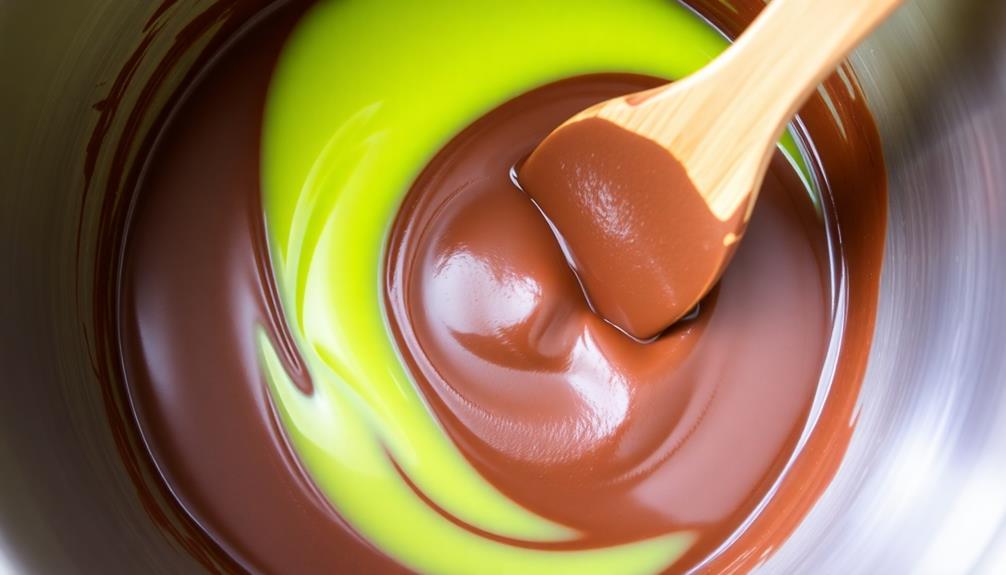
Next, carefully pour the slime into the prepared cupcake liners.
Gently mix the slime and batter, then bake the cupcakes until a toothpick inserted comes out clean.
Allow the cupcakes to cool completely before serving.
Step 1. Preheat Oven to 350°F
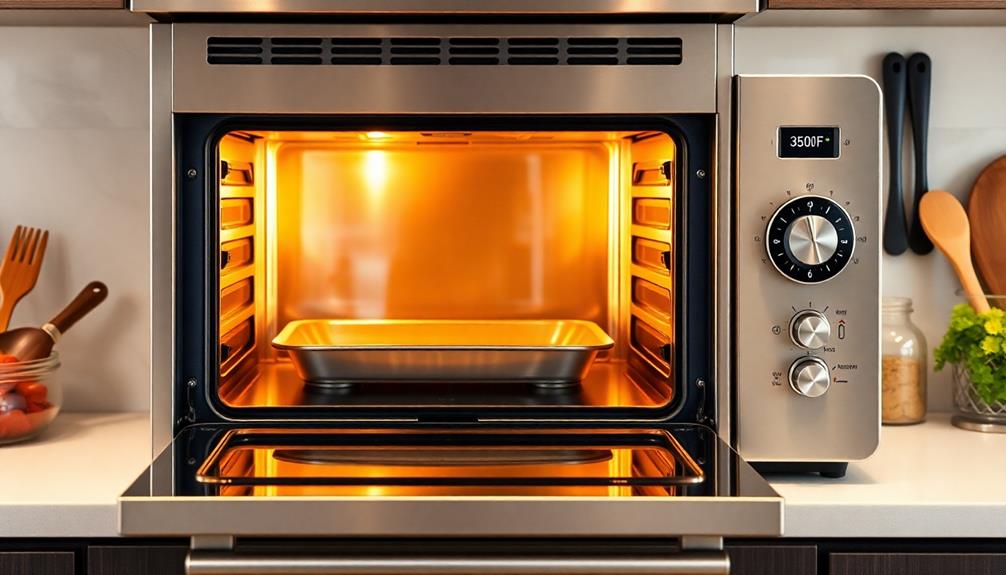
Once you've gathered your ingredients, it's time to preheat your oven to 350°F. This crucial step ensures your cupcakes bake evenly and achieve the perfect texture.
Simply turn your oven dial to the desired temperature and wait for it to reach the target. You'll know it's ready when the oven indicator light goes off, signaling it has reached the set temperature.
While your oven is preheating, you can start preparing your cupcake batter. This waiting period is the perfect time to measure out your dry ingredients, cream the butter and sugar, and mix the wet components.
By the time you're done with these tasks, your oven should be fully preheated and ready to go. Remember, an accurately heated oven is essential for your slime-filled cupcakes to rise beautifully and bake to perfection.
Additionally, just as it's important to manage your baking environment, you should also consider creating a retirement savings plan to ensure your financial future is secure.
With the oven set, you can now move on to the next step in the recipe with confidence.
Step 2. Add Slime Into Cupcake Liners
With the oven preheated, you can now focus on the crucial step of adding the slime into the cupcake liners. Carefully spoon the vibrant, oozing slime into each liner, filling them about halfway. Be sure to distribute the slime evenly, as you want each cupcake to have the perfect amount of slimy goodness.
As you work, take a moment to admire the mesmerizing texture and color of the slime – it's sure to delight your guests once baked. Understanding the psychological motives behind narcissistic actions can enhance the creativity in your baking, as it encourages a unique perspective on presentation and flavor combinations, much like how narcissists may manipulate perceptions in relationships (narcissistic behavior).
Once the liners are filled, it's time to add the cupcake batter on top. Gently spoon the batter over the slime, being careful not to overfill the liners. Leave a small amount of space at the top to allow for expansion during baking.
With the slime and batter now layered, your cupcakes are ready for the oven. Remember to bake them for the recommended time, keeping a close eye to ensure the perfect balance of spongy cake and gooey slime.
Step 3. Mix Slime and Batter
After you've filled the liners with the vibrant slime, it's time to carefully spoon the cupcake batter on top. This step requires a delicate touch to avoid disturbing the slime layer.
Gently scoop the prepared batter, making sure to leave a small gap at the top of each liner. This will ensure the cupcakes have room to rise while still encasing the slime in the center.
As you add the batter, be mindful of its consistency. You want it to be thick enough to hold its shape but not so thick that it becomes difficult to work with. If the batter seems too thick, you can thin it out with a splash of milk or water.
Conversely, if it's too thin, a bit of extra flour can help thicken it up.
Once all the liners are filled, give the pan a gentle tap to help the batter settle and eliminate any air pockets.
Now your slime-filled cupcakes are ready for the oven!
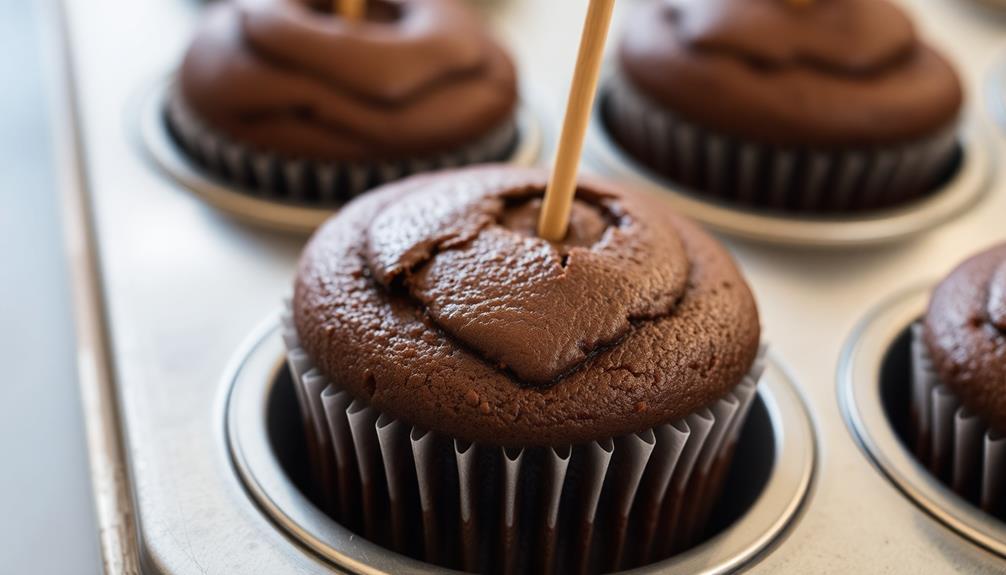
Step 4. Bake Cupcakes Until Toothpick Comes Out Clean
Preheat your oven to 350°F (175°C). Grab your cupcake tin and line it with paper liners. It's time to bake those slime-filled cupcakes!
Carefully scoop the slime-batter mixture into the prepared cups, filling them about three-quarters full. Be gentle to avoid creating air pockets. Once the cups are filled, place them in the refrigerator to set for at least 2 hours. The chilling process will help the slime-batter mixture to firm up and hold its shape. For an added spooky touch, consider topping the cups with crushed chocolate cookies to resemble dirt, as in the “graves dirt pudding recipe“. This will give your slime-batter desserts an extra eerie and delicious flair.
Gently tap the tin on the counter to release any trapped bubbles and ensure an even surface.
Pop the tin in the preheated oven and let those cupcakes bake for 18 to 22 minutes. Keep an eye on them, and when a toothpick inserted into the center comes out clean, they're ready!
Let the cupcakes cool in the tin for 5 minutes before transferring them to a wire rack to cool completely. This gradual cooling will help them retain their fluffy texture.
Once cooled, your slime-filled cupcakes are ready to enjoy! The slime center will ooze out when you take a bite, creating a delightfully gooey surprise.
Step 5. Allow to Cool Completely

Once the cupcakes have finished baking and spent 5 minutes cooling in the tin, it's time to transfer them to a wire rack. This allows the cupcakes to cool completely, preventing the slime filling from melting or the icing from sliding off.
Carefully remove each cupcake from the tin, and place them evenly spaced on the wire rack. This elevated platform ensures air can circulate around the cupcakes, helping them to cool quickly and evenly.
It's crucial to let the cupcakes reach room temperature before attempting to fill or frost them. Rushing this step can result in a mess, as the cupcakes may still be too warm.
Once fully cooled, you can use a small paring knife or apple corer to cut a cone-shaped piece out of the top of each cupcake, creating a well for the slime filling. Be gentle and careful during this process to maintain the structural integrity of the cupcake.
Final Thoughts
As the journey through these slime-filled delights concludes, it's important to reflect on the significance of this culinary exploration. The creation of these whimsical cupcakes hasn't only delighted the senses but also showcased the power of imagination and playfulness in the kitchen.
By embracing the unexpected and embracing the unconventional, you have opened the door to a world of endless possibilities.
While the slime-filled cupcakes may have been the star of the show, the true delight lies in the process of bringing them to life. The careful attention to detail, the experimentation with flavors, and the sheer joy of seeing the final product come together are all integral parts of this experience.
As you move forward, remember to approach your culinary adventures with the same sense of wonder and curiosity. Embrace the unexpected, and you may just stumble upon your next masterpiece.
Frequently Asked Questions
How Long Do the Cupcakes Last at Room Temperature?
At room temperature, homemade cupcakes typically last 2-3 days.
However, the lifespan can vary depending on factors like the recipe, frosting, and storage conditions.
To maximize freshness, store the cupcakes in an airtight container at room temperature.
Avoid refrigerating them, as this can dry them out.
Keep an eye on the cupcakes and enjoy them within a few days for the best flavor and texture.
Can I Use Regular Flour Instead of Gluten-Free Flour?
You can absolutely use regular all-purpose flour instead of gluten-free flour for your cupcakes.
The texture and flavor won't be quite the same, but it'll still work great. Just be sure to adjust the baking time slightly, as regular flour may require a bit less time in the oven.
Give it a try – the cupcakes will still turn out delicious, and you can enjoy them without any gluten concerns.
What Kind of Food Coloring Is Best for the Slime?
When it comes to coloring your homemade slime, food coloring is the way to go. Opt for liquid food dyes, as they'll easily mix into your slime for vibrant, eye-catching results.
Start with just a few drops and mix thoroughly – you can always add more if you want an even bolder hue. Gel food coloring can also work, but it may require a bit more effort to blend evenly.
Have fun experimenting with different color combinations to make your slime truly unique!
Can I Use a Store-Bought Frosting Instead of Homemade?
Absolutely! Using a store-bought frosting is a great time-saver for your slime-filled cupcakes.
Look for a creamy, pre-made frosting that'll complement the slime's flavour. Vanilla or chocolate would work well.
Just be sure to get a high-quality brand that'll hold its shape nicely on top of the cupcakes.
This easy swap can simplify your baking process without sacrificing the overall delicious result.
Enjoy the convenience of store-bought frosting for your creative slime-filled treats!
Do the Cupcakes Need to Be Refrigerated After Baking?
After baking, your cupcakes don't necessarily need to be refrigerated. Regular cupcakes with buttercream frosting are usually fine at room temperature for 2-3 days.
However, if you're using a cream-based frosting or filling, it's best to keep them chilled. The cold temperature helps preserve the texture and prevent spoilage.