The spiderweb chocolate tart originated in Europe during the late 1800s, inspired by intricate pastry designs and nature's lace-like patterns. This rich dessert features a delicate pastry crust and a silky chocolate ganache filling, topped with a mesmerizing spiderweb design piped on using melted white chocolate. It's an elegant and visually stunning treat perfect for Halloween or special occasions. The key ingredients include flour, high-quality chocolate, cream, and a bit of ice water to bind the crust. With a few simple steps, you can create this impressive tart that's sure to delight. Let's dive deeper into the history and recipe details.
Key Takeaways
- The Spiderweb Chocolate Tart is an intricate dessert that originated in Europe during the late 19th century, featuring a rich chocolate filling and delicate pastry crust.
- The tart's defining characteristic is the spiderweb design created by piping melted white chocolate, showcasing the art and creativity of pastry chefs.
- The key ingredients include all-purpose flour for the crust, semisweet chocolate for the filling, heavy cream for the ganache, and white chocolate for the spiderweb design.
- The preparation process involves blind baking the tart shell, making the chocolate ganache, and carefully piping the spiderweb pattern before chilling and dusting the tart with cocoa powder.
- The Spiderweb Chocolate Tart is well-suited for special occasions, particularly Halloween, and can be customized with various flavors like espresso, orange, hazelnuts, and cherries.
Top picks for "spiderweb chocolate tart"
Open Amazon search results for this keyword.
As an affiliate, we earn on qualifying purchases.
History
The origins of the spiderweb chocolate tart can be traced back to the late 19th century, when innovative confectioners in Europe began experimenting with intricate pastry designs.
These early pioneers were fascinated by the delicate, lace-like patterns found in nature, and they sought to capture that ethereal beauty in their creations. Through trial and error, they developed techniques for piping and shaping chocolate into delicate, web-like designs that adorned the tops of rich, indulgent tarts.
The addition of flavors like espresso not only enhances the chocolate but also mirrors the creativity seen in modern espresso recipes.
As the art of spiderweb chocolate tarts spread across the continent, each region put its own unique spin on the classic recipe. Some added a touch of espresso or a hint of orange to complement the deep, chocolatey flavor, while others incorporated local ingredients like hazelnuts or cherries.
Recipe
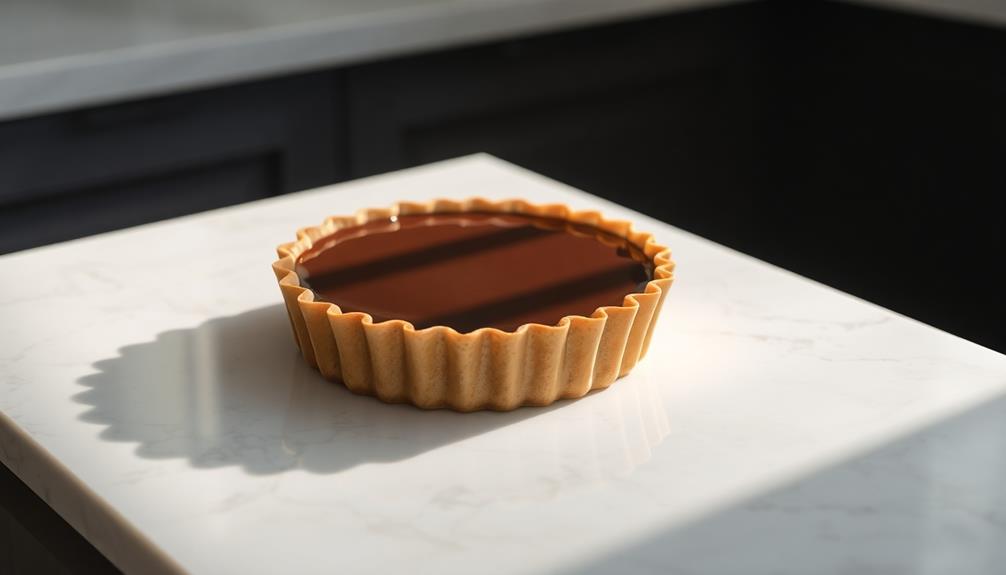
Spiderweb Chocolate Tart is a decadent and visually striking dessert that combines a rich chocolate filling with a delicate pastry crust. This tart is perfect for Halloween or any occasion when you want to impress your guests with a unique and delectable treat. For added delight, consider serving it alongside a scoop of Birthday Cake Ice Cream to enhance the celebratory vibe.
The key to this recipe is the spiderweb design, which is achieved by piping melted white chocolate onto the surface of the tart. This creates a beautiful and intricate pattern that adds a touch of elegance to the dish.
Ingredients:
- 1 1/4 cups all-purpose flour
- 1/2 cup unsweetened cocoa powder
- 1/4 cup granulated sugar
- 1/4 teaspoon salt
- 1/2 cup unsalted butter, chilled and cubed
- 1 egg yolk
- 2-3 tablespoons ice water
- 12 ounces semisweet chocolate, chopped
- 1 cup heavy cream
- 2 tablespoons unsweetened cocoa powder, for dusting
- 4 ounces white chocolate, melted
Preheat the oven to 375°F (190°C). In a food processor, combine the flour, cocoa powder, sugar, and salt. Add the chilled butter and pulse until the mixture resembles coarse crumbs.
Add the egg yolk and 2 tablespoons of ice water, and pulse until the dough just begins to hold together. If the dough is too dry, add the remaining 1 tablespoon of ice water.
Press the dough into a 9-inch tart pan with a removable bottom. Prick the bottom with a fork and bake for 15-18 minutes, or until the crust is set. Allow the crust to cool completely.
In a medium saucepan, heat the heavy cream over medium heat until it just begins to simmer. Remove from heat and add the chopped semisweet chocolate. Let stand for 2-3 minutes, then stir until the chocolate is completely melted and the mixture is smooth.
Pour the chocolate filling into the prepared tart crust and smooth the top.
To create the spiderweb design, pour the melted white chocolate into a small resealable bag and snip off one corner. Pipe the white chocolate in a spiral pattern starting from the center and working your way out to the edges.
Use a toothpick or a skewer to gently drag the white chocolate from the center to the edge, creating the web-like pattern. Refrigerate the tart for at least 2 hours before serving.
When ready to serve, dust the tart with the unsweetened cocoa powder. This tart is best enjoyed chilled and can be stored in the refrigerator for up to 3 days.
Cooking Steps
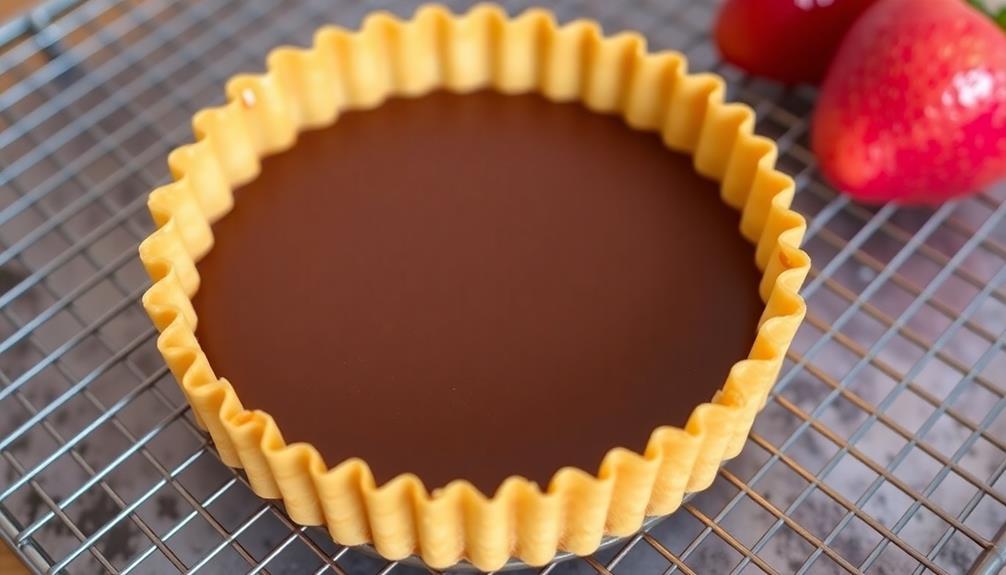
First, blind bake the tart shell to create a crisp base. This step is crucial for ensuring the tart holds its shape and provides a delightful crunch.
Next, make a rich chocolate ganache filling and pipe it into an intricate spiderweb pattern, reminiscent of the sweet and swirled layers found in Milk Bar Cinnamon Roll Bread.
Step 1. Blind Bake Tart Shell
Preheat your oven to 375°F (190°C). Lightly grease a 9-inch tart pan with a removable bottom.
Roll out the chilled tart dough on a lightly floured surface until it's about 1/8 inch thick. Carefully transfer the dough to the prepared tart pan, gently pressing it into the bottom and up the sides. Trim any excess dough from the edges.
When preparing your baking space, consider optimizing the layout for better efficiency, much like assessing bathroom needs can enhance functionality in a renovation.
Next, line the tart shell with parchment paper or foil, and fill it with pie weights or dried beans. This process, known as "blind baking," helps the crust hold its shape during baking.
Bake the tart shell for 15 minutes, then carefully remove the parchment paper and weights. Bake for an additional 10-12 minutes, until the crust is lightly golden.
Allow the tart shell to cool completely on a wire rack before filling it with the chocolate ganache.
Step 2. Make Chocolate Ganache Filling
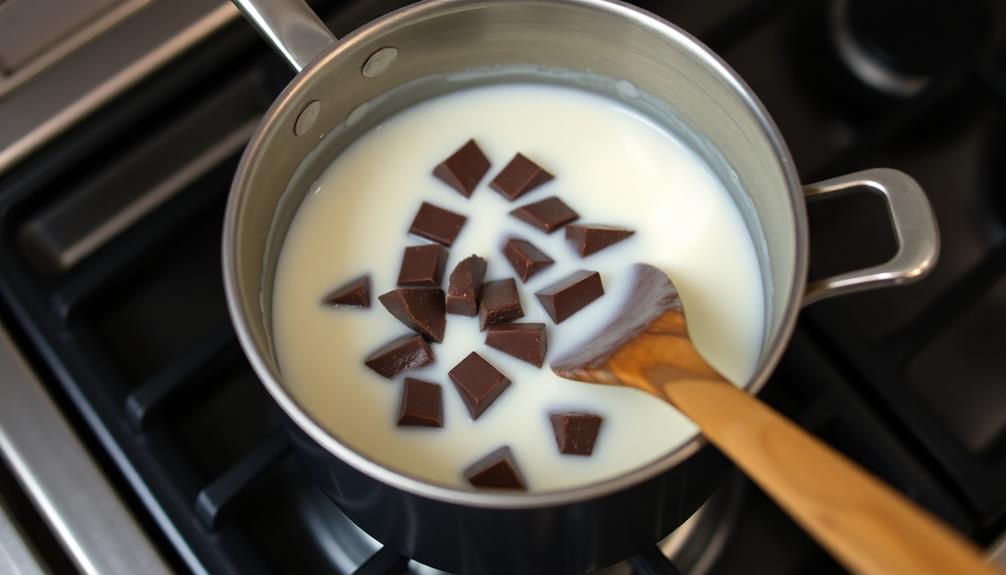
With the tart shell baked and cooled, you can now start on the chocolate ganache filling. In a medium saucepan, combine the heavy cream and chopped chocolate.
Place the pan over low heat, stirring constantly until the chocolate has melted and the mixture is smooth. Be careful not to let it boil, as that can cause the ganache to become grainy. For an elevated culinary experience, consider pairing your dessert with local wines to enhance the flavors, similar to unique culinary experiences offered at various bistros.
Once the ganache is silky and well-combined, remove it from the heat.
Now, pour the warm ganache into the prepared tart shell, smoothing the top with a spatula. This rich, velvety filling will set as it cools, creating a decadent base for the spiderweb design.
Place the tart in the refrigerator for at least 2 hours, or until the ganache is completely set. Once chilled, you can proceed with the spiderweb topping, adding the final touches to this impressive dessert.
Step 3. Pipe Chocolate Web Pattern

To create the spiderweb design, you'll need a piping bag fitted with a small round tip. Begin by dividing the chocolate ganache into two equal portions. Place one portion in the piping bag.
Starting from the center of the tart, pipe a spiral web pattern, working your way outward. Apply even pressure to the bag, creating smooth, continuous lines.
As you pipe, maintain a consistent height and width for the lines. The key is to work quickly, as the ganache will start to firm up. If it becomes too thick, you can gently reheat it to soften the consistency.
Once you've completed the spiral, switch to the second portion of ganache. Pipe additional web lines, criss-crossing the first set at various angles. This creates the intricate spiderweb design.
If desired, you can add small dots of ganache at the intersections for a more detailed effect. With patience and practice, you'll master the technique, transforming your tart into an edible work of art.
Step 4. Chill Filled Tart Before Decorating
Once you've poured the chocolate ganache into the tart shell, it's important to chill the filled tart before decorating. This step helps the ganache set and firm up, ensuring the spiderweb design holds its shape when you pipe it on top.
Simply slide the tart into the refrigerator and let it chill for at least 30 minutes, or until the ganache is completely set.
While the tart chills, you can prepare your piping bag and chocolate for the web design. This way, everything will be ready to go once the tart is ready.
When the tart is firm, remove it from the fridge and get started on the spiderweb pattern. Pipe the chocolate in a spiral motion, starting from the center and working your way outward.
Take your time and be precise for the best results. With a little patience and attention to detail, you'll have a gorgeous, professional-looking spiderweb tart ready to impress your guests.
Step 5. Garnish With Cocoa Powder
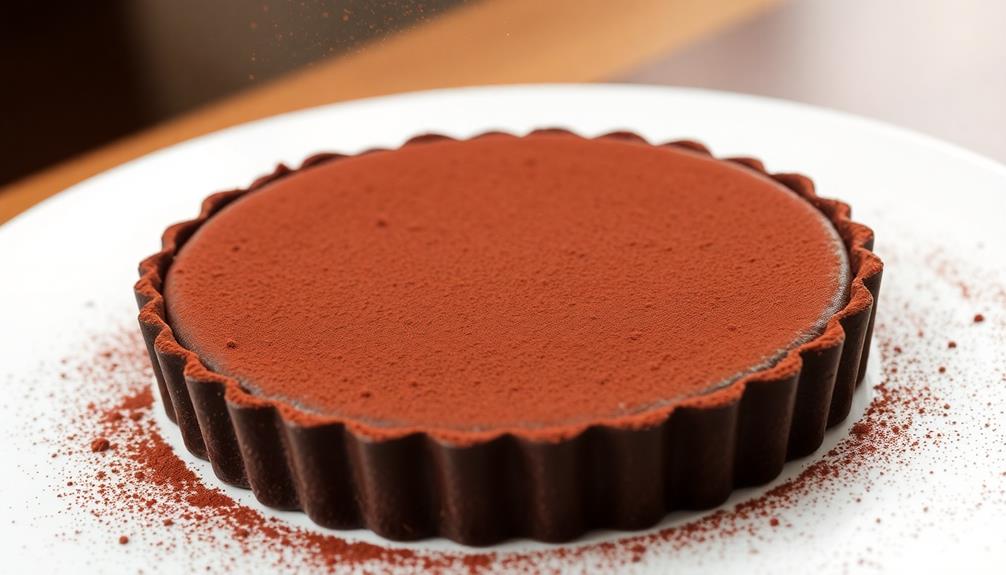
After piping the spiderweb pattern, you'll want to add a final touch of cocoa powder to the tart.
Carefully sift a light dusting of unsweetened cocoa powder over the entire surface, focusing on the webbed design. This will create a stunning contrast, making the intricate pattern pop against the rich chocolate filling.
Be sure to use a fine-mesh sieve to achieve an even, velvety coating. You can experiment with different cocoa powder varieties, from natural to Dutch-processed, to find the one that best complements the flavor profile of your tart.
The cocoa powder won't only enhance the visual appeal but also add a subtle, bittersweet note that balances the sweetness of the filling.
Take your time and gently shake the sieve to ensure full coverage, paying extra attention to the edges and corners.
With this final flourish, your Spiderweb Chocolate Tart will be ready to wow your guests with its professional-looking and delectable presentation.
Final Thoughts
Ultimately, this Spiderweb Chocolate Tart is a delightful treat that's perfect for any occasion. The intricate chocolate web creates a visually stunning dessert that's sure to impress your guests.
While the recipe may seem complex at first, the step-by-step instructions make it accessible even for beginner bakers.
The rich, silky chocolate filling paired with the buttery, flaky crust is a heavenly combination that will have your taste buds dancing. And the addition of the cocoa powder garnish adds a lovely finishing touch, both in terms of flavor and presentation.
Whether you're serving it at a Halloween party, a cozy dinner party, or simply enjoying it as an indulgent treat for yourself, this Spiderweb Chocolate Tart is sure to be a hit. And the best part is, it’s surprisingly easy to make! The rich, decadent chocolate filling is complemented perfectly by the delicate and intricate spiderweb design on top. For an added touch, pair it with our spider infested chocolate bark recipe for a truly ghoulish dessert spread. Your guests will be impressed by your creative culinary skills and delighted by the deliciously spooky treats.
Frequently Asked Questions
Can I Use a Regular Tart Pan Instead of a Springform Pan?
You can absolutely use a regular tart pan instead of a springform pan for this recipe!
A tart pan will work just fine, as it has a similar shape and structure. The key difference is that a springform pan has removable sides, which makes it easier to get the tart out of the pan.
But a regular tart pan will still give you a beautiful, presentable dessert. Just make sure to grease it well so the tart releases cleanly.
Do I Need to Temper the Chocolate Before Making the Tart?
You don't necessarily need to temper the chocolate before making the tart. Tempering is a process that involves carefully heating and cooling the chocolate to give it a smooth, shiny finish.
However, for a tart like this, the chocolate will melt into the filling and set up nicely without tempering. Just make sure to use high-quality chocolate that will melt smoothly.
As long as you follow the recipe instructions, you'll end up with a delicious, rich chocolate tart.
How Can I Achieve a Shiny, Glossy Finish on the Tart?
To achieve a shiny, glossy finish on your tart, you'll want to temper the chocolate properly.
Tempering is a technique that involves heating and cooling the chocolate to ensure it has the right texture and sheen.
Once the chocolate is tempered, simply pour it over the tart and gently smooth it out.
The tempered chocolate will set up with a beautiful, glossy surface.
With a little practice, you'll be able to create that professional, mirror-like finish every time.
Can I Substitute the Dark Chocolate With Milk Chocolate?
You can definitely substitute milk chocolate for the dark chocolate in this recipe.
Milk chocolate has a sweeter, creamier flavor profile compared to dark chocolate. Keep in mind that milk chocolate typically contains less cocoa solids, so the resulting tart may not have the same intensity of chocolate flavor.
However, the shiny, glossy finish you're looking for should still be achievable with milk chocolate. Just be sure to follow the baking instructions closely for the best results.
How Long Does the Spiderweb Design Take to Create?
Creating the spiderweb design on your chocolate tart takes a bit of time, but it's well worth the effort.
You'll need to work carefully, using a piping bag to pipe melted chocolate in a spiral pattern on the tart's surface.
Then, using a toothpick or skewer, you'll gently drag the chocolate outward from the center to create the spiderweb effect.
The entire process might take around 10-15 minutes, but the stunning result will impress your guests and make the time investment worthwhile.