Vampire Bite Red Velvet Cupcakes blend rich chocolate flavor and tangy cream cheese frosting, creating a visually stunning Halloween treat. You'll achieve the deep red hue using food coloring, and a small dollop of bright red jam or preserves adds a burst of fruity flavor. Buttermilk and oil make the cupcakes moist and velvety. White chocolate fangs can add a playful touch, while attention to presentation elevates the spooky aesthetic. These unique cupcakes are perfect for impressing guests at your Halloween party. If you'd like to learn more about the history and recipe details, keep reading.
Key Takeaways
- Vampire Bite Red Velvet Cupcakes feature a deep red color and a rich chocolate flavor, complemented by a tangy cream cheese frosting.
- These cupcakes are ideal for Halloween or other spooky occasions, with a small dollop of bright red jam or preserves for a burst of fruity flavor.
- The cupcakes are made using a combination of all-purpose flour, cocoa powder, buttermilk, and food coloring, resulting in a moist and velvety texture.
- Proper ingredient ratios and mixing techniques are crucial for achieving the desired outcome, as overmixing can lead to tough, dry cupcakes.
- Decorative touches, such as white chocolate fangs, can be added to enhance the overall presentation and spooky aesthetic of the Vampire Bite Red Velvet Cupcakes.
History
The first known appearance of red velvet cupcakes dates back to the early 20th century. These decadent treats were initially popular in the American South, where they became associated with elegant celebrations and Southern charm.
The vibrant red color of the cakes was achieved through the use of natural food coloring, typically from beet juice or other plant-based sources. Interestingly, much like the classic Italian cheesy polenta, which features rich flavors and a comforting texture, these cupcakes also focus on creating a delightful experience for the palate.
Over time, the recipe evolved, and the addition of cocoa powder became a common way to enhance the flavor and deepen the rich, velvety texture. Red velvet cupcakes gained nationwide popularity in the mid-20th century, becoming a beloved classic in bakeries and homes across the country.
Today, these cupcakes continue to captivate bakers and dessert enthusiasts, with endless variations and creative interpretations, including the "Vampire Bite" version featuring a spooky and delightful twist.
Recipe
Vampire Bite Red Velvet Cupcakes are a delightful twist on the classic red velvet cake. These cupcakes aren't only visually stunning but also delicious, with a rich chocolate flavor and a creamy, tangy cream cheese frosting. The deep red color of the cupcakes is achieved through the use of food coloring, making them the perfect treat for Halloween or any spooky occasion.
The "bite" in the name refers to the small dollop of bright red jam or preserves that's added to the center of each cupcake, creating a pop of color and a burst of fruity flavor. This recipe is a great way to transform simple ingredients into an impressive dessert, similar to how bread pudding turns stale bread into a comforting treat.
Ingredients:
- 2 cups all-purpose flour
- 2 tablespoons unsweetened cocoa powder
- 1 teaspoon baking soda
- 1/2 teaspoon salt
- 1/2 cup unsalted butter, softened
- 1 1/2 cups granulated sugar
- 2 large eggs
- 1 teaspoon vanilla extract
- 1 cup buttermilk
- Red food coloring
- 1/2 cup red jam or preserves
Frosting Ingredients:
- 8 ounces cream cheese, softened
- 1/2 cup unsalted butter, softened
- 3 cups confectioners' sugar
- 1 teaspoon vanilla extract
To make the cupcakes, preheat the oven to 350°F and line a 12-cup muffin tin with paper liners. In a medium bowl, whisk together the flour, cocoa powder, baking soda, and salt.
In a large bowl, cream the butter and sugar until light and fluffy, then beat in the eggs one at a time, followed by the vanilla. Alternately add the flour mixture and buttermilk, mixing until just combined. Add a few drops of red food coloring and mix until the desired shade of red is achieved.
Scoop the batter into the prepared muffin cups, filling them about 3/4 full. Bake for 18-20 minutes, or until a toothpick inserted into the center comes out clean. Allow the cupcakes to cool completely before frosting.
To make the frosting, beat the cream cheese and butter in a large bowl until smooth and creamy. Gradually add the confectioners' sugar and vanilla, and beat until the frosting is light and fluffy.
Pipe or spread the frosting onto the cooled cupcakes, then top each one with a small spoonful of red jam or preserves, creating the "bite" effect.
Cooking Steps
Preheat your oven to 350°F.
In a large bowl, mix together the dry ingredients.
It's important to keep an eye on portion sizes, as indulging too much in treats can lead to weight gain and health issues over time, especially with sugary desserts like cupcakes.
Add the food coloring, buttermilk, and oil, then pour the batter into the cupcake liners.
moderation is key when enjoying sweet treats.
Step 1. Preheat Oven to 350°F
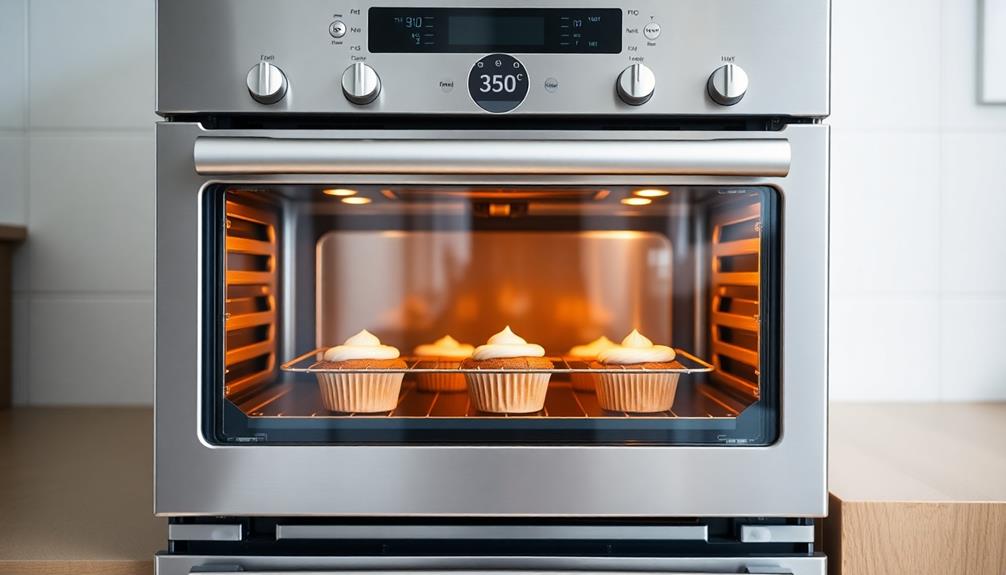
To begin, preheat your oven to 350°F. This crucial first step ensures your cupcakes bake evenly and develop the perfect texture.
While your oven heats up, you can gather the rest of your ingredients and mixing tools. Proper equipment maintenance, similar to air purifier cleaning, can enhance overall performance in the kitchen.
Setting the oven to 350°F is the standard temperature for baking cupcakes, as it allows the batter to rise gradually and the edges to set without overbrowning the tops. This consistent heat distribution creates a light, fluffy crumb that's essential for moist, delectable red velvet cupcakes.
Once your oven reaches temperature, you're ready to begin mixing the batter. Double-check that the oven rack is positioned in the center of the oven for even cooking.
Then, you can start assembling your vampire bite-inspired treats! The preheating process takes just a few minutes, but it lays the foundation for baking success. With your oven ready, you can move on to the next steps with confidence.
Step 2. In a Large Bowl, Mix Dry Ingredients
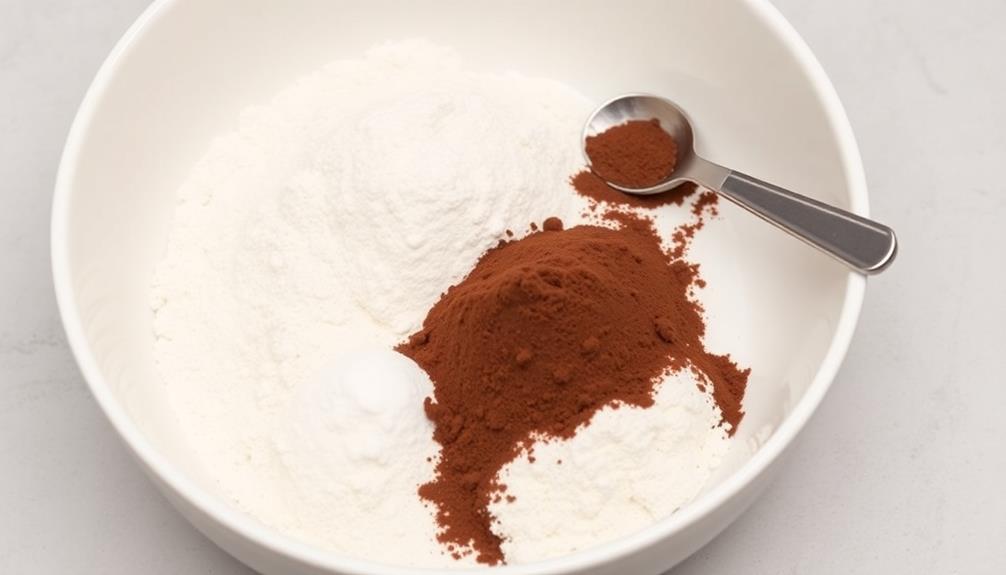
With the oven preheated, you'll now want to start mixing the dry ingredients in a large bowl. In this step, you'll combine the all-purpose flour, unsweetened cocoa powder, baking soda, and a pinch of salt.
Whisk these ingredients together until they're evenly distributed. The flour provides the structure for your cupcakes, while the cocoa powder gives them that rich, chocolatey flavor. The baking soda serves as a leavening agent, helping the cupcakes rise and creating a light, airy texture.
Additionally, using unsalted butter allows for better control over sweetness in your batter, ensuring the perfect balance of flavors. And the salt? Well, it enhances all the other flavors, balancing out the sweetness.
Be sure to use a large enough bowl to accommodate the wet ingredients you'll be adding later. Mixing the dry ingredients first ensures they're evenly distributed throughout the batter, resulting in a consistent texture and flavor in every bite.
Take your time with this step, and you'll be one step closer to vampire-worthy red velvet cupcakes.
Step 3. Add Food Coloring

Next, you'll add the vibrant red food coloring to the batter. This is the key step that will transform your cupcakes into irresistible "vampire bites."
Start by adding a few drops of the red food coloring to the batter and mix thoroughly. You want to ensure the color is evenly distributed, so keep mixing until the batter takes on a deep, rich red hue.
If the color isn't as intense as you'd like, feel free to add a few more drops, but be careful not to overdo it. The goal is to create a striking, blood-red appearance that will have your guests eagerly anticipating their first bite.
Once you're satisfied with the color, you're ready to scoop the batter into your prepared cupcake tins. This simple step ensures your vampire-inspired treats will have the perfect scarlet shade, setting the stage for their spooky and delicious transformation.
Step 4. Add Buttermilk and Oil
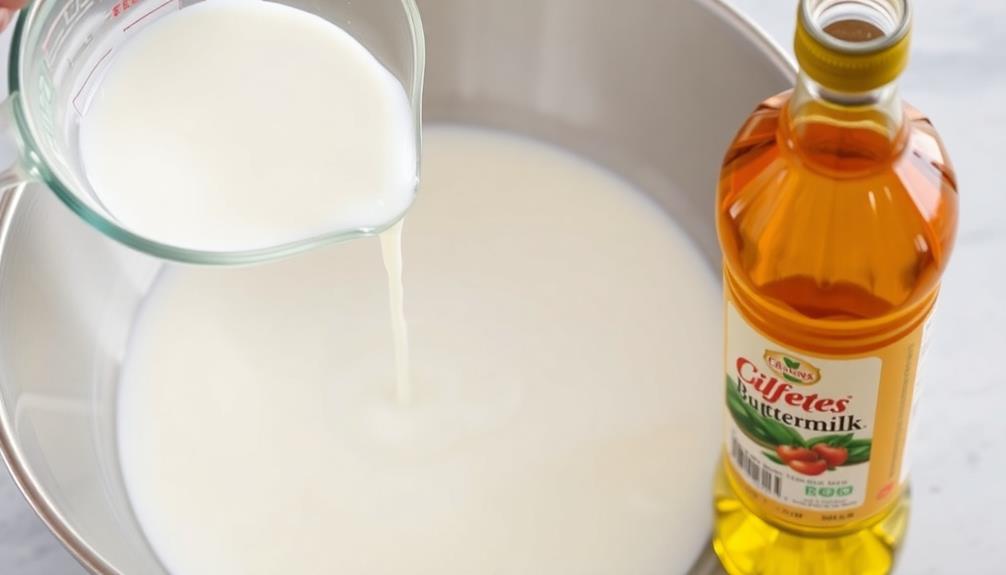
The addition of buttermilk and oil infuses the batter with tenderness and moisture, ensuring your vampire bite red velvet cupcakes emerge from the oven with a delightfully moist and fluffy texture.
The buttermilk reacts with the baking soda, creating a chemical reaction that tenderizes the crumb, while the oil coats the flour particles, preventing gluten development and resulting in a softer, more delicate cupcake.
Be sure to use full-fat buttermilk for optimal moisture and richness. Measure the buttermilk and oil precisely, as the right ratio is key to achieving the perfect balance of fluffiness and density.
Incorporate the buttermilk and oil gently into the batter, taking care not to overmix, which can lead to tough, dry cupcakes.
The combination of these two ingredients lays the foundation for the moist, velvety texture that's the hallmark of a classic red velvet cupcake.
Step 5. Pour Batter Into Cupcake Liners
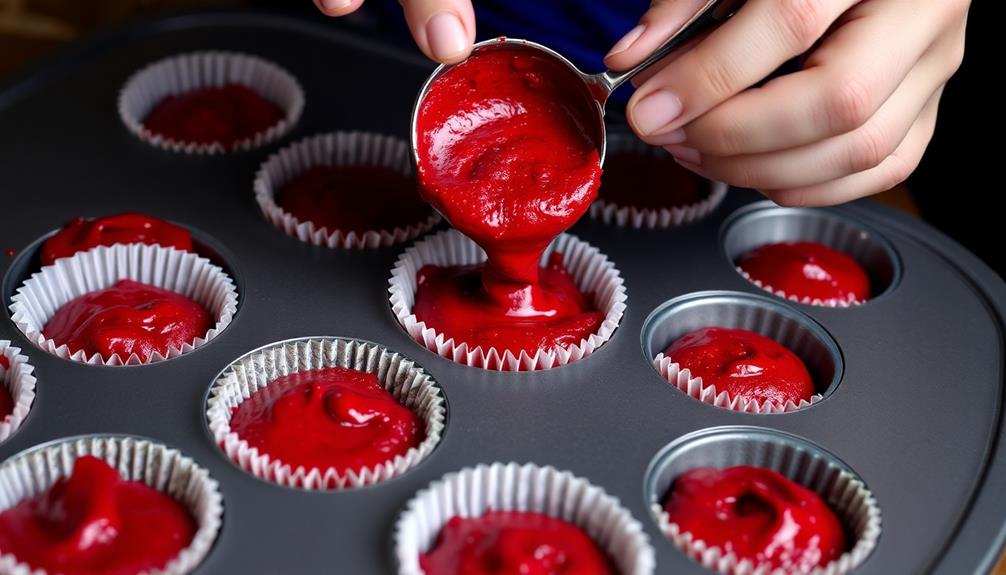
Now that you have infused the batter with the perfect balance of buttermilk and oil, it's time to pour the mixture into your cupcake liners.
Grab your trusty scoop or ladle, and carefully fill each liner about three-quarters full. Be mindful not to overfill them, as the cupcakes will need room to rise and bake evenly.
Once you've portioned out the batter, give the tin a gentle tap on the counter to help settle the mixture and remove any air bubbles. This will ensure your cupcakes have a smooth, even top once baked.
Remember to keep the liners spaced apart, allowing for proper heat distribution and resulting in beautifully uniform cupcakes.
With the batter now neatly tucked into its paper homes, you're one step closer to creating those tantalizing Vampire Bite Red Velvet Cupcakes.
Next, it's time to pop them in the oven and let the magic begin!
Final Thoughts
With the delectable Vampire Bite Red Velvet Cupcakes now complete, you can confidently serve these spooky treats to your guests. The deep, rich red velvet flavor, combined with the playful "bite" of white chocolate fangs, is sure to delight and impress.
These cupcakes are the perfect addition to any Halloween party or gathering, adding a touch of whimsical horror that's sure to spark conversation. Remember, the key to their success lies in the careful attention to detail, from filling the liners just right to meticulously placing the fangs.
With a little practice, you'll be whipping up batches of these cupcakes with ease. Your friends and family will be begging you to share the recipe, so be prepared to dazzle them with your baking prowess.
Embrace the spooky season and enjoy the fruits of your labor – these Vampire Bite Red Velvet Cupcakes are sure to be a hit! After baking up a batch of these delicious and hauntingly beautiful cupcakes, why not try your hand at a spicy deviled egg recipe to really keep the Halloween spirit alive? Imagine setting out a spread of these devilishly good snacks at your next monster mash – your friends and family will be howling with delight! With these fun and festive recipes, your Halloween party is sure to be a graveyard smash.
Frequently Asked Questions
Can I Use Regular Food Coloring Instead of Red Velvet?
You can certainly use regular food coloring instead of red velvet.
The main difference is that red velvet has a distinct flavor and texture, while regular food coloring just provides the vibrant red color.
If you're looking for the classic red velvet taste and appearance, using red velvet is ideal.
But if you're simply after a bold, red cupcake, regular food coloring will do the trick just fine.
Just be sure to adjust the amount to achieve your desired hue.
Do I Need to Use Actual Vampire Fangs as Decorations?
No, you don't need to use actual vampire fangs as decorations for your cupcakes.
While that could add a spooky, Halloween-themed touch, it's not necessary. Instead, you can use various decorative elements like red sprinkles, edible blood-red gel, or even small, plastic vampire teeth to achieve a similar vampire-inspired look.
The key is to have fun with the design and let your creativity shine through, without getting too caught up in using specific vampire-themed items.
Can I Substitute the Cream Cheese Frosting With Buttercream?
Absolutely, you can substitute the cream cheese frosting with buttercream!
Buttercream is a classic, versatile frosting that pairs beautifully with red velvet cupcakes. It's easy to make, and you can customize the flavor by adding a touch of vanilla or even a hint of cocoa powder.
Just keep in mind that buttercream may be a bit sweeter than cream cheese frosting, so you may want to adjust the sweetness to your personal taste.
Enjoy experimenting with different frosting options!
How Long Will These Cupcakes Stay Fresh?
Typically, these cupcakes will stay fresh for 3-5 days when stored properly.
Keep them in an airtight container at room temperature. The buttercream frosting helps lock in moisture, so your cupcakes won't dry out as quickly.
Just be sure to refrigerate them if the weather's hot, as the buttercream can melt.
With a little care, you can enjoy these delectable treats for several days after baking.
Can I Make the Cupcakes in Advance for a Party?
You can definitely make these cupcakes in advance for a party!
The great thing about red velvet cupcakes is that they stay fresh for up to 5 days when stored properly. Bake them a day or two before your event, then store them in an airtight container in the fridge.
Just remember to let them come to room temperature before serving for the best texture and flavor.
This way, you can enjoy these delicious treats without the last-minute stress!

