
Vampire Fang Cookie Sandwiches are a deliciously spooky Halloween treat that'll transport you to a fantastical world of fangs and flavor. These cookies feature a crumbly sugar cookie 'fang' filled with creamy, sweet buttercream – a contrast of textures and tastes that'll delight both kids and adults. The origins date back to the late 1800s, and the recipes have evolved over time to include intricate designs. Crafting these cookies showcases creativity and baking skills, from precisely shaping the dough to carefully assembling the sandwiches. With their alluring appearance and indulgent flavors, these vampire-inspired treats are sure to be the hit of any Halloween celebration. Let's dive deeper into the recipe and steps to create these enchanting cookies.
Key Takeaways
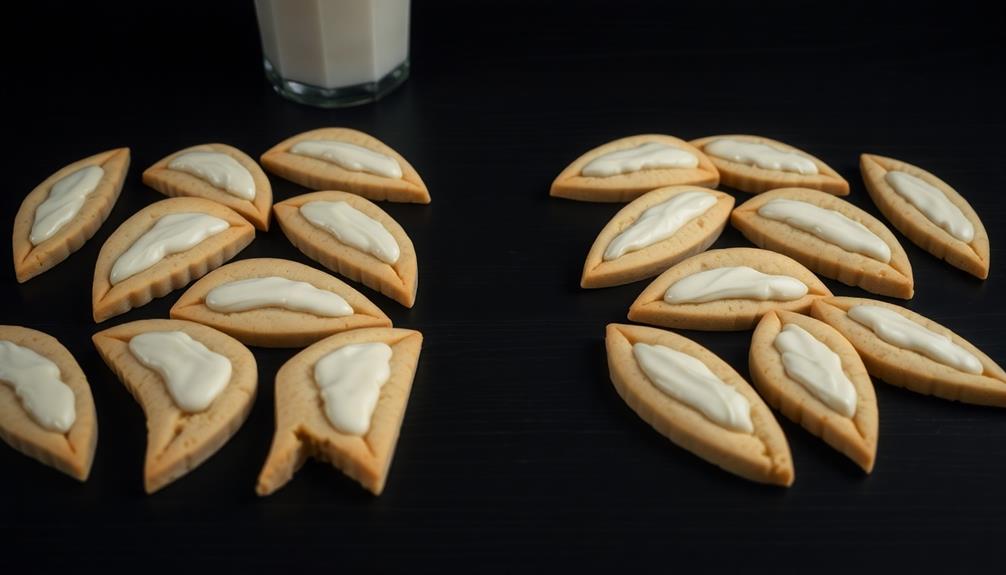
- Vampire Fang Cookie Sandwiches are Halloween-themed confections with crescent-shaped cookies filled with red-tinted cream or jam, representing vampire fangs.
- The recipe involves creating sugar cookie dough shaped into fangs, with a creamy, sweet buttercream filling contrasting the cookie crunch.
- The assembly process includes pairing cookies, applying the buttercream filling, and chilling the sandwiches to firm up the buttercream.
- These cookies are ideal for Halloween parties or whimsical snacks, with their eerie yet enticing appearance and delightful taste.
- Baking tips include ensuring uniform cookie shapes, monitoring buttercream consistency, and experimenting with different flavors or colors of the filling.

WJSYSHOP Halloween Vampire Teeth Werewolf Fangs Cookie Cutter
- Material: Stainless Steel
- Size: See picture for dimensions
- Versatile Use: Bake brownies, sandwiches, and more
As an affiliate, we earn on qualifying purchases.
As an affiliate, we earn on qualifying purchases.
History
The origins of the vampire fang cookie sandwiches can be traced back to the late 19th century, when bakers began experimenting with spooky Halloween-themed confections.
These early iterations were simple, often consisting of two crescent-shaped cookies sandwiching a filling, usually made with red-tinted cream or jam to mimic the appearance of blood.
The use of such creative ingredients reflects the culinary significance of butter in baking traditions, as it adds richness and flavor to desserts.
Over time, the recipe evolved, with bakers adding more intricate designs and flavors to capture the essence of vampire fangs.
Recipe
Vampire Fang Cookie Sandwiches are a spooky and delightful treat perfect for Halloween or any time you want to indulge your sweet tooth with a touch of the macabre.
These cookie sandwiches feature a delectable vampire-inspired design that will delight both children and adults. Engaging in fun and creative cooking activities like this can also promote critical thinking and problem-solving skills, much like STEM toys for young learners.
The key to creating these fang-tastic cookies is to start with a simple sugar cookie dough and then shape the cookies into the iconic vampire fang shape. The resulting cookies are then filled with a creamy, sweet filling that provides the perfect contrast to the crunch of the cookie.
Ingredients:
- 2 cups all-purpose flour
- 1 teaspoon baking powder
- 1/2 teaspoon salt
- 1 cup unsalted butter, softened
- 1 cup granulated sugar
- 1 egg
- 2 teaspoons vanilla extract
- 1 cup cream cheese, softened
- 1/2 cup powdered sugar
- 1 teaspoon vanilla extract
Directions:
Preheat your oven to 375°F (190°C). In a medium bowl, whisk together the flour, baking powder, and salt.
In a large bowl, cream the butter and granulated sugar until light and fluffy. Beat in the egg and 2 teaspoons of vanilla extract. Gradually add the dry ingredients to the wet ingredients, mixing until just combined.
Divide the dough in half, shape each half into a disk, wrap in plastic wrap, and refrigerate for at least 30 minutes. On a lightly floured surface, roll out the dough to 1/4-inch thickness. Use a sharp knife or a vampire fang-shaped cookie cutter to cut out the cookie shapes.
Place the cookies on a parchment-lined baking sheet and bake for 8-10 minutes, or until lightly golden. Allow the cookies to cool completely on the baking sheet.
For the filling, beat the cream cheese, powdered sugar, and 1 teaspoon of vanilla extract in a medium bowl until smooth and creamy. Spread or pipe the filling onto the flat side of one cookie, then top with another cookie to create a sandwich.
Chill the cookie sandwiches in the refrigerator for at least 30 minutes before serving. Enjoy these spooky and delicious Vampire Fang Cookie Sandwiches! For an extra Halloween treat, serve alongside some cheesy goblin sandwiches for a fun and festive spread. The chilling time in the refrigerator will help the flavors marry together and the cookies to firm up, making for a deliciously spooky treat. Whether you’re hosting a Halloween party or just looking for a fun and festive treat, these Vampire Fang Cookie Sandwiches are sure to be a hit!
Cooking Steps
Preheat your oven to 375°F to get started.
Next, mix up the cookie dough according to the recipe.
Once that's ready, scoop the dough onto a baking sheet and bake for 8-10 minutes.
Step 1. Preheat Oven to 375°F
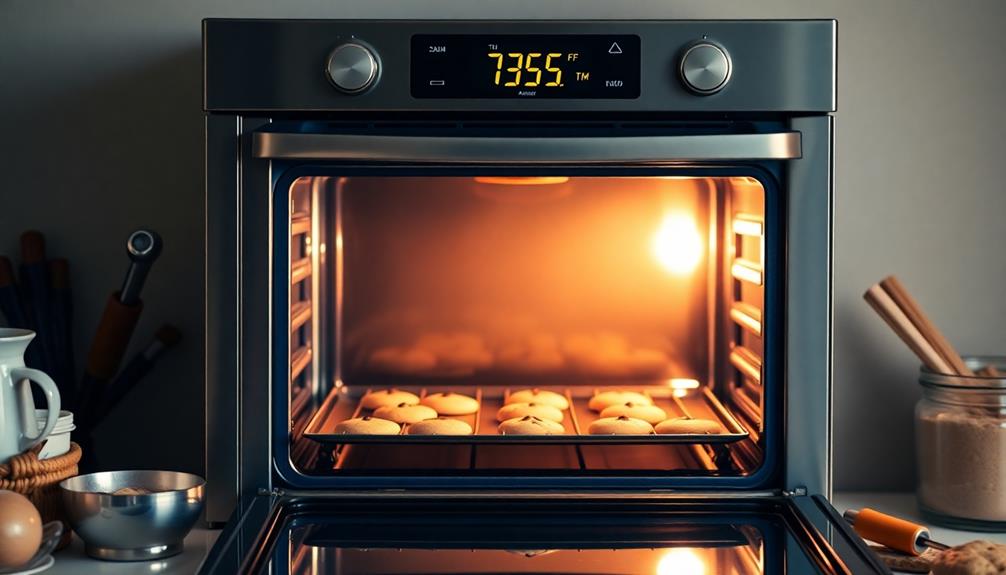
Now that you've gathered your ingredients, it's time to preheat your oven to 375°F. This step is crucial to ensure your vampire fang cookie sandwiches bake evenly and achieve that perfect golden-brown hue. Simply turn your oven dial to the desired temperature and let it heat up.
While you wait, you can start preparing your work surface by lightly dusting it with flour. This will prevent the dough from sticking as you roll it out later. For those looking to optimize their cooking experience, consider checking out best vacuum options for quick cleanups in the kitchen.
Once your oven has reached the target temperature, it's time to slide in your baking sheet. Make sure to use an oven mitt or towel when handling the hot pan.
Now, set a timer for 8-10 minutes, keeping a close eye on your cookies. You'll know they're ready when the edges begin to turn a light golden brown.
With your oven preheated, you're one step closer to enjoying these delightfully spooky treats.
Step 2. Mix Cookie Dough
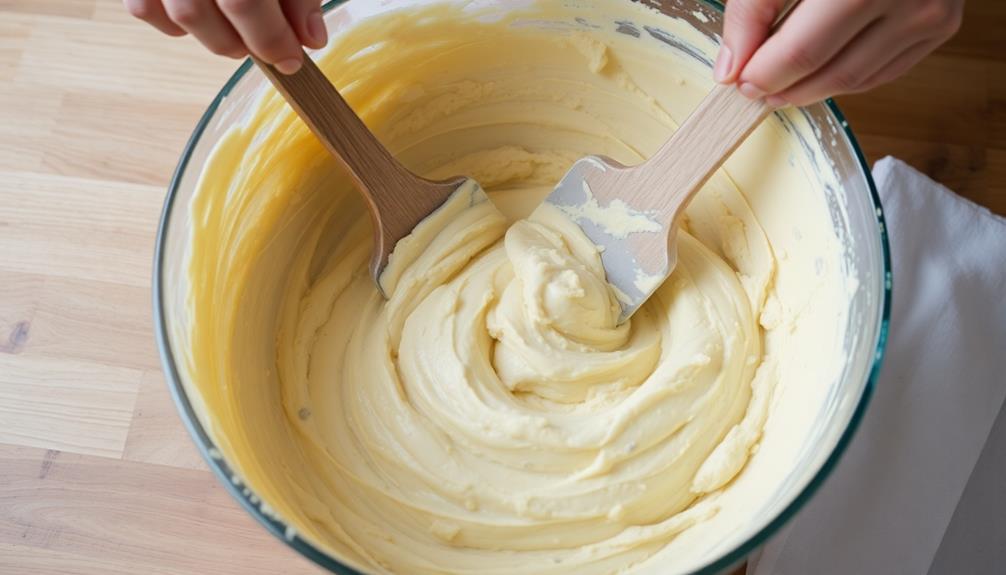
Next, you'll want to mix the cookie dough. In a large bowl, combine the all-purpose flour, granulated sugar, brown sugar, baking soda, and salt. Whisk these dry ingredients together until they're well-incorporated.
To enhance the flavor, consider using flavored coffees as a delightful pairing with your cookies, exploring options such as unique flavor profiles.
Next, add the softened unsalted butter, large egg, and vanilla extract to the bowl. Using a hand mixer or wooden spoon, beat the wet ingredients into the dry until a smooth dough forms. Be careful not to overmix, as that can make the cookies tough.
Once the dough is ready, use a cookie scoop or spoon to portion it into 1-inch balls. Place them about 2 inches apart on the prepared baking sheets. This recipe should yield around 24 cookies.
Now they're ready to bake! Just pop the sheets in the preheated oven for 8-10 minutes, until the edges are lightly golden brown. Let the cookies cool on the baking sheets for 5 minutes before transferring them to a wire rack to cool completely.
Step 3. Scoop Dough Onto Baking Sheet
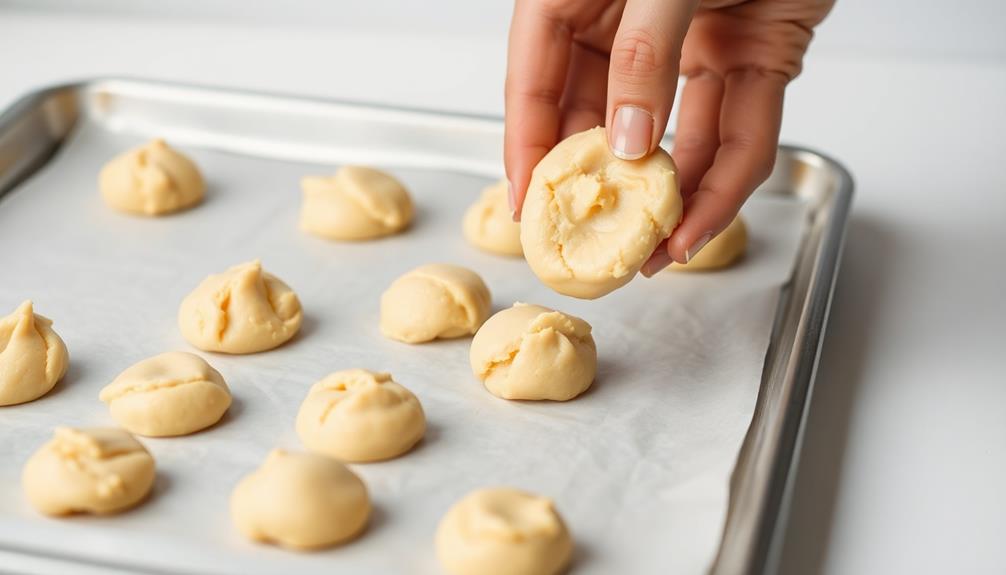
With the cookie dough prepared, you'll want to scoop it onto the baking sheets. Using a small cookie scoop or a spoon, portion out the dough into round balls, placing them about 2 inches apart on the prepared baking sheets.
Be sure to leave enough room for the cookies to spread during baking. For a soothing aroma while you bake, consider diffusing a few drops of lavender oil to create a calming atmosphere.
Once all the dough is scooped, gently press each ball down with the back of a fork or your fingers to flatten it slightly. This will help the cookies bake evenly and achieve that classic crinkled vampire fang shape.
Remember, these cookies will expand quite a bit, so don't overcrowd the baking sheets.
When you're satisfied with the placement, pop the trays in the preheated oven and bake the cookies according to the recipe instructions.
Keep a close eye on them, as you want those fangs to come out perfectly crisp on the edges but still soft in the middle.
With a little care, you'll have a spooktacular batch of vampire fang cookie sandwiches ready to enjoy.
Step 4. Bake for 8-10 Minutes
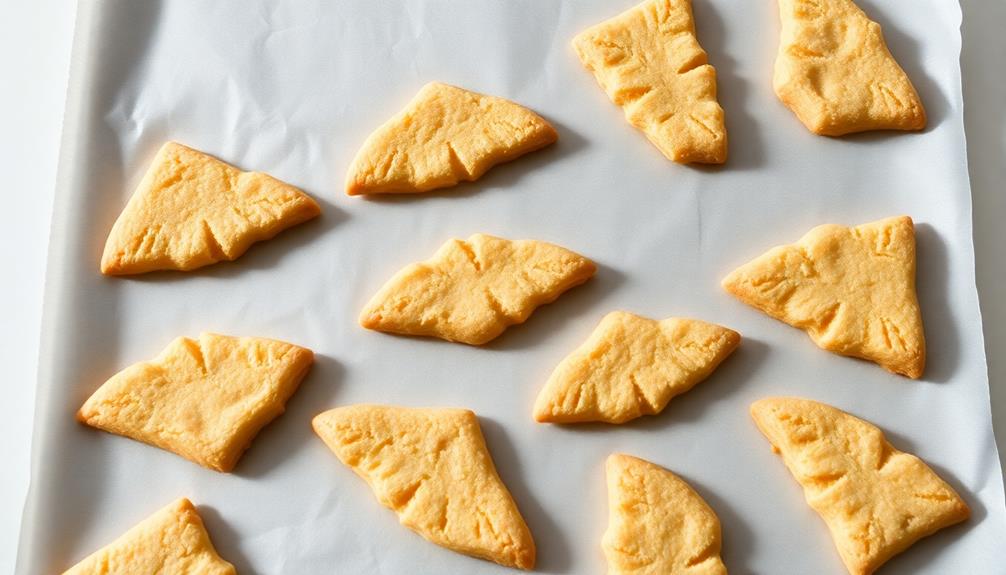
The cookies should bake for 8 to 10 minutes in the preheated oven.
Keep a close eye on them, as the baking time can vary depending on your oven. You'll know they're done when the edges start to turn golden brown and the centers are set.
Don't let them overbake, or they'll become too crispy and dry.
Once the cookies are out of the oven, let them cool on the baking sheet for a few minutes before transferring them to a wire rack. This allows the cookies to firm up a bit before you start assembling the sandwiches.
While they're cooling, you can prepare the filling or gather the additional ingredients needed to complete your Vampire Fang Cookie Sandwiches.
Step 5. Sandwich Cookies With White Buttercream
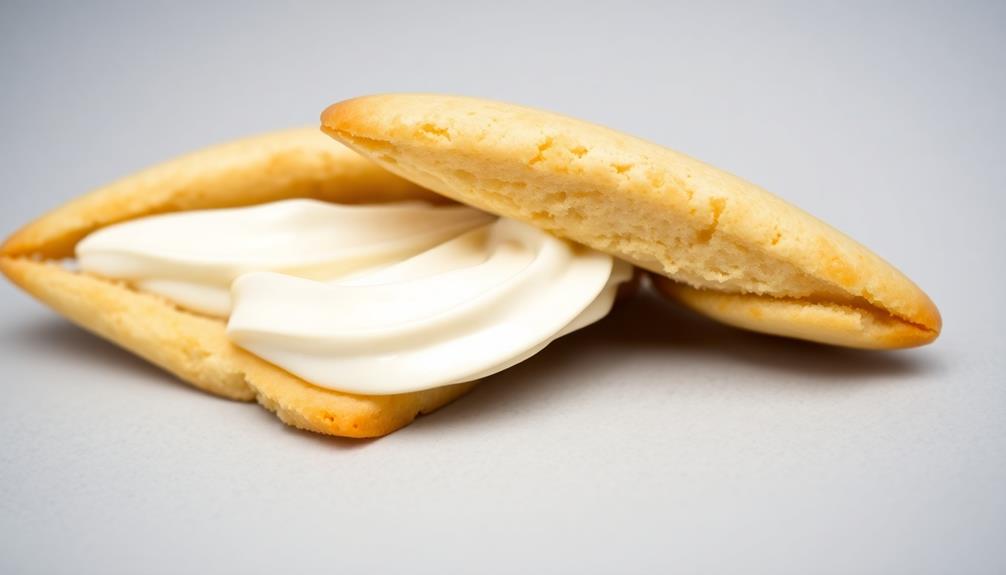
Once the cookies have cooled, it's time to assemble the Vampire Fang Cookie Sandwiches.
Prepare a smooth white buttercream by creaming together softened unsalted butter and powdered sugar until light and fluffy. Add a splash of vanilla extract and a pinch of salt to enhance the flavor.
Carefully pair the cookies into even matches, lining them up on your work surface. Using a piping bag or small spoon, apply a generous amount of buttercream to the flat side of one cookie. Gently press the matching cookie on top, creating a delightful sandwich.
Work quickly, as the buttercream may start to soften the cookies.
Once all the sandwiches are assembled, place them on a baking sheet and refrigerate for 30 minutes. This will help the buttercream firm up and keep the cookies in place.
Serve chilled and enjoy the perfect balance of crisp cookie and creamy filling in every bite!
Final Thoughts
Your venture into crafting these vampire fang cookie sandwiches has been quite the adventure. From meticulously shaping the dough to perfecting the eerie yet enticing appearance, you've shown true dedication to bringing these spooky treats to life.
As you take a step back and admire your handiwork, you can't help but feel a sense of pride. These vampire fang cookie sandwiches not only look the part but also deliver on taste, with the creamy white buttercream providing a delightful contrast to the crumbly cookie exterior.
Whether you're hosting a Halloween party or simply indulging in a whimsical snack, these cookies are sure to delight. The process may have had its challenges, but the end result is well worth it.
Frequently Asked Questions
How Do I Store the Cookie Sandwiches?
To store your cookie sandwiches, you'll want to keep them fresh and protected. First, let them cool completely before handling.
Then, stack them carefully, placing parchment paper between each one to prevent sticking.
Pop them into an airtight container or resealable bag, and stash them in the fridge. This will help the cookies maintain their texture and prevent them from drying out.
With this simple approach, you can enjoy your delightful sandwiches for days to come!
Can I Use Different Cookie Shapes?
Absolutely, you can use different cookie shapes for your sandwiches!
Getting creative with the cookie cutter shapes can add visual interest and make your treats even more fun. Whether you go for classic circles, whimsical stars, or spooky Halloween shapes, the possibilities are endless.
Just be sure the cookies are sturdy enough to hold the filling without crumbling. Have fun experimenting and see what unique cookie sandwiches you can come up with!
Do the Cookies Need to Be Cooled Completely?
You don't necessarily need to wait for the cookies to cool completely before assembling the sandwiches.
In fact, slightly warm cookies can be easier to work with. Just make sure they're not piping hot – you don't want the filling to melt or the cookies to fall apart.
Once the cookies have cooled for 5-10 minutes, they should be at the perfect temperature to assemble your tasty treats.
The warmth will help the filling adhere nicely without making a mess.
Can I Substitute the Filling Ingredients?
Yes, you can definitely substitute the filling ingredients!
The great thing about cookie sandwiches is their versatility. Feel free to experiment with different fillings that suit your taste buds.
Whether it's a creamy spread, a tangy jam, or a nutty butter, the possibilities are endless.
Just be sure the filling complements the cookies well and provides a delightful contrast in flavors and textures.
Have fun exploring new flavor combinations!
How Long Do the Cookie Sandwiches Last?
The cookie sandwiches typically last 3-5 days when stored properly.
Keep them in an airtight container at room temperature, away from direct sunlight or heat.
The cookies will soften over time, so enjoy them within the first few days for the best texture.
If you notice any signs of spoilage, like mold or an off smell, it's best to toss them out.
With proper storage, you can savor these delightful treats for several days.