Werewolf claw breadsticks are a spooky yet delicious treat that have captivated bakers for generations. Originating in rural Eastern Europe, these unique, claw-like breadsticks date back to the 16th century, inspired by local folklore. Crafted with care, bakers utilize savory spices and techniques to achieve the iconic shape and flavor. Serving as a fun and healthier snack option, the breadsticks boast a crispy exterior and soft interior, perfect for Halloween parties. The recipe guides you through kneading the dough, shaping it into claws, and finishing with a buttery, garlic-Parmesan topping. If you're ready to explore this supernatural-themed culinary delight, the steps are here to help you create your own irresistible werewolf claws.
Key Takeaways
- Werewolf Claw Breadsticks are a spooky and savory twist on traditional breadsticks, originating from rural Eastern Europe with a unique claw-like shape.
- The distinct shape is achieved by molding dough into claw-like forms before baking, resulting in a crunchy golden-brown exterior with a soft interior.
- The recipe includes all-purpose flour, active dry yeast, warm water, olive oil, and salt, with an optional garlic-Parmesan topping for added flavor.
- Werewolf Claw Breadsticks are an ideal snack for Halloween parties, serving as a healthier alternative with the option to pair them with nutritious dips.
- The baking process involves kneading the dough, shaping it into claws, baking until golden brown, and optionally brushing with melted butter for added shine and flavor.
History
Tracing the origins of Werewolf Claw Breadsticks can lead you back to the rural regions of Eastern Europe, where generations of bakers have perfected this distinctive delicacy.
The unique shape of the breadsticks, resembling the fearsome claws of the legendary werewolf, is said to have originated in the 16th century. Local folklore tells tales of bakers who, inspired by the tales of these mythical creatures, began shaping their bread dough into claw-like forms.
Much like the ancient civilizations that utilized chia seeds for their nutritional value, these bakers drew from local resources to enhance their recipes. Over time, the recipe and technique were passed down, evolving to include savory spices and a crisp, golden exterior.
Today, Werewolf Claw Breadsticks remain a beloved specialty in many Eastern European bakeries, drawing in curious tourists and locals alike with their captivating appearance and mouthwatering flavor.
The process of crafting these otherworldly treats continues to be a source of pride and tradition for the region's skilled bakers, who strive to honor the legends that inspired their creation.
Recipe
Werewolf Claw Breadsticks are a fun and spooky twist on traditional breadsticks. These savory treats are perfect for Halloween parties or anytime you want to add a touch of the supernatural to your baking. Not only are these breadsticks delicious, but they can also be enjoyed as a healthier snack option, especially when paired with nutritious dips like hummus or guacamole, which are great sources of essential nutrients for your diet.
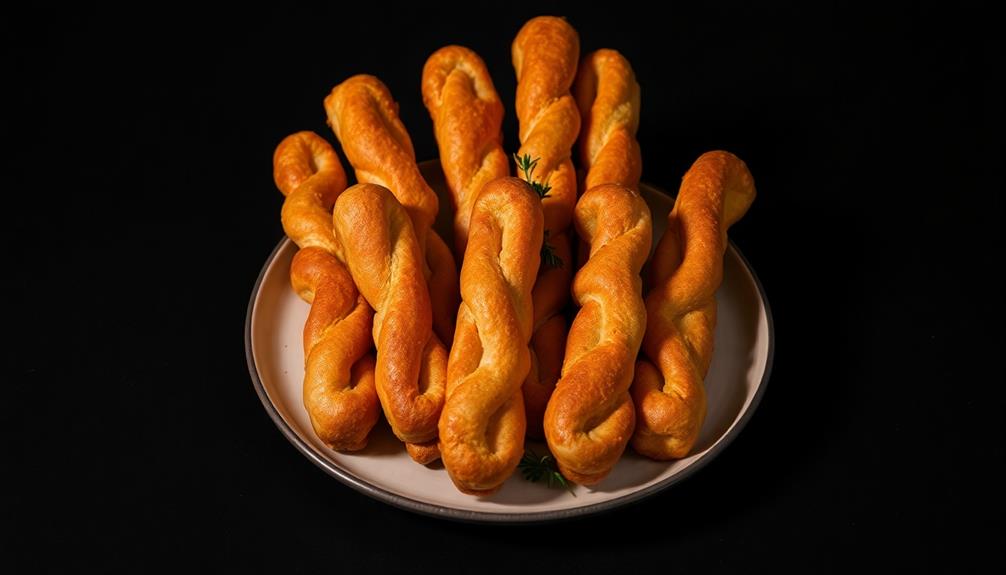
The unique shape of these breadsticks is achieved by shaping the dough into claw-like forms before baking. The result is a crunchy, golden-brown exterior and a soft, pillowy interior that's perfect for dipping in your favorite sauces.
- All-purpose flour
- Active dry yeast
- Warm water
- Olive oil
- Salt
- Garlic powder (optional)
Preheat your oven to 375°F (190°C). In a large mixing bowl, combine the flour, yeast, and a pinch of salt. Gradually add the warm water and olive oil, kneading the dough until it forms a smooth, elastic ball. Cover the dough and let it rest for 30 minutes.
Divide the dough into 8 equal pieces. Roll each piece into a long, thin rope, then shape it into a claw-like form, pinching the ends to create the "fingers." Arrange the shaped breadsticks on a baking sheet lined with parchment paper. Brush the tops with a little olive oil and sprinkle with garlic powder, if desired.
Bake the Werewolf Claw Breadsticks for 18-20 minutes, or until they're golden brown and crispy. Serve hot, with your favorite dipping sauces.
Cooking Steps
Knead the dough until it's smooth and elastic, ensuring that it has a good texture for shaping, which is essential for achieving the perfect color accuracy in home cinema projectors.
Then roll it into the shape of werewolf claws. Bake the breadsticks until they're golden brown, then brush them with melted butter and sprinkle on a garlic-parmesan topping before serving.
Step 1. Knead Dough Until Smooth and Elastic
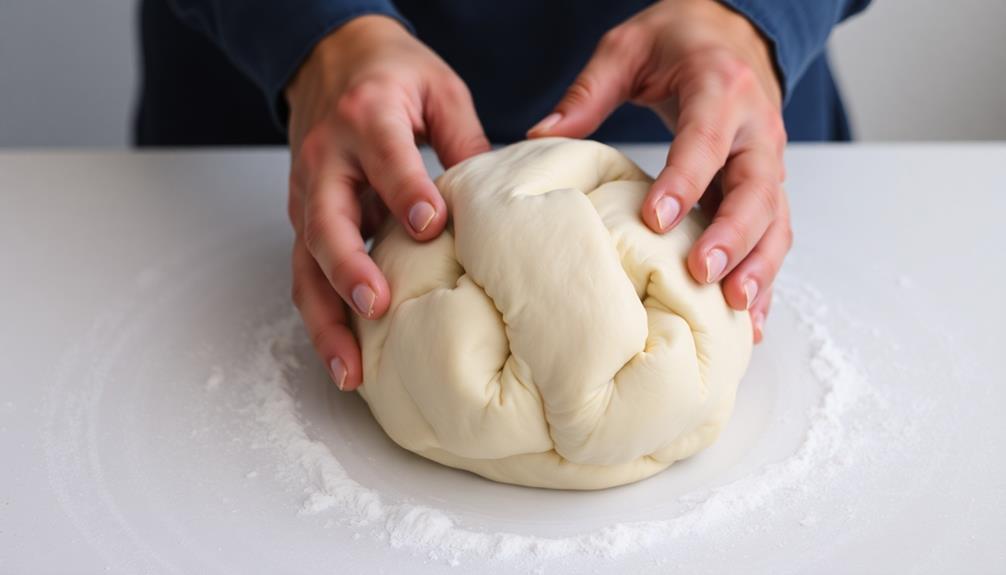
After you've proofed the dough, it's time to start kneading. This is a crucial step that develops the gluten structure, making the dough smooth, elastic, and able to hold its shape.
Begin by turning the dough out onto a clean, lightly floured surface. Using the heels of your hands, push the dough away from you, then fold it back over itself. Give it a quarter turn and repeat the process, kneading for about 5-10 minutes. A well-kneaded dough can greatly affect your final product, much like how assessing bathroom needs influences a successful renovation.
As you knead, the dough will transform from a shaggy mass into a soft, supple ball. You'll know it's ready when it's smooth, springs back when poked, and doesn't stick to your hands. If it's still sticky, add a sprinkle of flour and keep kneading.
Be gentle but firm, using the weight of your body to really work the dough. This mindful process is therapeutic, so take your time and enjoy it. With a little elbow grease, you'll have perfectly kneaded dough, ready for shaping into those fearsome werewolf claws.
Step 2. Roll Into Werewolf Claw Shape
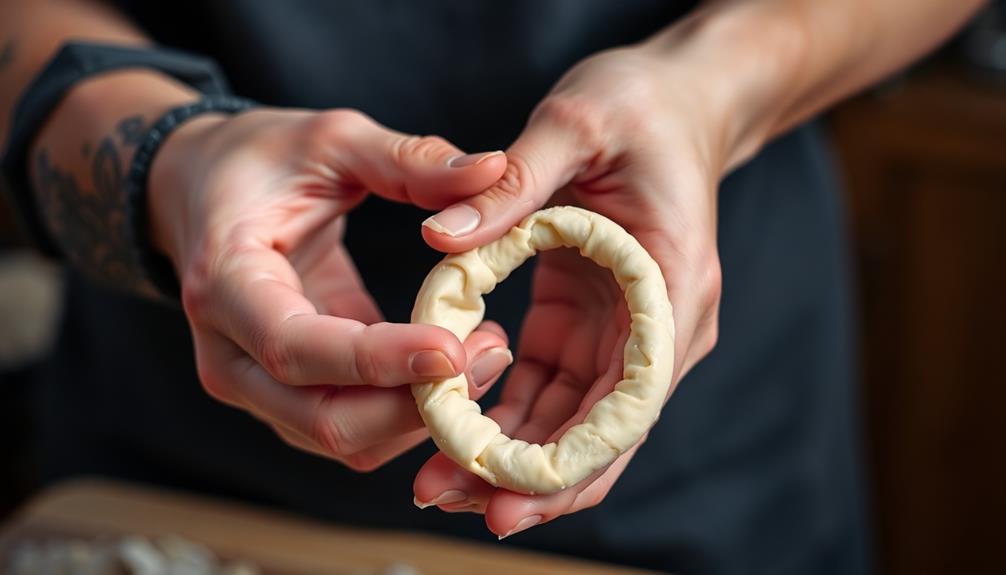
With your well-kneaded dough ready, it's time to shape it into those menacing werewolf claws. Start by dividing the dough into eight equal pieces.
Roll each piece into a long, thin strip about 1/2 inch thick and 8 inches long. Gently curve the strips, pinching one end to create a sharp, claw-like shape.
To enhance the flavor and texture of your breadsticks, consider adding some fermented vegetables on the side for a nutritious pairing.
Make sure the curves are distinct and the tips are pointed, just like a werewolf's claws. Arrange the shaped dough pieces on a parchment-lined baking sheet, leaving a bit of space between them. This will allow the claws to bake up crisp and defined.
Once you've shaped all the dough, let the claws rest for 10 minutes before baking. This brief resting period will help them hold their shape better during the baking process.
Now you're ready to transform your dough into a spooky, supernatural delight!
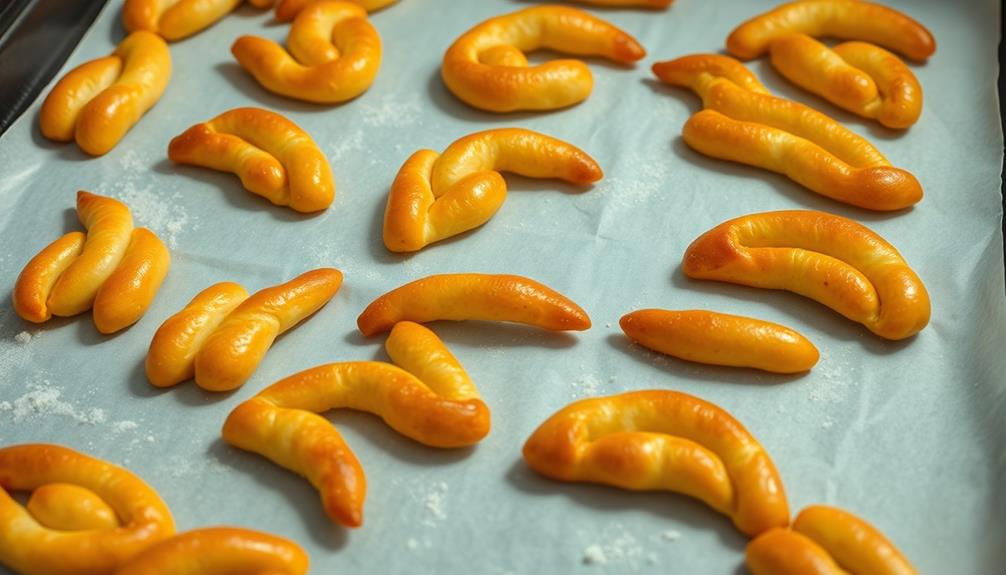
Step 3. Bake Until Golden Brown
Preheat your oven to 400°F (200°C). Once it's nice and toasty, it's time to pop those werewolf claw breadsticks in!
Carefully transfer the dough into the oven, making sure to arrange them in a single layer on a baking sheet.
As they bake, keep an eye on them – you want those claws to turn a beautiful golden brown, not burned to a crisp! Depending on your oven, this should take around 12-15 minutes.
Halfway through, you might want to give them a quick rotation to ensure even cooking.
When they're done, the breadsticks should be crisp on the outside and delightfully soft on the inside, just like a werewolf's claw.
Remove them from the oven and let them cool for a few minutes before serving.
Mmm, can you already imagine the delicious, savory scent wafting through the air? Enjoy your spooky and delicious werewolf claw breadsticks!
Step 4. Brush With Melted Butter Before Serving

Once the werewolf claw breadsticks have finished baking, you'll want to brush them with melted butter before serving. This final step adds a delightful shine and rich flavor to the already tantalizing treats.
Simply melt a few tablespoons of butter in a small bowl or saucepan, being careful not to let it burn. Using a pastry brush, gently sweep the melted butter over the tops and sides of the freshly baked breadsticks. The butter will soak into the nooks and crannies, creating a mouthwatering sheen.
This simple technique transforms the werewolf claws from golden-brown masterpieces into irresistible, glossy delights. The butter also adds a subtle, buttery taste that perfectly complements the savory flavors of the breadsticks.
Once brushed, your werewolf claw breadsticks are ready to be served warm and enjoyed by all. The melted butter brings out the best in these spooky yet scrumptious creations.
Step 5. Sprinkle With Garlic-Parmesan Topping

To add the final touch of flavor, sprinkle the warm werewolf claw breadsticks with a delightful garlic-Parmesan topping.
Start by combining finely grated Parmesan cheese, minced garlic, and a pinch of salt in a small bowl. Gently toss the mixture to evenly distribute the ingredients.
Once the breadsticks have finished baking and are still hot, quickly sprinkle the garlic-Parmesan topping over the top. The heat will help the flavors meld and create a crispy, savory coating.
Be sure to cover the breadsticks evenly, paying special attention to the "claw" tips to ensure maximum flavor coverage.
The combination of buttery, garlicky, and cheesy notes will elevate these werewolf-inspired treats, making them impossible to resist.
Serve the warm, fragrant breadsticks immediately for the ultimate Halloween-themed snacking experience. Enjoy the perfect balance of spooky and delicious in every bite.
Final Thoughts
As you've explored the intriguing world of Werewolf Claw Breadsticks, it's time to reflect on your experience. These ghoulish delights have allowed you to tap into your inner supernatural side, embracing the mystique of werewolves while satisfying your taste buds.
From shaping the dough into claw-like forms to sprinkling the garlic-parmesan topping, you've become a master of this spooky-yet-delicious creation. You’ve perfected the art of weaving the dough and tying them into perfect knots, resulting in a batch of perfectly shaped garlic knots. The garlic-parmesan topping adds just the right amount of savory flavor, making these garlic knots a hit at any gathering. With your culinary skills, there’s no doubt that your friends and family will be begging for your delicious garlic knots recipe.
Looking back, the process may have seemed daunting at first, but with the step-by-step instructions, you've conquered the Werewolf Claw Breadsticks with ease. The result is a uniquely shaped and flavorful treat that's sure to impress your friends and family.
Whether you're hosting a Halloween party or simply craving a fun and savory snack, these breadsticks are a surefire way to add a touch of the supernatural to your culinary repertoire.
Frequently Asked Questions
How Did the Recipe for Werewolf Claw Breadsticks Originate?
You're curious about the origins of this recipe, aren't you?
Well, it's a fascinating story! The idea for werewolf claw breadsticks likely came from the rich folklore and mythology surrounding these legendary creatures.
Bakers probably wanted to create a fun, spooky treat that would capture the essence of werewolves.
By shaping the dough into claw-like forms and adding some creative seasoning, they brought this mythical beast to life in a delicious way.
It's a clever culinary twist on a timeless supernatural legend!
What Makes These Breadsticks Different From Regular Breadsticks?
What makes these breadsticks different? Well, you'll notice they've got a unique shape – each one is twisted and curled, almost like a claw.
This gives them a fun, spooky look that's perfect for Halloween or any time you want to add a touch of the supernatural to your snacks.
But don't worry, they're still made with the same delicious dough as regular breadsticks.
Can the Werewolf Claw Breadsticks Be Frozen for Later Use?
Yes, you can certainly freeze the breadsticks for later use! Just let them cool completely, then wrap them tightly in plastic wrap or aluminum foil.
They'll keep in the freezer for up to 3 months. When you're ready to enjoy them again, simply reheat the frozen breadsticks in the oven at 350°F until they're warm and crispy.
This is a great way to have homemade breadsticks on hand whenever you need them.
Are the Werewolf Claw Breadsticks Suitable for Vegetarians or Vegans?
Unfortunately, the werewolf claw breadsticks aren't suitable for vegetarians or vegans.
These breadsticks contain animal-derived ingredients like butter and cheese, which aren't compatible with a plant-based diet.
If you're looking for a vegetarian or vegan alternative, you might consider exploring breadstick recipes that use plant-based substitutes for the dairy products.
That way, you can still enjoy the delicious taste and texture of breadsticks without compromising your dietary preferences.
How Long Do the Werewolf Claw Breadsticks Typically Last After Baking?
Homemade baked goods typically last 3-5 days when stored properly.
However, the exact shelf life can vary depending on factors like the ingredients used, storage conditions, and personal preferences.
To maximize freshness, you'll want to keep your breadsticks in an airtight container at room temperature.
If properly stored, they should stay fresh and delicious for several days after baking.
Enjoy them within the first few days for the best texture and flavor!