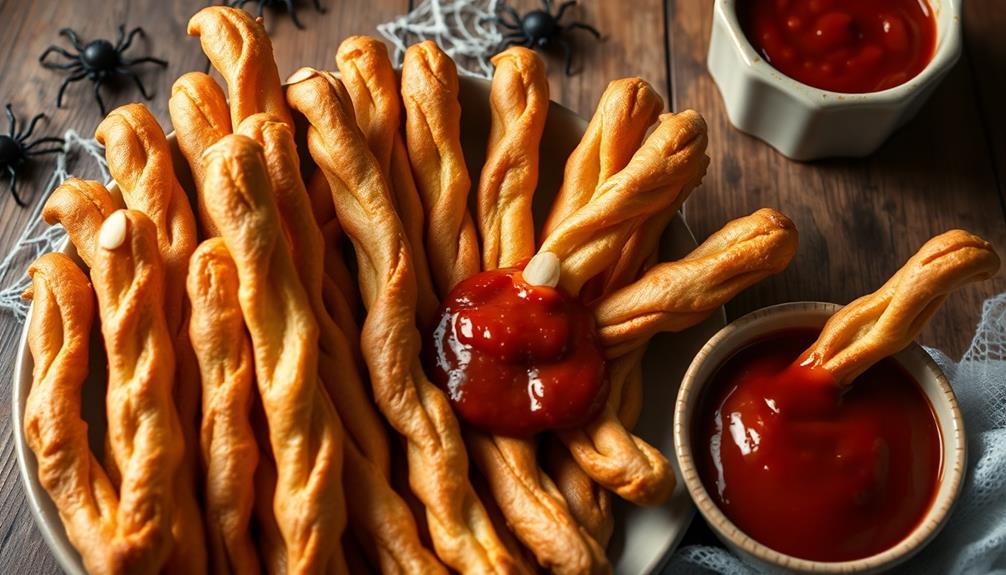
Witch's Finger Pretzel Rods are a spookily delicious Halloween treat that trace their origins back to 16th-century Europe. Shaped like gnarled witches' fingers and topped with almond "fingernails," these pretzels evoke the playful folklore surrounding witchcraft. They're easy to make at home – simply coat pretzel rods in melted chocolate, bake, and decorate with the almond nails. These festive snacks are perfect for Halloween parties, providing a crunchy, chocolatey experience that both kids and adults will enjoy. For even more inspiration, keep exploring the recipe's history and preparation tips.
Key Takeaways
- Witch's Finger Pretzel Rods are a Halloween treat inspired by European folklore, with dough shaped like gnarled fingers and almonds as "fingernails".
- The recipe is easy to make, using pretzel rods as the base and customizable with various toppings like chocolate, food coloring, and sprinkles.
- Baking the coated pretzel rods at 350°F for 10 minutes results in a golden-brown color and crunchy texture.
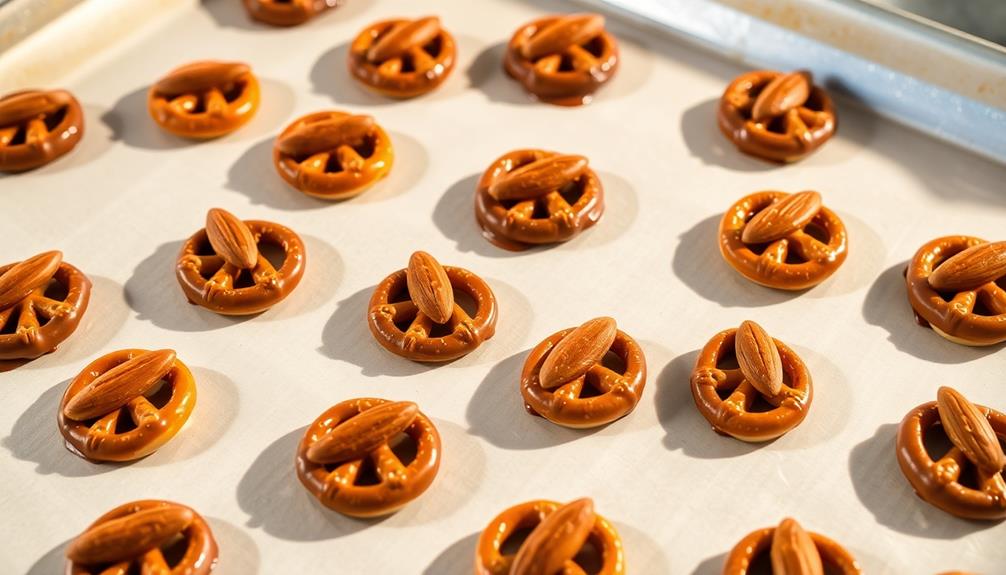
- Decorating the rods with almond "fingernails" and green food coloring in the chocolate coating enhances the spooky, witchy appearance.
- These unique and festive snacks are perfect for Halloween-themed gatherings, offering a satisfying combination of crunchy pretzels and rich chocolate.
History
The origins of the witch's finger pretzel rods can be traced back to the 16th century, when European bakers first began experimenting with shaping pretzels into the form of human fingers.
These eerie, knobby confections were likely inspired by the superstitions and folklore surrounding witchcraft that were prevalent at the time. Bakers would shape the dough into long, twisted shapes, resembling the gnarled digits of a witch's hand, then bake them until they achieved a golden-brown, slightly wrinkled appearance.
As the popularity of these spooky snacks grew, the tradition spread across Europe and eventually made its way to the American colonies.
Over the centuries, the witch's finger pretzel rods have become a beloved Halloween treat, evoking a sense of playful spookiness and capturing the imaginative spirit of the holiday.
Today, these unique pretzels continue to delight bakers and candy enthusiasts alike, blending the comforting familiarity of a pretzel with the whimsical charm of a witchy touch.
Recipe
Witch's Finger Pretzel Rods are a fun and spooky treat perfect for Halloween. These pretzel rods are shaped to resemble witches' fingers, complete with almond "fingernails." They're easy to make and can be customized with different toppings to suit your taste.
For those looking to enhance their festivities, pairing these treats with a refreshing beverage like kombucha can provide a delicious and rich in probiotics option that complements the fun atmosphere.
To get started, you'll need to gather a few simple ingredients and follow a straightforward set of instructions. With a little creativity and a touch of Halloween magic, you can whip up a batch of these delightful Witch's Finger Pretzel Rods that are sure to delight your guests. If you’re feeling inspired, you can also learn how to make cheese straws, a savory and cheesy snack that pairs perfectly with the Witch’s Finger Pretzel Rods. All you need are a few simple ingredients and a straightforward set of instructions to create these delicious treats. With a little creativity and a touch of culinary magic, you’ll have a spread that is sure to delight your guests. Feeling festive with your Halloween treats? Why not try your hand at making a witch’s broom recipe as well? With just a few simple ingredients and an easy-to-follow set of instructions, you can create a savory and crunchy snack that will complement your Witch’s Finger Pretzel Rods perfectly. Your guests will love the variety of spooky-themed treats you have prepared for them, and you’ll have a blast getting creative in the kitchen. So, gather your ingredients and get ready to impress with your Halloween culinary skills!
Ingredients:
- Pretzel rods
- Cream cheese or melted chocolate (for "fingernail" attachment)
- Slivered almonds (for "fingernails")
- Food coloring (optional)
Instructions:
Melt the cream cheese or chocolate in a double boiler or microwave. Dip the ends of the pretzel rods into the melted mixture and immediately press a slivered almond onto the end to create the "fingernail." Allow the pretzel rods to cool and the cream cheese or chocolate to set.
If desired, use food coloring to tint the melted mixture for a more vibrant "fingernail" color.
Tips:
For a more authentic "witch's finger" look, you can bend the pretzel rods slightly to create a more knobby, crooked appearance. Additionally, you can experiment with different toppings, such as crushed cookies or sprinkles, to add even more spooky flair to your Witch's Finger Pretzel Rods.
These treats are best served chilled and can be stored in an airtight container for up to a week.
Cooking Steps
Preheat your oven to 350°F.
Understanding the psychological motives behind behaviors can enhance your cooking experience, much like recognizing the signs of narcissism can aid in personal relationships narcissistic traits.
Next, melt the butter and chocolate together in a bowl.
Dip the pretzels into the chocolate mixture, then place them on a baking sheet and bake for 10 minutes.
Step 1. Preheat Oven to 350°F
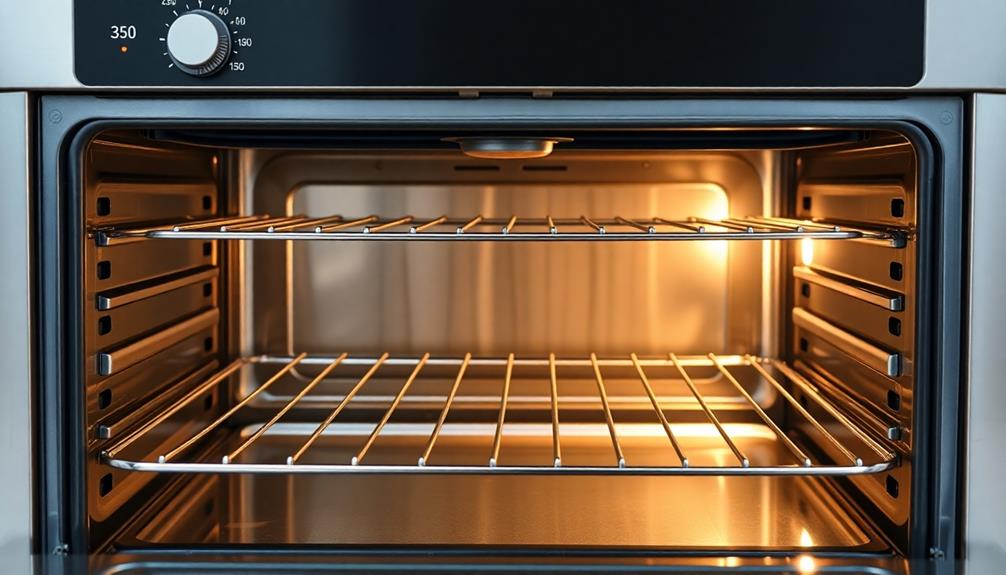
First, preheat your oven to 350°F. This crucial step ensures your oven is at the perfect temperature when it's time to bake your spooky witch's finger pretzel rods.
It's important to give your oven a few minutes to reach the desired temperature, as this helps create an evenly baked treat. Proper preparation is essential in both baking and pet care; for example, knowing the ultimate hamster care guide can help ensure your furry friend is healthy while you enjoy your Halloween snacks.
Once your oven is preheated, you'll be ready to move on to the next step in the recipe. Preheating the oven is a simple but essential task that sets the stage for delicious, perfectly-cooked witch's finger pretzel rods.
Take the time to ensure your oven is ready, and you'll be rewarded with a batch of creepy, crunchy, and oh-so-satisfying Halloween snacks. With the oven preheated, you can now confidently proceed to the next step in the baking process.
Step 2. Melt Butter and Chocolate Together
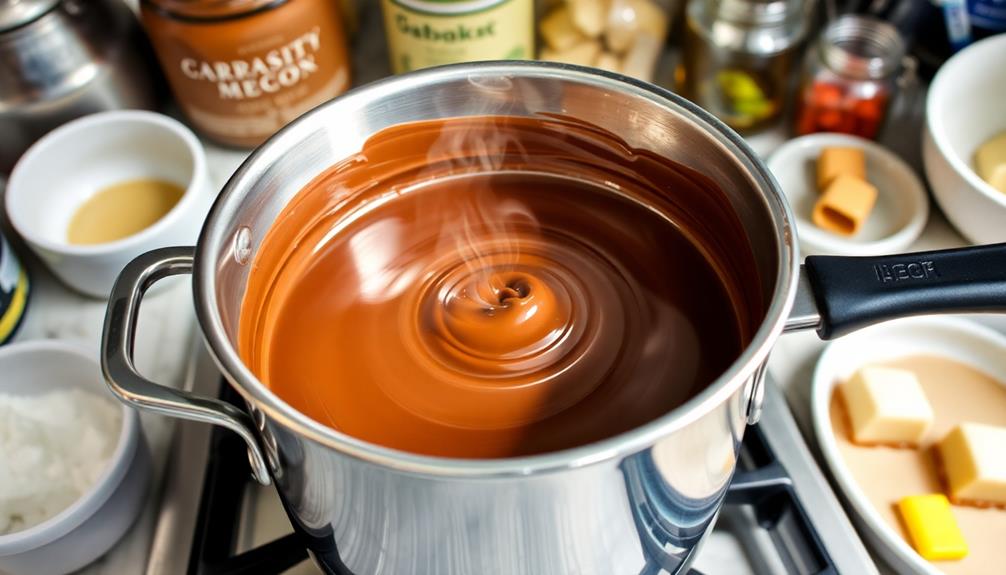
With the oven preheated, you'll now need to melt the butter and chocolate together. In a medium saucepan, combine the unsalted butter and semisweet chocolate chips.
It's important to use high-quality chocolate for a smoother finish, similar to how materials needed for candle making can affect your final product.
Place the pan over low heat, stirring the mixture constantly until it's fully melted and smooth. Be patient and take your time, as you don't want the chocolate to burn.
Once the butter and chocolate are completely melted and well-combined, remove the pan from the heat. You can now use this chocolate-butter mixture to coat the pretzel rods, creating the spooky "witch's finger" appearance.
Ensure the rods are fully coated, then place them on a parchment-lined baking sheet to set. The chocolate will harden as it cools, giving the pretzel rods a shiny, finished look.
With this step complete, you're one step closer to creating your delightfully creepy and delicious Witch's Finger Pretzel Rods.
Step 3. Dip Pretzels in Chocolate Mixture

With the chocolate-butter mixture melted and ready, dip the pretzel rods into it one by one, ensuring they're fully coated.
Work quickly, but take care not to let the rods soak for too long, as this can cause the chocolate to become clumpy. Gently swirl and rotate each rod to evenly distribute the chocolate, allowing any excess to drip back into the bowl.
Place the coated rods on a parchment-lined baking sheet or a wire rack set over a baking sheet. This will allow the chocolate to set and any extra to drip off.
Once all the rods have been dipped, you may want to refrigerate the tray for 10-15 minutes to help the chocolate harden faster. Be mindful not to refrigerate them for too long, as this can cause the chocolate to develop a dull, chalky appearance.
Allow the coated pretzels to sit at room temperature until the chocolate is set, about 30 minutes.
Step 4. Place Pretzels on Baking Sheet
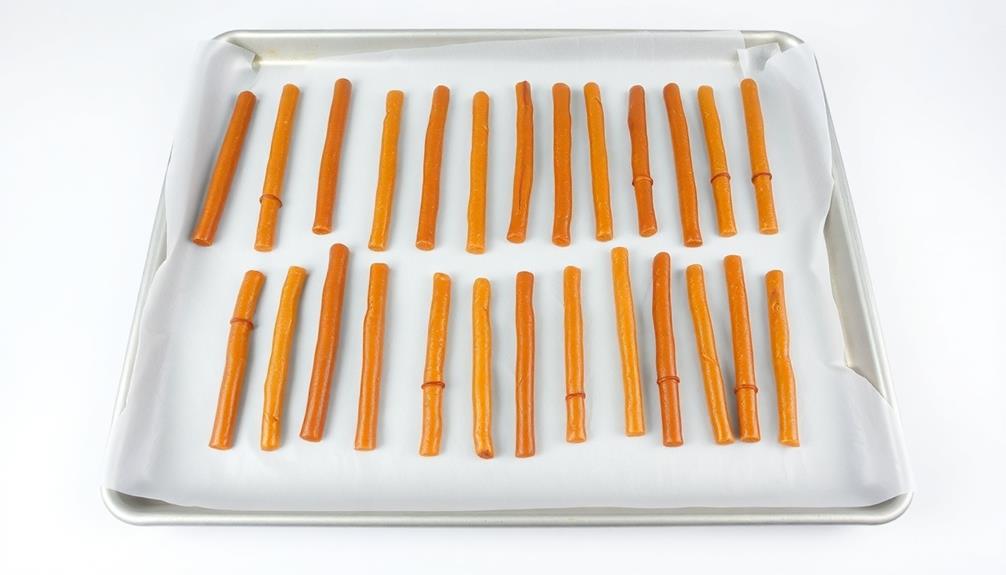
Once the pretzel rods are fully coated in the chocolate-butter mixture, place them on a parchment-lined baking sheet or a wire rack set over a baking sheet.
Make sure the rods are spaced apart, so they don't stick together as they cool. You don't want them to be crowded on the sheet, or the chocolate won't set properly.
For those interested in maintaining a clean kitchen while baking, preventing cross-contact is crucial to avoid contamination during food prep.
Now, pop the baking sheet into the fridge or freezer. This will help the chocolate firm up quickly, giving you those glossy, professional-looking pretzel rods.
Keep an eye on them, and once the chocolate has hardened, you can start adding the ghoulish "fingers" to complete the witch's finger theme.
Be careful when removing the pretzels from the cold surface – the chocolate can be quite delicate at this stage.
Use a spatula or tongs to gently lift them off, taking care not to smudge or crack the chocolate coating.
With a little patience, you'll have a tray of spooky-good witch's finger pretzel rods ready to delight your guests.
Step 5. Bake at 350°F for 10 Minutes
Preheat your oven to 350°F. This is a crucial step to ensure your Witch's Finger Pretzel Rods bake evenly and develop that perfect golden-brown color.
Once your oven is preheated, carefully place the prepared pretzel rods onto a baking sheet. Make sure to space them out slightly to allow for even cooking. You don't want them to stick together or overcrowd the pan.
Set the timer for 10 minutes and let the pretzels work their magic in the oven. The high temperature will help the pretzel dough puff up and achieve that classic, slightly crunchy exterior.
Keep an eye on them, as oven temperatures can vary, and you don't want to end up with overdone or burnt pretzels.
When the timer goes off, use oven mitts to remove the baking sheet from the oven. Your Witch's Finger Pretzel Rods are now ready for the next step.
Let's move on to cooling and decorating them!
Final Thoughts
These witch's finger pretzel rods make a wonderfully spooky and delicious treat for Halloween.
You'll be amazed at how easily you can transform ordinary pretzel rods into creepy, gnarled fingers. The simple addition of almond slices as nails and green food coloring to the chocolate coating creates an uncanny resemblance to witches' digits.
Not only do they look the part, but the crunchy pretzel base and rich chocolate shell also deliver a satisfying flavor. These unique Halloween snacks are sure to delight both kids and adults at your party or gathering.
Their eye-catching appearance and delectable taste make them the perfect festive offering. Plus, they're a cinch to prepare – just a few minutes in the oven and you'll have a spooky treat ready to serve.
Frequently Asked Questions
How Long Do the Pretzel Rods Stay Fresh?
Pretzel rods generally stay fresh for 2-3 weeks when stored properly.
Make sure to keep them in an airtight container at room temperature. They may start to get a bit stale after that, but you can revive them by popping them in the oven for a few minutes.
With a little care, you'll be able to enjoy those tasty pretzel rods for quite a while.
Can the Recipe Be Easily Scaled up or Down?
You'll be happy to know that the recipe can be easily scaled up or down to suit your needs!
Whether you're whipping up a batch for a small gathering or catering a large event, the measurements can be adjusted with ease.
Just remember to keep an eye on the baking time, as larger or smaller quantities may affect the overall cooking duration.
With a bit of trial and error, you'll be able to achieve perfect results every time.
Are There Any Gluten-Free or Vegan Variations Available?
Yes, there are definitely gluten-free and vegan variations available for this recipe!
You can easily swap out regular flour for a gluten-free all-purpose blend, and use dairy-free chocolate or carob chips instead of regular chocolate.
It's a great way to make the recipe accessible to those with dietary restrictions.
Just be sure to double-check all your ingredient labels to ensure they're certified gluten-free and vegan.
With a few simple substitutions, you can enjoy a delicious allergy-friendly version of this tasty treat.
Can the Pretzel Rods Be Frozen for Later Use?
You'll be pleased to know that yes, you can absolutely freeze pretzel rods for later use!
Simply place them in an airtight container or freezer bag, and they'll stay fresh for up to 3 months.
When you're ready to enjoy them, just thaw at room temperature.
The texture may be slightly different, but they'll still be delicious.
Freezing is a great way to have pretzels on hand whenever the craving strikes.
What Is the Shelf Life of the Finished Product?
The shelf life of the finished product can vary depending on storage conditions, but generally, homemade pretzel rods will last 3-5 days at room temperature or up to a week in the fridge.
To extend their freshness, you can freeze the pretzels for up to 3 months. Just be sure to let them thaw completely before serving for the best texture and flavor.
Proper storage is key to enjoying your homemade treats for as long as possible.