The key step most skip is establishing a clear purpose and defining your vision before collecting images. By choosing specific keywords and descriptive words, you guide your entire mood board’s focus and emotional tone. This clarity helps you select intentional colors, textures, and themes that align with your goals. When you keep your vision front and center, your mood board becomes more cohesive and impactful—so if you want to master this process, there’s more to uncover ahead.
Key Takeaways
- Clearly define your project’s purpose and emotional tone to guide all design choices.
- Gather diverse, relevant visuals and identify recurring motifs for cohesive inspiration.
- Organize elements with intentional layout, emphasizing focal points and visual flow.
- Focus on thematic consistency by aligning colors, textures, and imagery with your core idea.
- Regularly review and refine the mood board to ensure clarity, harmony, and emotional impact.
Why a Clear Purpose Makes Your Mood Board Shine
When creating a mood board, having a clear purpose is essential because it guides every choice you make. It helps you focus on what truly matters, ensuring your selections support your brand’s identity. A well-defined goal keeps your mood board consistent, maintaining branding consistency across colors, textures, and imagery. This clarity also enhances emotional resonance, allowing viewers to connect deeply with your message. Without a purpose, your mood board can become cluttered and disjointed, diluting its impact. When you know what you want to communicate, every element you include reinforces that message. Additionally, understanding your target audience ensures your mood board appeals effectively and drives engagement. As a result, your mood board becomes a powerful visual tool that accurately reflects your brand and evokes the right feelings in your audience.
Define Your Vision With Keywords and Descriptive Words

Choosing powerful keywords helps clarify your vision and guides your mood board. Use descriptive words to evoke emotions and set the tone you want to achieve. This focus guarantees your visuals stay aligned with your overall concept. Incorporating visual storytelling techniques can further enhance your ability to communicate your ideas effectively. Additionally, understanding how to prioritize visual elements ensures your mood board remains focused and compelling.
Selecting Impactful Keywords
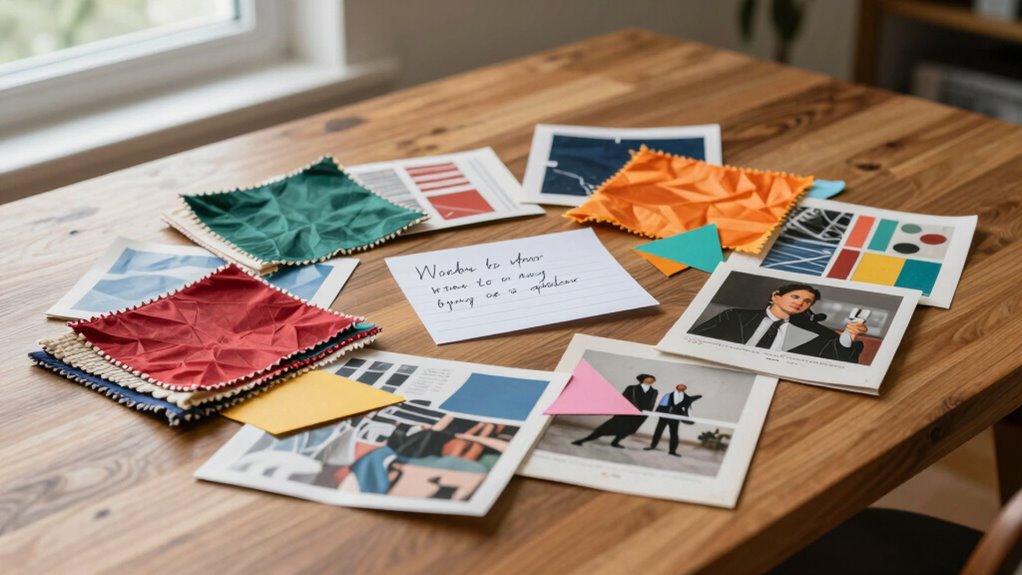
Selecting influential keywords is a crucial step in defining your vision for the mood board. Focus on keyword optimization by choosing words that truly capture the essence of your project. Use impactful phrasing that evokes emotion and clearly communicates your desired atmosphere or style. Instead of vague terms, opt for specific, descriptive keywords that resonate with your overall concept. Consider the mood, color palette, textures, and themes you want to highlight. These keywords will serve as guiding beacons during your curation process, helping you filter images and materials efficiently. Remember, precise and powerful keywords make it easier to stay aligned with your vision and ensure your mood board accurately reflects your creative intent. Incorporating ideas from Free Floating design principles can further enhance your concept clarity. Paying attention to body jewelry measurements and materials can inspire unique visual elements that add depth to your mood board.
Using Descriptive Language
Building on your impactful keywords, incorporating descriptive language helps clarify your vision even further. Using sensory language brings your ideas to life, allowing you to imagine textures, colors, and sounds vividly. It creates an emotional appeal that resonates deeply, guiding your mood board’s tone. To deepen your understanding, consider these examples:
| Descriptive Element | Emotional Impact |
|---|---|
| Soft, plush fabric | Comfort and warmth |
| Bright, muted tones | Calm and serenity |
| Crisp, fresh scent | Freshness and renewal |
| Warm amber light | Cozy, inviting mood |
| Rough, weathered wood | Rugged, rustic charm |
Additionally, selecting specific color palettes can evoke particular feelings and help establish the overall mood you want to convey. Incorporating visual cues like patterns and textures further enhances the emotional depth of your mood board, making your concept more tangible. Exploring sound vibrations can also add another layer of sensory richness, enriching your creative process. To refine your visual storytelling, consider how descriptive language can evoke specific sensations and help you communicate your vision more effectively.
Find Inspiration and Spot Common Themes
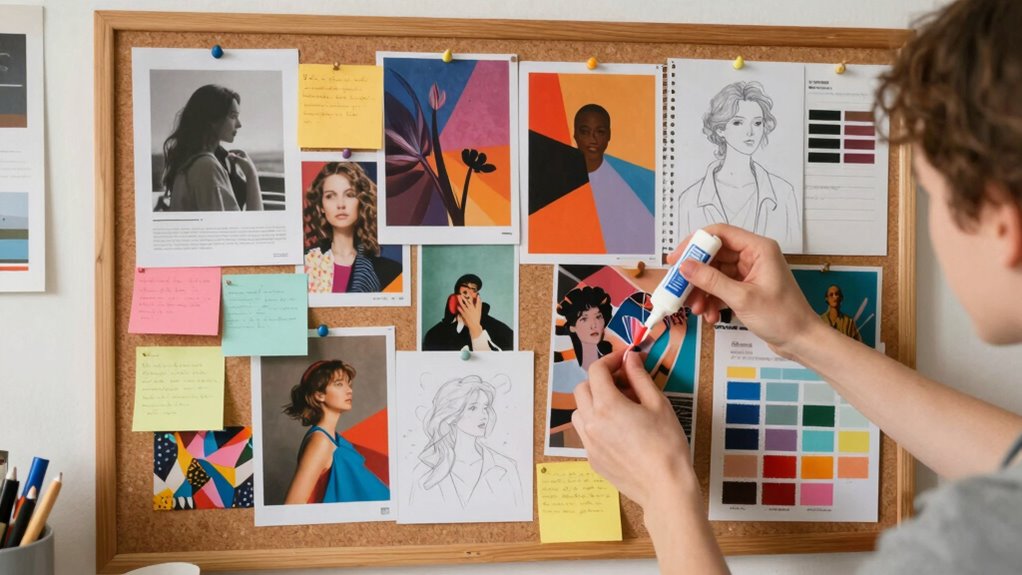
To find inspiration and spot common themes, start by gathering a wide variety of images, textures, colors, and styles that resonate with your initial ideas. Look for recurring elements in color palettes and style themes that catch your eye. Pay attention to patterns, contrasts,, and moods that appear across different visuals. This helps you identify what truly speaks to your project and what might feel out of place. Keep your collection flexible, adding diverse sources like magazines, online boards, or fabric samples. As you review, notice connections or overlaps, such as shared tones or design motifs. Spotting these common threads will guide you in refining your mood board, ensuring it reflects a cohesive vision rooted in authentic inspiration. Additionally, understanding the emotional impact of colors and textures can help you craft a more meaningful and engaging design concept.
Sketch a Rough Layout to Organize Your Ideas

Start by defining the space you’re working with to guarantee your layout fits well. Then, arrange your visual elements to create a balanced and cohesive flow. This rough sketch helps you visualize how everything will come together before making it more detailed.
Define Your Space
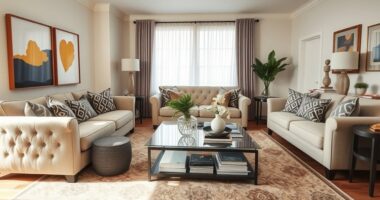
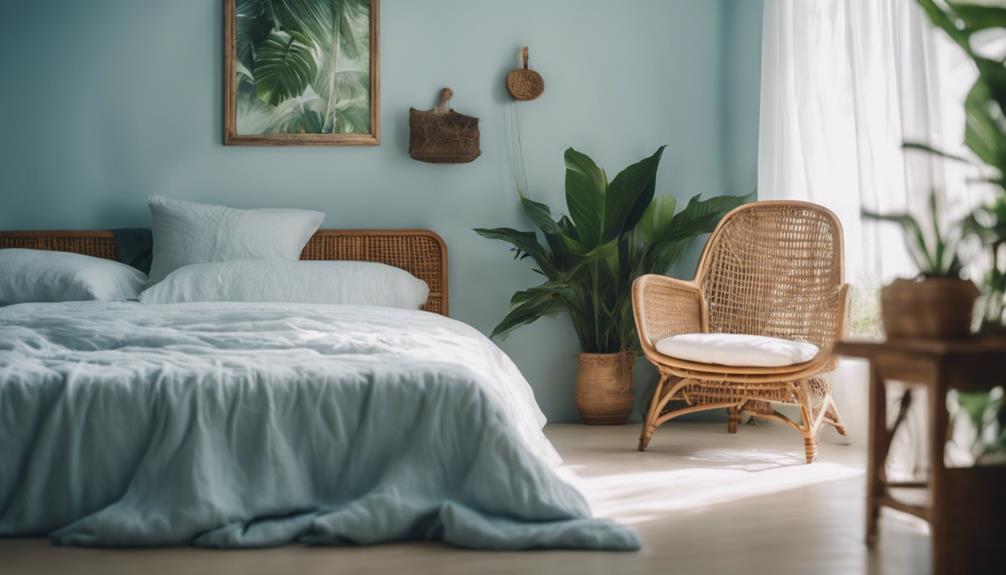
Creating a rough layout of your space helps you visualize how your ideas will come together. Start by sketching a simple spatial layout that includes key zones. This helps determine how your chosen color palette influences the atmosphere and flow. Use the layout to experiment with placement and scale of elements, ensuring they complement each other. To stay organized, try this table:
| Area | Description |
|---|---|
| Entryway | Welcoming, sets tone for the space |
| Living Room | Central hub, focus on comfort |
| Kitchen | Functional, efficient design |
| Bedroom | Relaxing, soothing colors |
| Bathroom | Clean, invigorating vibe |
This helps you refine your ideas before finalizing your mood board. Incorporating field‑of‑view considerations into your space planning can also inspire more balanced and harmonious arrangements. Additionally, incorporating essential oils into your space can further enhance the ambiance and mood you wish to create, making your environment both inviting and beneficial for well-being. Understanding auditory processing can also help in designing spaces that are acoustically comfortable and reduce sensory overload. Exploring lighting techniques can further optimize the mood and functionality of your environment, creating a truly personalized space. Considering sensory input can be crucial for designing spaces that cater to different sensory preferences and needs.
Arrange Visual Elements
Once you have a basic layout in mind, sketching a rough plan helps you organize your visual elements effectively. Start by positioning your focal points—these are the features that draw the eye first. Use your sketch to experiment with visual balance, ensuring no area feels too crowded or empty. Arrange images, colors, and textures in a way that guides the viewer’s eye naturally across the board. Think about grouping related elements to create harmony, while contrasting others to add interest. Remember, the rough layout isn’t final; it’s a tool to see how your ideas interact. Adjust placements as needed to highlight key themes and maintain a cohesive flow. This step makes your mood board more intentional and visually compelling.
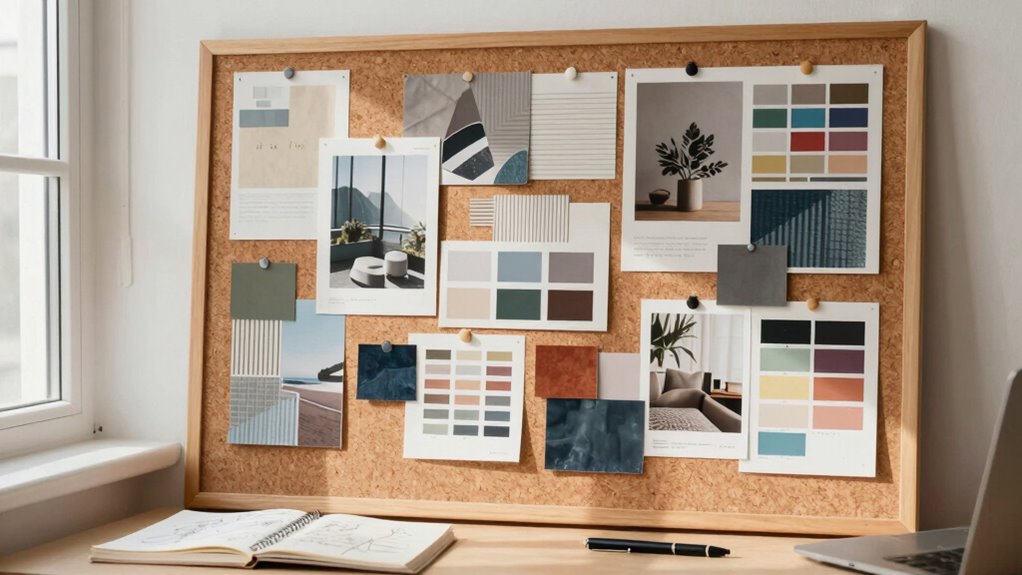
Choose Images, Colors, and Textures With Intention

How do you guarantee your mood board truly captures the vibe you’re aiming for? It starts with choosing images, colors, and textures with intention. Focus on creating visual harmony by selecting elements that complement each other. To achieve this, consider these steps:
- Pick images that evoke the emotional tone you desire—calm, energetic, cozy, etc.
- Choose colors that reinforce this emotional tone and work well together.
- Incorporate textures that add depth and tactile interest, enhancing the overall mood.
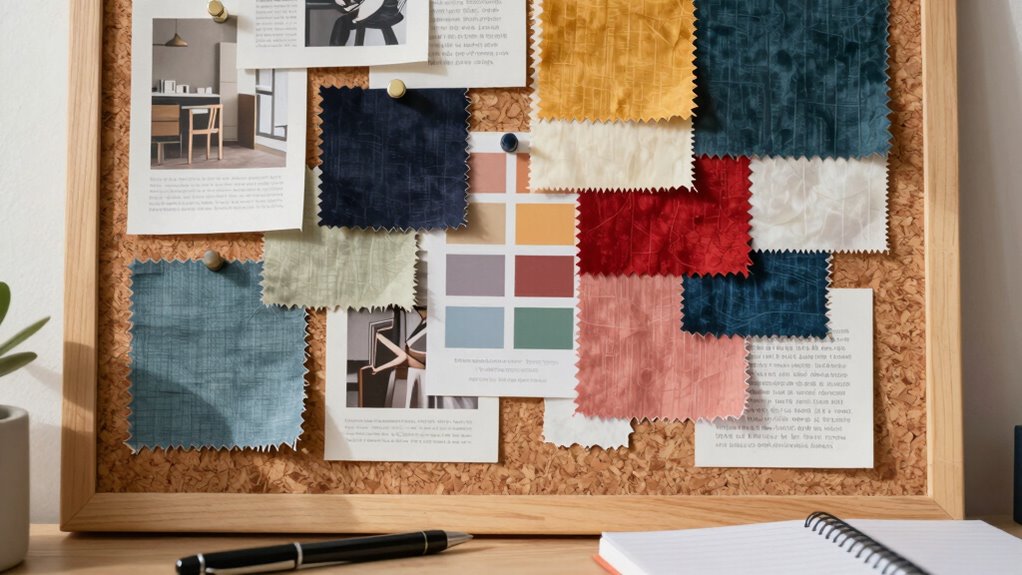
Keep Your Mood Board Cohesive by Incorporating Your Vision
To keep your mood board cohesive, it’s essential to incorporate your overall vision into every element. Focus on color harmony by selecting shades that reflect your mood and message, ensuring all hues complement each other. This creates a unified look and reinforces your concept. Additionally, maintain thematic consistency by choosing images, textures, and text that align with your central idea. Avoid mixing unrelated styles or themes, which can dilute your message. Instead, filter your choices through your vision, asking if each element contributes to the story you want to tell. Incorporating vintage and antique furnishings helps establish authenticity and charm, making your mood board more compelling. When your mood board reflects a clear, consistent theme and harmonious colors, it becomes a powerful visual tool that accurately communicates your intent and guides your project forward. Paying attention to space planning fundamentals ensures your design ideas are practical and functional within your intended environment.
Review and Fine-Tune for Impact and Clarity

After assembling your mood board with cohesive elements, it’s time to review and fine-tune it to maximize impact and clarity. Focus on enhancing visual storytelling by guaranteeing each element supports your overall message. Check the color harmony—are the colors working together to evoke the right mood? To refine your mood board, consider these steps:
- Remove clutter or outliers that distract from your main theme.
- Adjust colors to improve harmony and emotional resonance.
- Ensure the flow guides the viewer’s eye smoothly across the board.
- Incorporate visual hierarchy strategies that align with your visual story for a cohesive message. Additionally, consider how your selections can reflect your inner wisdom to create a more authentic and resonant visual narrative. Paying attention to the best anime movies and other emotional storytelling elements can also inspire more impactful visual choices.
How Following This Step Elevates Your Mood Board’s Effectiveness
When you follow this step, your mood board becomes a powerful tool for clear communication and emotional impact. It enhances your ability to tell a visual story that resonates with your audience. By carefully selecting and arranging images, textures, and colors, you evoke strong emotional connections that guide perception and decision-making. This step guarantees your mood board isn’t just a collection of pretty pictures but a cohesive narrative that communicates your vision effectively. To illustrate, consider the following:
| Element | Purpose | Impact |
|---|---|---|
| Consistent Theme | Reinforces message | Builds emotional connection |
| Color Palette | Sets mood and tone | Strengthens visual storytelling |
| Textures & Patterns | Adds depth and interest | Engages viewers emotionally |
| Layout & Composition | Guides viewer’s eye | Clarifies your message |
Following this step elevates your mood board’s effectiveness, making it a compelling communication tool. Incorporating an understanding of content-focused roles can also help you tailor your mood board to align with the intended message or audience.
Frequently Asked Questions
How Do I Choose the Right Tools for Creating a Digital Mood Board?
To choose the right digital tools, start by considering your project needs and skill level. Look for mood board apps that offer user-friendly interfaces, customizable templates, and collaboration features. Explore popular digital tools like Canva, Milanote, or Adobe Spark, and test their features. Selecting a tool that aligns with your workflow guarantees you can easily gather inspiration, organize ideas, and communicate your vision effectively.
Can I Create a Mood Board Without Prior Design Experience?
Absolutely, you can create a mood board without prior design experience. Start with beginner tips like gathering inspiration from magazines, Pinterest, or nature. Focus on your creative process by selecting images, colors, and textures that resonate with your vision. Use simple tools like Canva or Pinterest to assemble your ideas. Remember, it’s about expressing your style, so don’t overthink—trust your instincts and have fun crafting your mood board.
How Often Should I Update or Revise My Mood Board?
You should update your mood board regularly to keep it fresh and inspiring. Whether it’s seasonal updates or an inspiration refresh, revisiting it every few months helps you stay aligned with your evolving style. When your goals shift or new ideas emerge, revise your mood board to reflect those changes. This ongoing process keeps your creative energy flowing, ensuring your vision stays current, inspiring, and true to your evolving taste.
What Are Common Mistakes to Avoid During the Process?
Avoid visual clutter by selecting only the most impactful images and ideas, and steer clear of inconsistent themes that can confuse your mood board’s message. Focus on maintaining a cohesive style and color palette, and don’t overload it with too many elements. Keep it simple and intentional, so your mood board clearly communicates your vision without overwhelming viewers. This guarantees your mood board remains effective and inspiring.
How Do I Present My Mood Board to Clients or Team Members?
Imagine yourself confidently standing in front of your clients or team, holding your mood board like a visual story. Focus on a clear, organized visual presentation, highlighting key themes and choices. Use concise explanations to make sure effective communication, emphasizing how each element aligns with the project goals. Engage your audience by inviting questions, and stay adaptable—this approach helps them connect emotionally and understand your creative vision.
Conclusion
Think of your mood board as a garden. When you plant each idea intentionally—choosing the right colors, textures, and images—you create a harmonious landscape that guides growth. Skipping the planning step is like planting seeds without a plan; chaos ensues. But when you nurture your vision with purpose, your mood board blooms into a vibrant, cohesive masterpiece that clearly communicates your creative journey. Cultivate it well, and your project will flourish.