
To prevent regret with your kitchen backsplash, focus on precise spacing between tiles. Measure carefully from counter to ceiling and around outlets to guarantee seamless fit and harmony. Use spacers and tools to maintain consistent grout lines, and choose grout colors that enhance your design. Avoid common mistakes like uneven gaps or misaligned tiles. Mastering these details now ensures a professional look and lasting durability; keep going to discover expert strategies for perfect spacing and layout.
Key Takeaways
- Measure tile and grout line widths accurately, considering grout color and pattern for a cohesive, professional look.
- Use spacers during installation to maintain consistent gaps and prevent uneven or cluttered appearance.
- Mark electrical outlets and switches precisely to ensure seamless tile fitting and functionality around fixtures.
- Double-check measurements after laying out tiles to catch any misalignments before adhesive application.
- Utilize proper tools like level, straightedge, and high-quality adhesive to ensure even spacing and alignment throughout the project.
Why Proper Backsplash Spacing Is Key to a Beautiful, Functional Kitchen
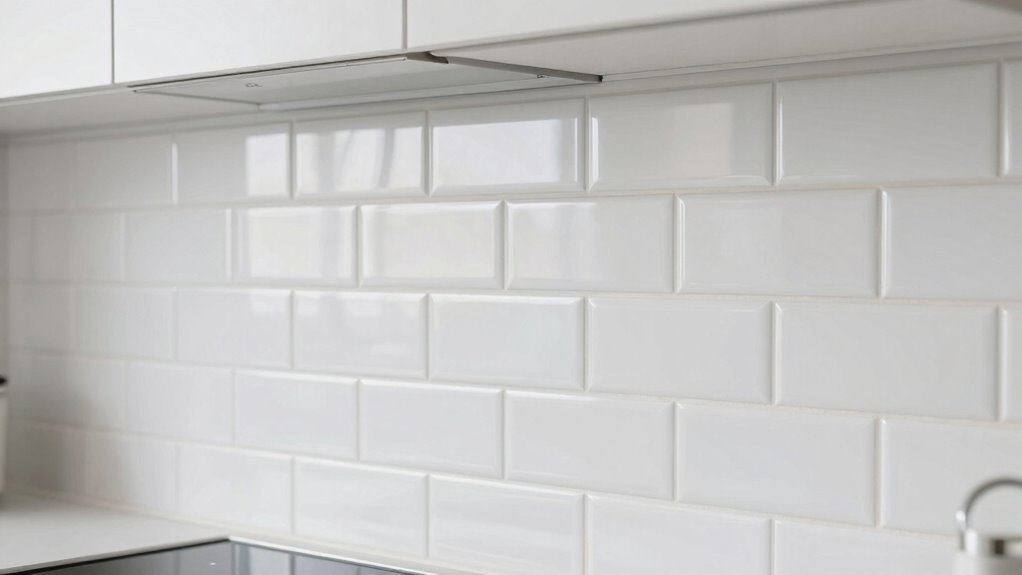
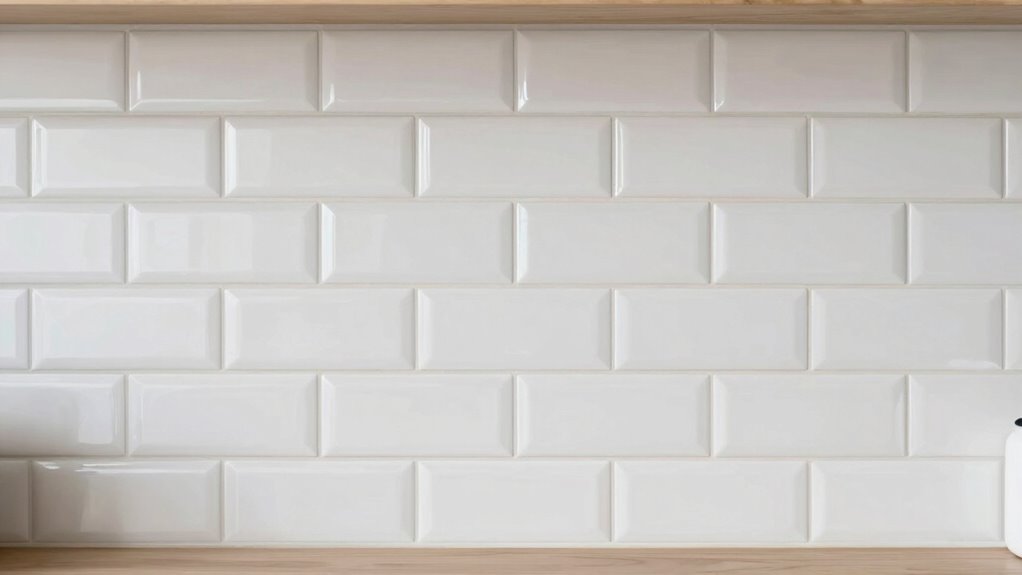
Proper backsplash spacing is essential because it directly impacts both the appearance and functionality of your kitchen. When you pay attention to tile patterns, consistent gaps create a cohesive look that enhances your overall aesthetic balance. Proper spacing ensures tiles align correctly, preventing uneven rows that can distract from the design. It also makes cleaning easier and reduces the risk of tiles cracking or loosening over time. By maintaining even grout lines, you achieve a polished, professional appearance that elevates your kitchen’s style. Thoughtful spacing helps your backsplash complement other design elements, creating harmony in your space. Additionally, connected technology such as digital measurement tools can help ensure precise spacing during installation, leading to better results. Proper installation details, including accurate measurements, are crucial for long-term durability and visual appeal. Paying attention to these spacing considerations means your kitchen will look beautiful and function smoothly for years to come. Incorporating precise tools can further enhance your ability to achieve consistent, flawless results.
Important Areas to Measure When Planning Your Backsplash Gaps
To guarantee your backsplash fits perfectly, you need to measure key areas carefully. Start by noting the distance from your counter to the ceiling, then determine the ideal gap widths between tiles. Don’t forget to mark the locations of electrical outlets to keep everything aligned and functional. Additionally, considering precise measurements can help prevent potential gaps or overlaps that might compromise the overall appearance. Taking into account standard tile sizes can also streamline the planning process and ensure a cohesive look. Incorporating energetic alignment principles during planning can further enhance your satisfaction with the final result and reduce the chances of regret. Paying close attention to measurement accuracy is essential to achieving a seamless and professional-looking backsplash. Moreover, understanding European cloud standards can inspire innovative approaches to your design and installation process, ensuring both durability and aesthetic appeal.
Measuring Counter-to-Ceiling Distance
Measuring the distance from your counter to the ceiling is a crucial step in planning your backsplash, as it determines the available space and helps you select the right design. Accurate measurement influences tile placement, ensuring your backsplash fits seamlessly and maintains aesthetic balance throughout your kitchen. If the space is tall, you might opt for larger tiles or a continuous design that emphasizes height. Conversely, shorter spaces may benefit from smaller tiles or decorative accents to prevent overwhelming the area. Taking precise measurements also prevents surprises during installation and ensures your chosen materials look intentional. Understanding your ceiling height allows for proper measurement accuracy, which is essential for a cohesive design. Additionally, knowing your visual flow helps in selecting the right layout and pattern, creating a harmonious look that complements your overall kitchen style. By understanding your ceiling height, you can plan for proper grout lines and visual flow, ultimately creating a cohesive, balanced look that enhances your kitchen’s overall style.
Calculating Tile Gap Widths
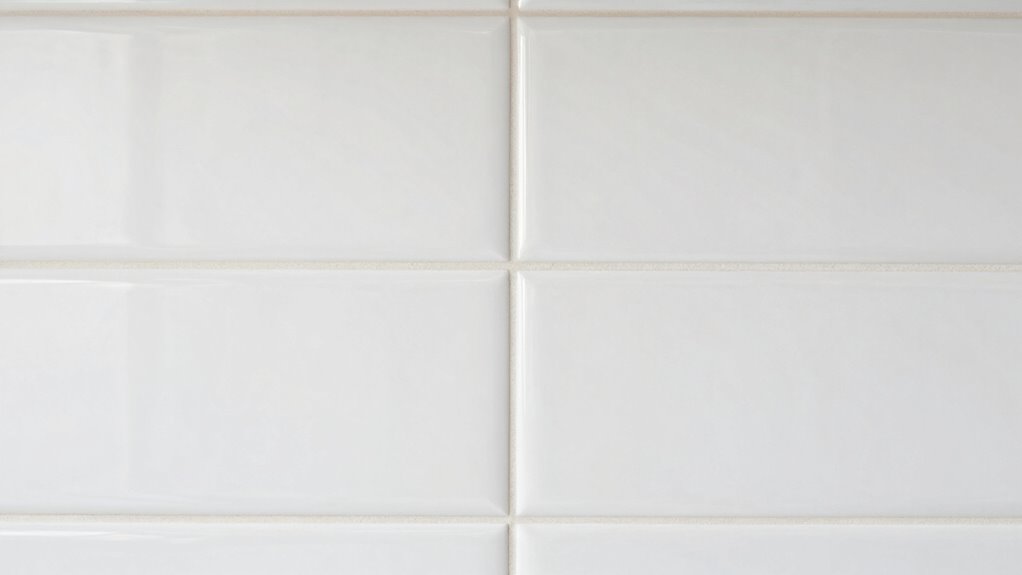
Have you considered how the width of your tile gaps affects the overall look of your backsplash? Precise gap measurements ensure proper tile alignment and a professional finish. To calculate tile gap widths, measure the distance between tiles carefully, considering the grout line you want. Keep in mind that grout color influences the visual impact; a narrow gap with a contrasting grout makes the tiles stand out, while a wider gap with a matching grout blends seamlessly. Use this approach: accurate measurements are essential to achieving the desired aesthetic and avoiding costly mistakes. Paying attention to spacing details during planning can help prevent regrets once the project is complete. Understanding installation techniques can further improve the final appearance and longevity of your backsplash, especially when considering material properties that affect how gaps should be filled and maintained. Additionally, considering grout application methods can ensure consistent gaps and a cleaner overall look.
Marking Electrical Outlet Spacing
When planning your backsplash, paying attention to electrical outlet spacing is essential for a seamless look. Properly marking outlet placement guarantees your tiles fit cleanly around sockets and adhere to socket height guidelines. Start by measuring the height of outlets from the countertop, following socket height guidelines to maintain consistency. Consider the following key points:
- Confirm the electrical outlet placement before tiling.
- Mark the exact height of outlets on the wall.
- Account for any switches or additional outlets.
- Plan for cutouts that align with tile joints.
- Double-check measurements to avoid misalignment.
- Be aware of cookie preferences and how they may influence your planning process.
Accurate markings prevent gaps or uneven cuts, ensuring your backsplash looks professional and functions correctly around electrical outlets. Proper planning saves time and avoids costly adjustments later, giving you a polished finish.
How to Measure and Calculate Backsplash Spacing Accurately

To make certain your backsplash looks perfect, you need to measure carefully using precise techniques. You’ll also want to calculate tile spacing accurately, including grout lines, to create a balanced design. Paying attention to these details helps you achieve a professional and polished finish. Additionally, understanding jewelry measurements can help you better visualize spacing and ensure uniformity across your design. Incorporating principles from Deaf Vibes can also enhance your understanding of sensory sensitivities, which might be relevant if you or someone working on the project has auditory processing considerations. Being aware of sound design techniques may further assist in creating a harmonious environment that accommodates different sensory needs.
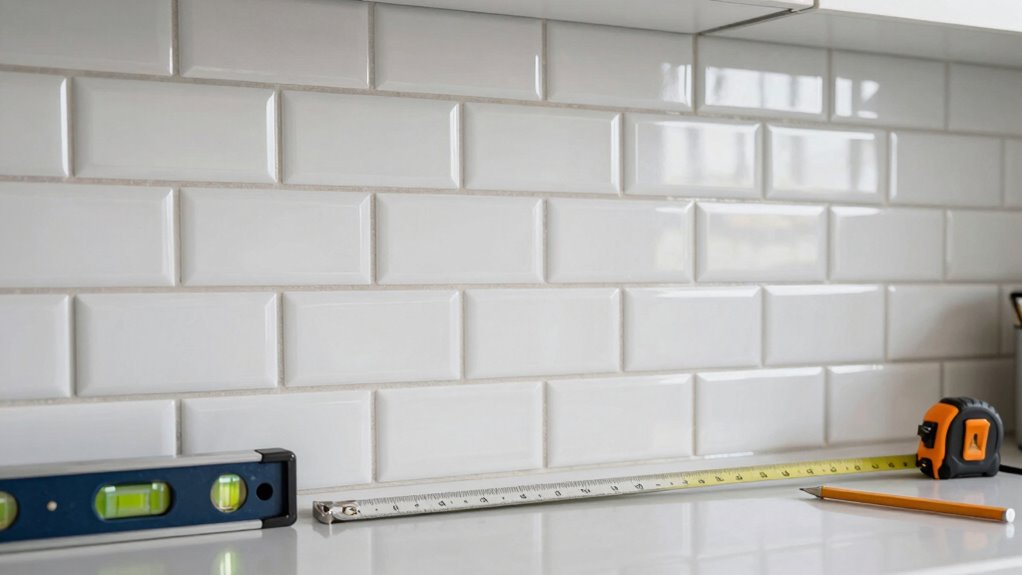
Precise Measurement Techniques
Accurate measurement is essential for a seamless backsplash installation, and starting with precise techniques ensures your project turns out just as planned. To achieve this, use a high-quality tape measure and a level for accuracy. Before measuring, determine your desired spacing, considering factors like color coordination and material selection. Double-check measurements at multiple points to account for wall irregularities. Mark your measurements clearly with a pencil, avoiding permanent marks that could interfere with tile placement. Keep a detailed record of your measurements and calculations for reference. Remember, small errors can lead to misaligned tiles or uneven gaps, so take your time. Proper measurement sets the foundation for a professional finish and ensures your backsplash complements your kitchen’s overall design. Additionally, understanding hydraulic considerations can help you plan for proper water flow and prevent future issues. Being aware of building codes and regulations can further ensure your installation is compliant and durable. Paying attention to installation guidelines provided by manufacturers can help prevent common mistakes and achieve a more precise result. Incorporating measurement accuracy techniques can further enhance your project’s success and reduce the need for adjustments later.
Calculating Tile Spacing
Calculating tile spacing accurately is essential to achieving a professional-looking backsplash. You need to measure carefully, considering your material selection and how the tiles will fit together. Start by deciding on the desired spacing, which should complement your overall color coordination and aesthetic. Use a ruler or a spacer tool to mark consistent gaps between tiles on your surface. Keep in mind that larger tiles may require wider grout lines, while smaller tiles can have narrower spacing. Double-check your measurements before applying adhesive to avoid misalignment. Precise calculation ensures your backsplash looks seamless and balanced, preventing regrets down the line. Ultimately, thoughtful spacing enhances the visual harmony and complements your chosen tile material, giving your kitchen a polished, cohesive appearance. Paying attention to organizing homes and small details like spacing can make a big difference in creating a calm and organized space.
Accounting for Grout Lines
Once you’ve decided on your tile spacing, it’s important to factor in the grout lines that will fill those gaps. Accurate measurement guarantees your backsplash looks seamless and polished, regardless of your chosen tile patterns. To do this effectively, consider the following:
- Measure the actual width of your tiles, including any variation in size.
- Decide on your grout color, as it influences the visual perception of spacing.
- Account for the joint width in your calculations, especially with complex tile patterns.
- Use spacers during installation to maintain consistent grout lines.
- Double-check measurements after laying out tiles to avoid surprises.
Common Mistakes in Spacing That Can Lead to Regret
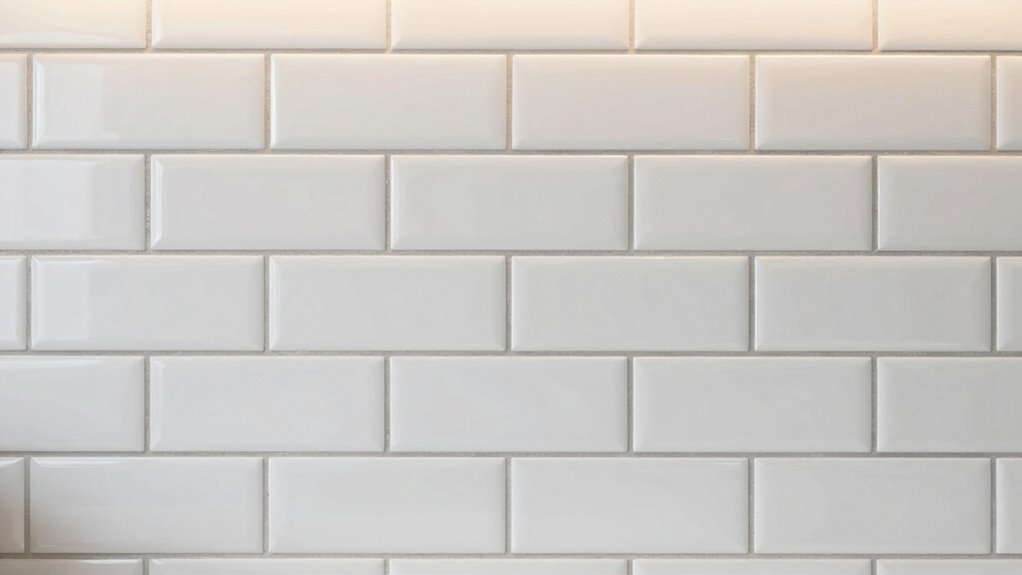
One of the most common mistakes in backsplash planning is choosing the wrong spacing between tiles, which can quickly lead to regret. Poor spacing affects the overall tile pattern and disrupts color coordination, making your backsplash look uneven or cluttered. For example, uneven grout lines or inconsistent gaps can clash with your design vision. To visualize, consider this spacing example:
| Tile Pattern | Spacing (inches) | Color Coordination |
|---|---|---|
| Herringbone | 1/8 | Complementary |
| Subway | 1/4 | Contrasting |
| Hexagon | 3/16 | Harmonious |
| Mosaic | 1/8 | Coordinated |
| Diagonal | 1/4 | Bold |
Getting the spacing right guarantees your tile pattern and color scheme work seamlessly, preventing regrets later.
Expert Tips for Seamless and Durable Backsplash Layouts
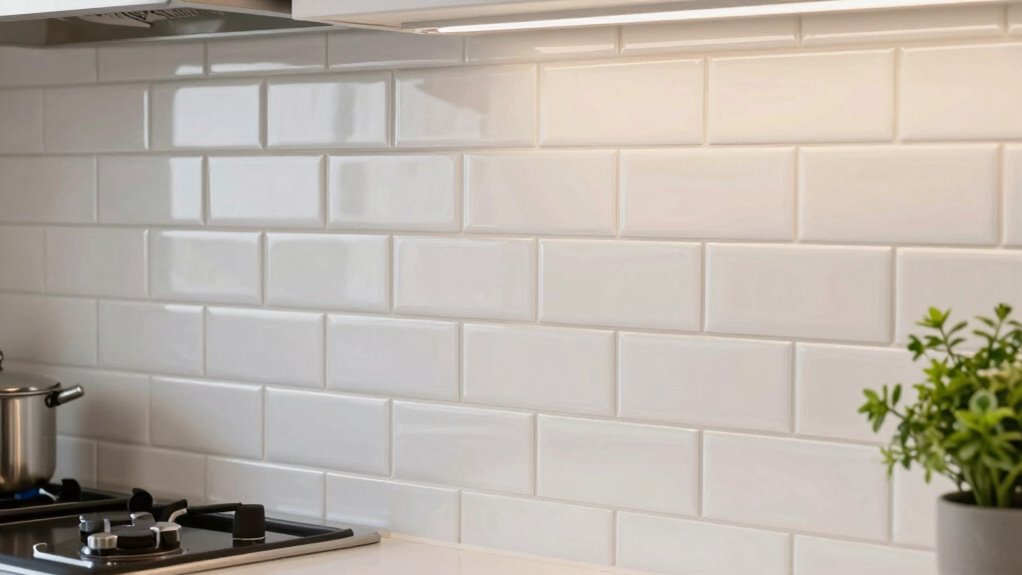
Achieving a seamless and durable backsplash starts with meticulous planning and precise execution. Focus on tile placement to ensure each piece fits perfectly, avoiding uneven gaps or misalignments. Consider aesthetic considerations early, such as pattern, color, and grout choice, to create a cohesive look. To enhance durability, use high-quality adhesive and sealant suited for kitchen environments. Keep these expert tips in mind:
- Plan your layout before installation to prevent surprises.
- Use spacers for consistent grout lines and even tile placement.
- Opt for durable, water-resistant materials.
- Align tiles carefully to maintain pattern consistency.
- Test grout color against tiles to ensure visual harmony.
Following these guidelines helps you achieve a sleek, long-lasting backsplash that elevates your kitchen’s style.
Tools and Resources to Perfect Your Backsplash Spacing
To guarantee your backsplash tiles are evenly spaced and professionally aligned, you’ll need the right tools and resources. First, invest in tile spacers to maintain consistent gaps between tiles, ensuring uniformity. Use a level and straightedge to keep tiles straight during installation. Tile adhesives are essential; choose a quality adhesive suited for your tile type to prevent shifting. Once the tiles are set, selecting the right grout color enhances the overall look—consider a shade that complements or contrasts your tiles for visual interest. Grout float tools help apply grout smoothly and evenly. Additionally, a small detail like a silicone trowel can assist in sealing edges. These tools, combined with proper planning, will help you achieve a professional, polished backsplash with perfect spacing.
Frequently Asked Questions
How Does Backsplash Spacing Affect Kitchen Cleaning and Maintenance?
Your backsplash spacing impacts cleaning and maintenance by influencing grout color and tile pattern visibility. Proper spacing minimizes grout buildup, making it easier to wipe down and prevent stains. Choosing a consistent grout color ensures dirt and grime don’t stand out, while a well-planned tile pattern reduces awkward corners that trap dirt. When spacing is precise, your backsplash stays cleaner longer, saving you effort and preventing future regret.
Can Adjustable Spacers Be Used for Perfect Backsplash Alignment?
Yes, you can use adjustable spacers for perfect backsplash alignment. They help you fine-tune the tile spacing, ensuring even grout lines and a professional finish. Choose from different spacer types like plastic or rubber, which are easy to adjust and remove. This flexibility minimizes uneven grout lines, making your tile installation look seamless. Just make sure to regularly check the tile level and spacing during the process for the best results.
What Are the Best Materials for Consistent Backsplash Spacing?
The best materials for consistent backsplash spacing include ceramic or porcelain tiles, as they come in precise sizes that promote even tile patterns. To assure uniform gaps, choose a high-quality grout color that matches your tile and use spacers during installation. This combination helps you achieve clean, professional-looking grout lines, preventing uneven spacing and visual gaps. Proper planning with these materials guarantees a sleek, cohesive backsplash design.
How Does Backsplash Spacing Influence the Overall Kitchen Design Style?
Spacing influences your kitchen’s style by subtly shaping its tile pattern and grout color. Precise spacing creates clean lines, emphasizing modern minimalism, while varied spacing adds charm to rustic or eclectic designs. It guides the eye, balances the overall aesthetic, and highlights your tile choice. Whether you prefer a sleek, contemporary look or a warm, traditional vibe, thoughtful backsplash spacing guarantees your design feels cohesive, polished, and true to your style.
Are There Specific Spacing Considerations for Backsplashes Behind Appliances?
You should consider proper appliance clearance when planning your backsplash behind appliances. Leave enough space for easy installation and maintenance, typically about 1/8 to 1/4 inch. Also, pay attention to grout joints; keeping them consistent around appliances guarantees a seamless look. This spacing prevents damage and makes cleaning easier, ultimately enhancing your kitchen’s style and functionality. Proper spacing shows attention to detail and avoids future regrets.
Conclusion
With the right spacing, your backsplash becomes a seamless canvas that ties your kitchen together, like a perfectly fitted puzzle piece. Imagine standing back to admire your space, where every tile aligns flawlessly, reflecting your careful planning. When you get the details right, your kitchen not only looks stunning but feels harmonious and functional. Trust these tips to create a backsplash that you’ll love every time you step into your beautifully finished space.