Batik brings vibrant colors and cultural heritage into your home. To start, gather essential materials like cotton fabric, Bostik Blu Stick, and fabric paints. Set up your workspace into four areas: drawing, waxing, dyeing, and finishing. Begin by sketching your design; then apply wax with a tjanting tool before dyeing your fabric. Experiment with layers for depth and vibrancy. Once your artwork is complete, mount it on a sturdy canvas for display. Choosing the right placement can enhance its beauty. There's much more to explore about batik techniques and materials that will transform your space even further.
Key Takeaways
- Batik art involves using hot wax to create unique patterns on fabric, originating from Indonesia's rich cultural heritage.
- Essential materials include cotton fabric, non-toxic Bostik Blu Stick, leaf stencils, and vibrant fabric paints.
- Set up your workspace in designated areas for drawing, waxing, dyeing, and finishing to maintain efficiency.
- Utilize natural dyes and biodegradable fabrics for an eco-friendly approach to batik art-making.
- Mount your completed batik on sturdy canvas for display, ensuring a strong bond with quality adhesive.

McCook® Knife Sets, German Stainless Steel Kitchen Knife Block Sets with Built-in Sharpener
【Exclusive Built-in Sharpener】Kitchen knife set with sharpener is amazing. The self-sharpening block keeps the knives razor sharp effectively....
As an affiliate, we earn on qualifying purchases.
Overview of Batik Art

Batik art is an enchanting blend of tradition and creativity that brings fabric to life through intricate designs. This ancient art form originated in Java, Indonesia, with roots tracing back to at least the 12th century. It employs a resist technique, where you apply hot wax to the fabric before dyeing. The wax creates blank areas, preventing the dye from penetrating, which results in unique patterns that often tell stories or hold symbolic meanings.
Many batik designs reflect the rich cultural heritage of Indonesia, similar to the way traditional artistry is showcased in masks, highlighting local traditions and craftsmanship.
As you explore batik, you'll appreciate its connection to Javanese traditions, reflecting cultural heritage and spiritual beliefs. While traditional batik uses hot wax, modern adaptations have introduced simpler methods, like glue sticks, making the technique accessible for everyone. You can create stunning designs right in your home, regardless of age or skill level.
The beauty of batik lies in its versatility; it continues to evolve globally, showcasing diverse styles and techniques. Whether you're drawn to intricate motifs or bold colors, batik allows you to express your creativity while honoring a rich cultural legacy.
Immerse yourself in this fascinating art form and discover the joy of transforming fabric into a canvas of personal expression.

Knife Set, Astercook 15 Pieces Knife Sets for Kitchen with Block, Dishwasher Safe Kitchen Knife Set with Built in Sharpener Block, German Stainless Steel Knife Block Set, Valentine's Gift
【15 Pieces Multipurpose Knife Set】 15 pieces knife set includes: 8" Chef knife, 8" Slicing knife, 7" Santoku...
As an affiliate, we earn on qualifying purchases.
Essential Materials for Batik

To commence your batik journey, gathering the right materials is essential for achieving beautiful and precise designs. Start with cotton fabric, which is recommended for beginners due to its ease of use. You can also enhance your batik project with vibrant colors and intricate patterns found in Indonesian decorative pillows, which can inspire your designs.
Next, grab a Bostik Blu Stick, a non-toxic resist medium that replaces traditional wax, making your process safer and simpler.
Leaf stencils are vital for creating detailed patterns on your fabric, allowing you to achieve precision in your designs. Pair these stencils with fabric paints, which come in a variety of shades for color enhancement, bringing your artwork to life.
Don't forget to prepare a protective surface, like newspaper, to keep your workspace tidy. Additional tools like paintbrushes will help you apply the paints evenly.
Once your masterpiece is complete, consider using a canvas for mounting, which you can repurpose from old artwork, promoting eco-friendly crafting while providing a sturdy base for display.

HENCKELS Statement Premium Quality 15-Piece Set with Block, Natural, Razor-Sharp, German Engineered Informed by 100+ Years of Mastery, Lightweight and Strong, Dishwasher Safe
ULTRA-SHARP BLADES: Superior professional-level sharpness that ensures precision cutting.
As an affiliate, we earn on qualifying purchases.
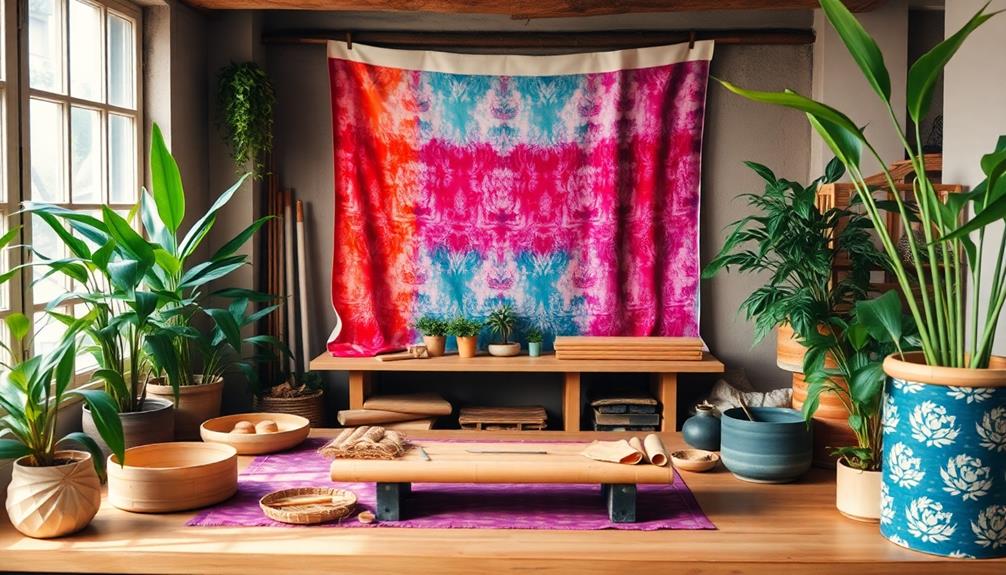
Setting Up Your Workspace

Creating an organized and efficient workspace is essential for a successful batik project. You should set up four distinct areas: Drawing, Waxing, Dyeing, and Finishing. Each workspace needs to be designated for its specific task to maintain efficiency and cleanliness. Incorporating elements like an Indonesian decor mask can inspire your artistic process and enhance the cultural atmosphere of your workspace.
In your Drawing Space, secure your fabric to a board or table and use light pencil marks to outline your design. This allows for easy corrections before you apply wax.
Next, move to the Waxing Space, where you'll want to cover surfaces with plastic or drop cloths. This will catch any drips from the hot wax and simplify cleanup.
For the Dyeing Space, make sure it's well-ventilated and equipped with protective coverings to contain dye spills. Gather all necessary dyeing tools to make the process smooth.

TP-Link Deco X55 AX3000 WiFi 6 Mesh System - Covers up to 6500 Sq.Ft, Replaces Wireless Router and Extender, 3 Gigabit Ports per Unit, Supports Ethernet Backhaul, Deco X55(3-Pack)
Wi-Fi 6 Mesh Wi-Fi - Next-gen Wi-Fi 6 AX3000 whole home mesh system to eliminate weak Wi-Fi for...
As an affiliate, we earn on qualifying purchases.
Step-by-Step Batik Process
Now that you've set up your workspace, it's time to gather your materials and learn the application techniques essential for batik.
This ancient art form, similar to the intricate designs found in Indonesian decor masks, requires careful craftsmanship to achieve the desired patterns.
You'll use tools like tjanting for wax application and prepare a dye bath for vibrant colors.
Let's break down each step to guarantee you create beautiful designs with precision.
Materials Preparation Overview
Preparing for the batik process involves several essential steps that guarantee a smooth and successful experience.
First, set up your workspace with distinct areas for drawing, waxing, dyeing, and finishing. This organization helps maintain cleanliness throughout the process and allows for an efficient workflow, much like setting up for Indonesian Wedding Decor: Must-Have Ideas.
Next, cut your cotton fabric, preferably muslin, into a manageable size of around 9 x 12 inches. Make sure to wash and iron the fabric to remove any sizing and wrinkles.
Once your fabric is ready, use an HB pencil to lightly sketch your design directly onto the fabric or trace it using a stencil for clarity.
After that, it's time to apply liquid wax to specific areas using a tjanting tool. This wax acts as a resist, keeping those sections undyed in your final piece. Allow the wax to cool and dry completely before moving on.
Application Techniques Explained
With your fabric ready and design in place, the next phase focuses on applying the resist medium effectively. You can use a tjanting tool or a glue stick, like Bostik Blu Stick, to apply a resist in your desired pattern.
Make certain to apply a resist evenly to prevent smudging and achieve the best design clarity. Once you've completed this step, it's time to prepare a dye bath according to the dye package instructions.
Carefully submerge your waxed fabric into the dye bath to achieve the desired autumnal colours. The longer you leave it submerged, the deeper the color saturation will be.
After dyeing, you'll need to remove the wax. You can do this by boiling the fabric in water or using an iron with newsprint to absorb the wax. Make sure all wax is thoroughly removed to maintain the integrity of your design.
Once the fabric is dry, iron it again to set the design. For a striking final piece to show off, consider mounting it on canvas using your glue stick.
Enjoy your unique, handcrafted batik masterpiece!
Applying Dye Techniques
Creativity thrives when applying dye techniques to batik fabric, allowing you to transform plain textiles into vibrant works of art. Start by preparing your dye according to the manufacturer's instructions.
When you're ready, use paintbrushes or sponges to apply the dye, similar to watercolor techniques, ensuring that it's evenly distributed for a consistent finish. Choose contrasting colors to create eye-catching designs.
As you work through the batik process, remember that allowing each layer of dye to dry thoroughly is essential for achieving a layered effect. This will enhance the complexity and depth of your artwork.
Depending on the dye type and desired intensity, let the dye set for a few minutes to several hours before moving on.
Once you're satisfied with your design, it's time for the rinse cycle. Rinse the dyed fabric in cold water to remove any excess dye, which helps prevent bleeding and preserves the integrity of your vibrant designs.
Finalizing Your Artwork
After you've completed the dyeing process and your fabric is dry, it's time to finalize your artwork. Start by removing any excess glue by rinsing your artwork in cold water, making certain your design remains intact.
Next, iron the fabric between layers of newspaper to eliminate any remaining wax or glue. Repeat this process until the fabric is completely clean and smooth.
Once your fabric is ready, trim the edges to achieve a neat finish. This will prepare your batik art for mounting. Use a glue stick, like Bostik Blu Stick, to securely attach the fabric to your chosen display surface, whether it's a canvas or another option.
Apply a generous amount of glue to guarantee adhesion, and wrap the fabric edges around the back for a polished look.
Now that your artwork is mounted, it can be showcased in your home or given as a thoughtful gift. This final step not only highlights your personal creativity but also represents the beauty of traditional craftsmanship.
Enjoy the satisfaction of displaying your unique batik creation!
Mounting Your Batik Creation
When you're ready to mount your batik creation, start by selecting a sturdy canvas that fits your fabric perfectly.
Next, secure the fabric to the canvas to guarantee it's tight and smooth, preventing any unsightly bubbles.
Selecting Appropriate Canvas Material
Choosing the right canvas material for mounting your batik creation is crucial for achieving a stunning display. Start by considering sturdy canvas options that can support the weight of your fabric and prevent sagging. It's a great idea to use repurposed canvas from old artwork, promoting eco-friendliness and sustainability.
Make certain the canvas is pre-stretched and primed to guarantee excellent adhesion. Unprimed canvases may absorb adhesive, negatively impacting your artwork's final appearance. For a strong bond, opt for a high-quality adhesive like Bostik Blu Stick, which dries clear.
After wrapping your batik fabric around the canvas, carefully trim any excess fabric to achieve a clean and professional finish. This will let your batik art truly stand out.
| Canvas Type | Pros | Cons |
|---|---|---|
| Repurposed | Eco-friendly, unique | May require cleaning |
| Pre-stretched | Easy to use | Limited sizes |
| Primed | Better adhesion | Can be costlier |
Securing Fabric to Canvas
Once you've selected the right canvas material for your batik art, it's time to fasten the fabric to the canvas for a polished finish. Start by applying a generous layer of Bostik Blu Stick directly onto the canvas surface. This guarantees a strong bond between the fabric and the canvas, allowing your vibrant colors and intricate designs to shine.
Next, carefully wrap the edges of the fabric around the canvas. Fold them neatly for a clean presentation, and trim any excess material to avoid bulk. This step is essential for maintaining a professional look in your mounted artwork.
Use additional Bostik Blu Stick to secure the wrapped edges at the back of the canvas. This prevents any lifting or peeling over time, ensuring your batik piece remains intact.
Once everything is in place, allow the mounted artwork to dry completely. This ensures that the adhesive sets properly, giving you peace of mind that your creation is secure.
After it's dry, your batik art is ready to be hung or gifted, showcasing the beauty of your work for all to admire.
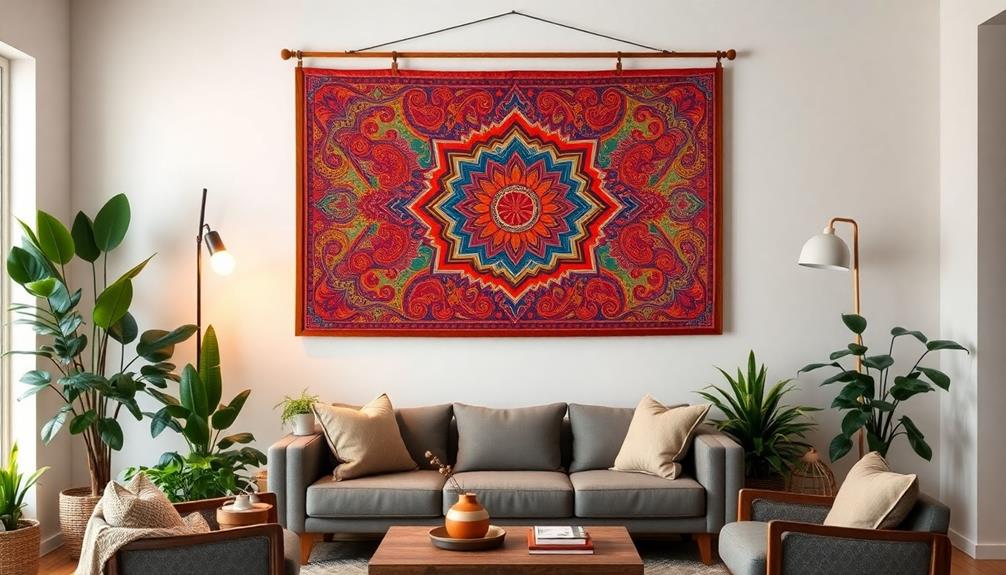
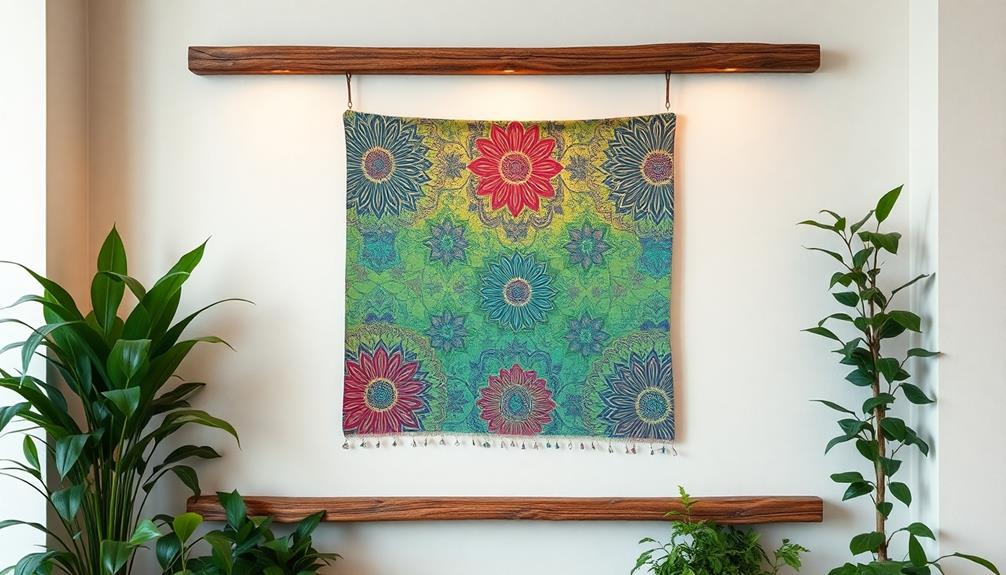
Displaying Your Artwork
Displaying your batik artwork effectively can transform your home into a vibrant gallery. To start, you'll want to mount your batik art onto a sturdy canvas. Apply Bostik Blu Stick generously to the canvas surface to create a strong bond between the fabric and the canvas. Make sure your fabric is completely dry before you begin mounting to prevent any distortion or damage.
Once the adhesive is applied, securely wrap the edges of the fabric around the canvas, trimming any excess material for a neat finish. Using a repurposed canvas not only promotes eco-friendliness but also gives your batik creation a solid foundation that enhances its overall appearance.
After your batik art is mounted, choose a well-lit area for display. This will showcase the vibrant colors and intricate designs characteristic of the batik technique, ensuring your artwork becomes a stunning focal point in your home.
Whether it's in your living room, hallway, or bedroom, proper mounting and display will bring your batik art to life and allow it to shine beautifully in any setting.
Exploring Batik's Cultural Significance
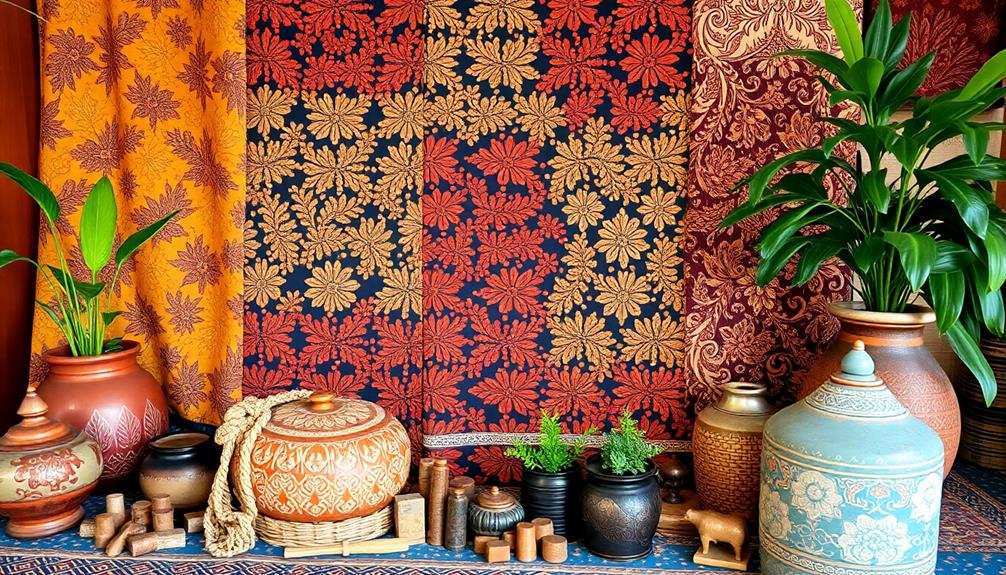
Although often admired for its beauty, batik holds profound cultural significance, especially in Indonesia, where it embodies identity, tradition, and heritage. This textile art is more than just fabric; it's a canvas that tells the stories and beliefs of a community. Each pattern and color in batik carries meanings tied to life's essentials, enhancing its emotional resonance.
Here are four key aspects of batik's cultural significance:
- Identity: Batik reflects personal and community identities, connecting people to their roots.
- Tradition: It's deeply embedded in cultural rituals and social structures, often worn during significant events and ceremonies.
- Heritage: Recognized by UNESCO as an Intangible Cultural Heritage, batik plays an essential role in preserving cultural practices.
- Motifs: Various motifs symbolize fertility, protection, and spirituality, adding layers of meaning to the art form.
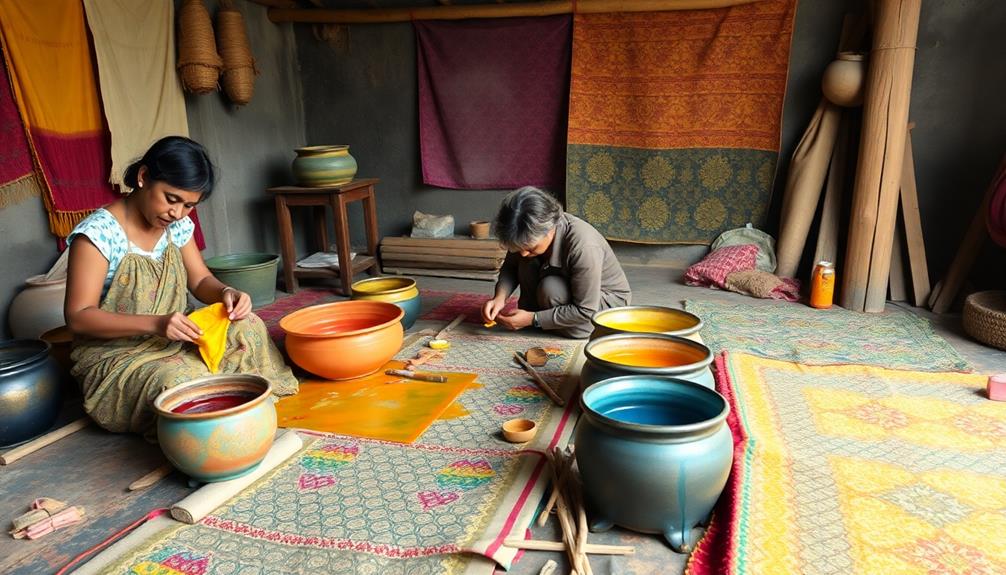
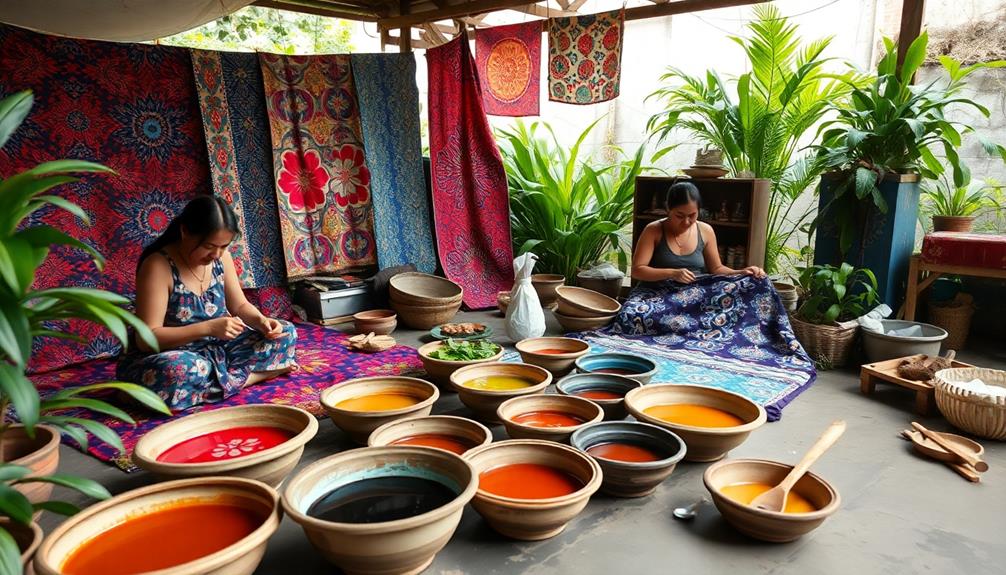
Eco-Friendly Batik Practices
Batik can be a beautiful way to express creativity while also caring for the environment. By utilizing natural dyes from everyday items like fruits, vegetables, and plants—think onion skins and beetroot—you can create vibrant colors while minimizing chemical use. This eco-friendly approach not only enhances your artwork but also reduces your environmental impact.
When choosing materials, opt for biodegradable fabrics and non-toxic adhesives, such as Bostik Blu Stick, to guarantee your projects align with sustainable practices.
To maintain a safer crafting environment, perform boiling and dyeing processes outdoors, preventing indoor pollution and mess.
Repurposing old materials, like cotton fabric from pillow covers and used canvases, is another fantastic way to minimize waste. This not only promotes sustainability but also adds a unique touch to your batik creations.
Frequently Asked Questions
How to Batik at Home?
To batik at home, prepare your workspace, secure cotton fabric, apply leaf stencils, and use fabric paint. After dyeing, rinse and dry the fabric, then mount it for a polished, ready-to-display piece.
How Is Batik Used in Everyday Life?
Batik's like a vibrant thread weaving through daily life. You wear it in stylish clothing, adorn your home with colorful decor, and carry it as accessories, celebrating culture while expressing your unique identity every day. Whether it’s a statement piece of clothing or unique batik home decor, the intricate patterns and bold colors of batik bring a sense of warmth and joy to any space. From throw pillows to wall hangings, incorporating batik into your home decor adds a touch of cultural significance and personal flair. It’s a way to not only embrace a rich tradition but also to showcase your individual taste and style.
How Does Batik Work?
Batik works by applying a resist, like wax, to fabric. You submerge the fabric in dye, and the wax prevents color from reaching those areas, creating intricate designs that reveal contrasting patterns once the wax is removed.
What Glue Can I Use for Batik?
You can use Bostik Blu Stick for batik projects. It's acid-free, non-toxic, and easy to wash out after dyeing. The blue color makes application simple, and it dries clear for a neat finish.
Conclusion
As you embrace the ancient art of batik, picture vibrant colors flowing like a river across your fabric, each dye telling a story. With every step, you're not just creating art; you're weaving a connection to a rich cultural heritage. Imagine your finished piece hanging proudly on your wall, a tapestry of history and creativity. By incorporating eco-friendly practices, you're not only preserving this tradition but also nurturing the earth, making every creation a beautiful balance of art and responsibility.