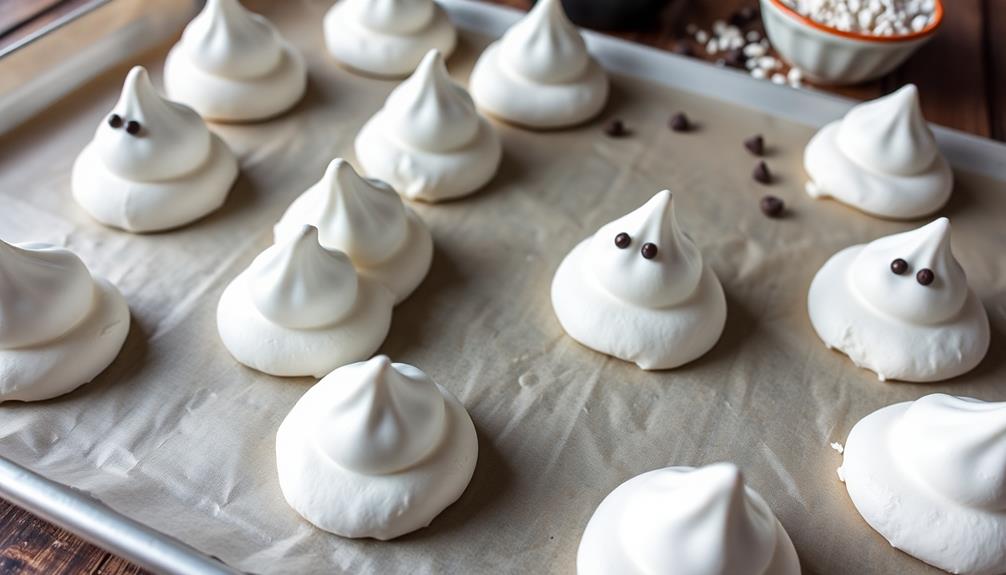
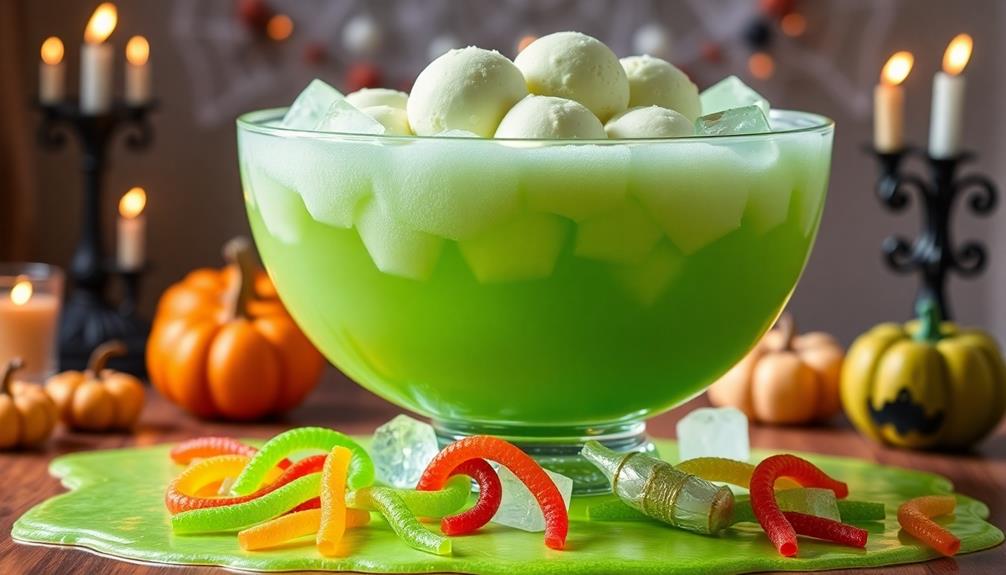
Ghostly meringue cookies are a fun and spooky treat, perfect for Halloween! To make them, start by beating 3 egg whites with cream of tartar until soft peaks form. Gradually add 1 cup of sugar, beating until stiff and glossy. Pipe the mixture into ghost shapes on a lined baking sheet, adding mini chocolate chips for eyes. Bake at 200°F for about 1.5 to 2 hours, then cool in the oven. These cookies are light, airy, and sure to impress your guests. Ready to create your own haunted batch? There's more to explore about tips and variations!
Key Takeaways
- Ghostly meringue cookies are light, airy treats made from whipped egg whites, sugar, and flavored with vanilla extract.
- They originated in Switzerland and gained popularity in the U.S. during the 19th century, often shaped for Halloween.
- To make them, beat egg whites with cream of tartar and gradually add sugar until stiff peaks form.
- Pipe ghost shapes on a baking sheet, decorate with chocolate chips for eyes, and bake at 200°F for 1.5 to 2 hours.
- Store the finished cookies in an airtight container to keep them crisp and avoid humidity issues.
Top picks for "ghostly meringue cooky"
As an affiliate, we earn on qualifying purchases.
History

The history of ghostly meringue cookies is as intriguing as their delicate texture. These whimsical treats trace their origins back to Switzerland in the 17th century, where meringue was first crafted from simple ingredients like egg whites and sugar.
As the technique spread, chefs across Europe began experimenting, leading to various styles of meringue. You might be surprised to learn that the airy, light quality of meringue makes it perfect for creating ghostly shapes—ideal for Halloween festivities!
These cookies gained popularity in the United States during the 19th century, often served at tea parties or special occasions. Their ethereal appearance and melt-in-your-mouth texture captured the hearts of many.
Over time, bakers began to embrace creativity, transforming the traditional meringue into fun, spooky figures to celebrate Halloween.
When you think about ghostly meringue cookies, you're not just considering a delightful dessert; you're also indulging in a piece of culinary history that showcases innovation and joy in baking.
Recipe
Ghostly Meringue Cookies are a delightful and spooky treat that are perfect for Halloween or any festive occasion. These light and airy cookies are made from whipped egg whites and sugar, resulting in a crisp exterior and a soft, chewy interior. The addition of vanilla extract gives them a lovely flavor, while the ghostly shapes can be easily achieved with a piping bag and a simple round tip.
Once baked, these ethereal delights can be decorated with chocolate chips or icing to create adorable ghost faces that will charm both kids and adults alike.
Making meringue cookies can seem intimidating, but with a few simple steps, you'll be able to whip up a batch that will impress your friends and family. It's important to ensure that your mixing bowl and utensils are completely clean and free of any grease, as even a small amount can prevent the egg whites from whipping properly.
Once you get the technique down, you can experiment with different flavors, colors, and decorations to make these cookies your own.
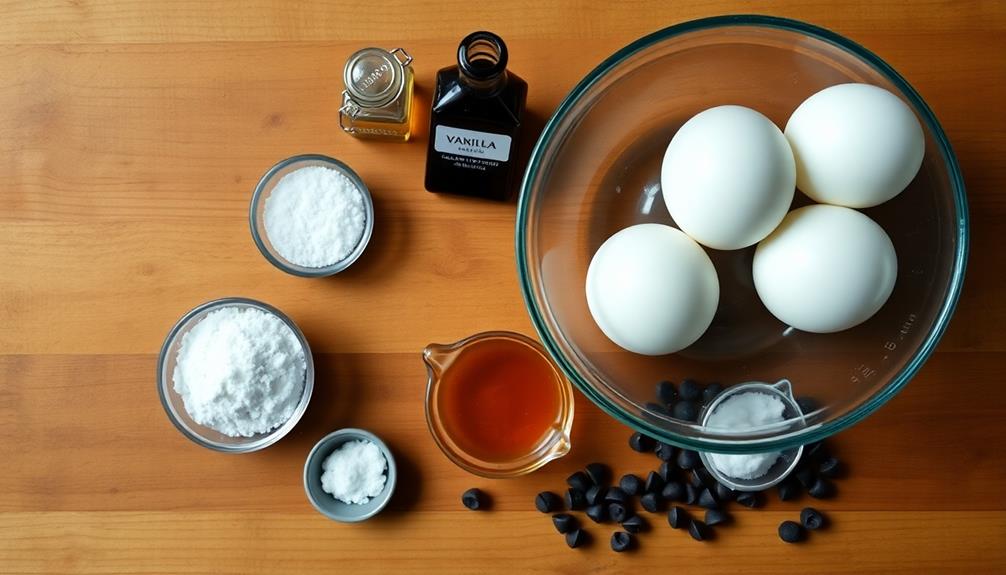
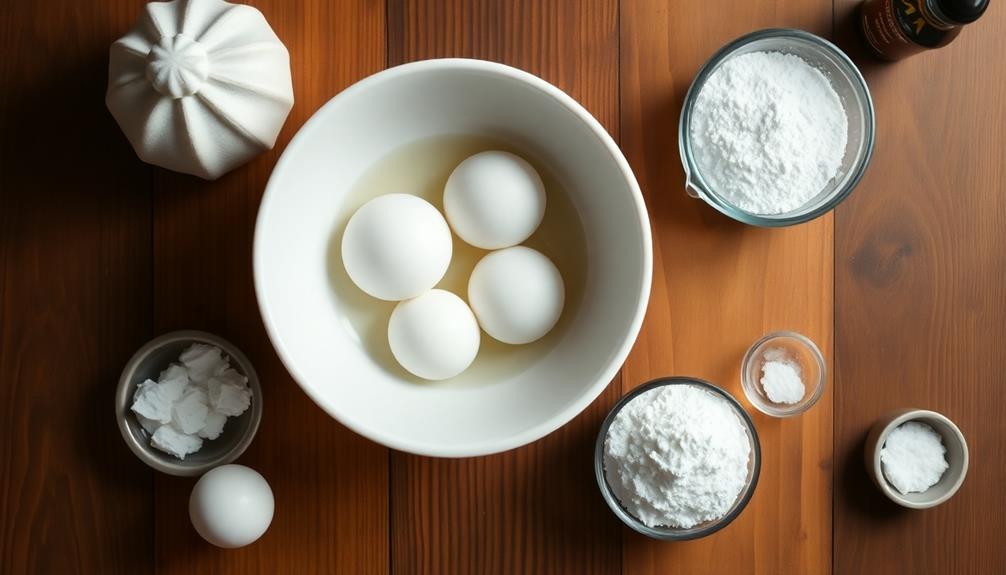
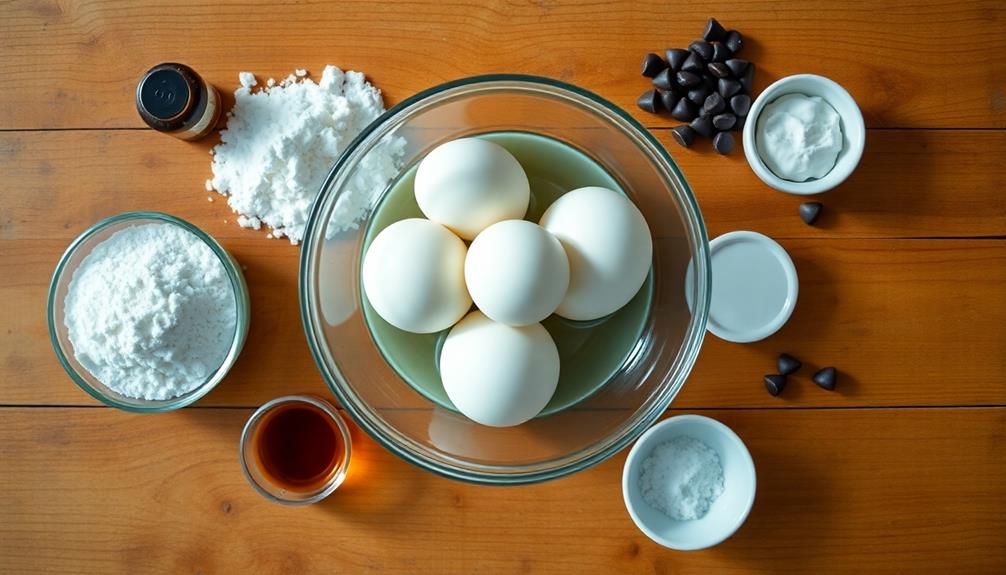
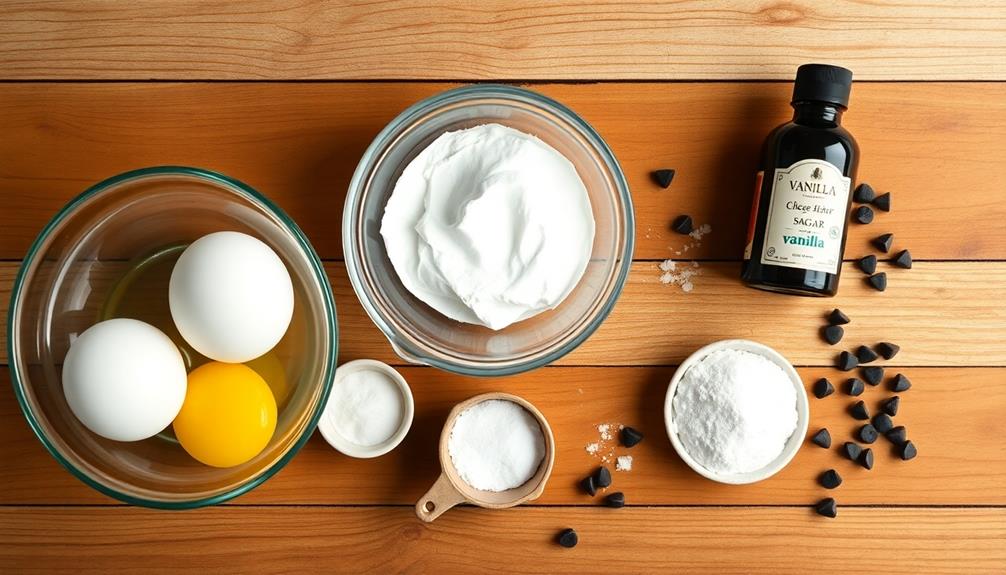
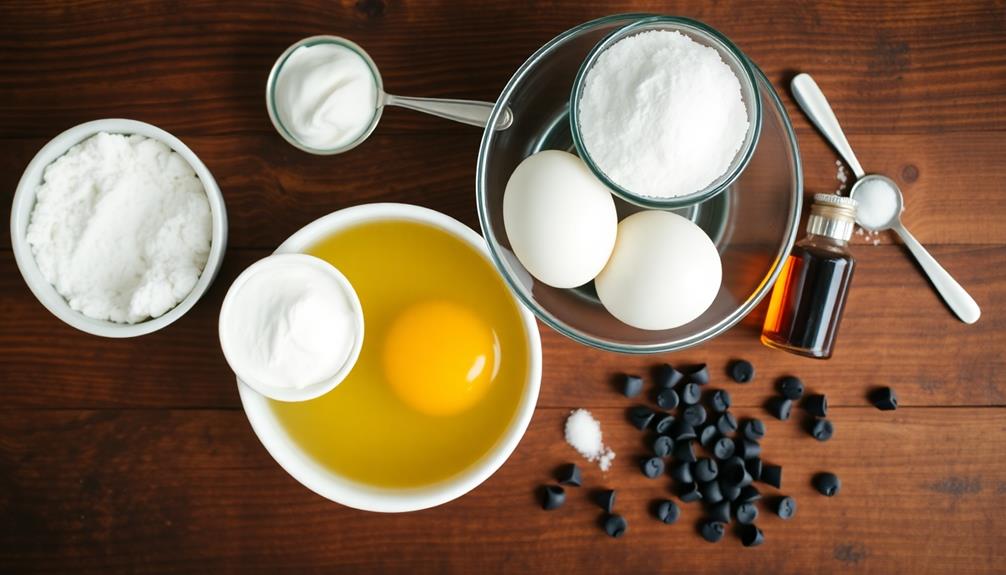
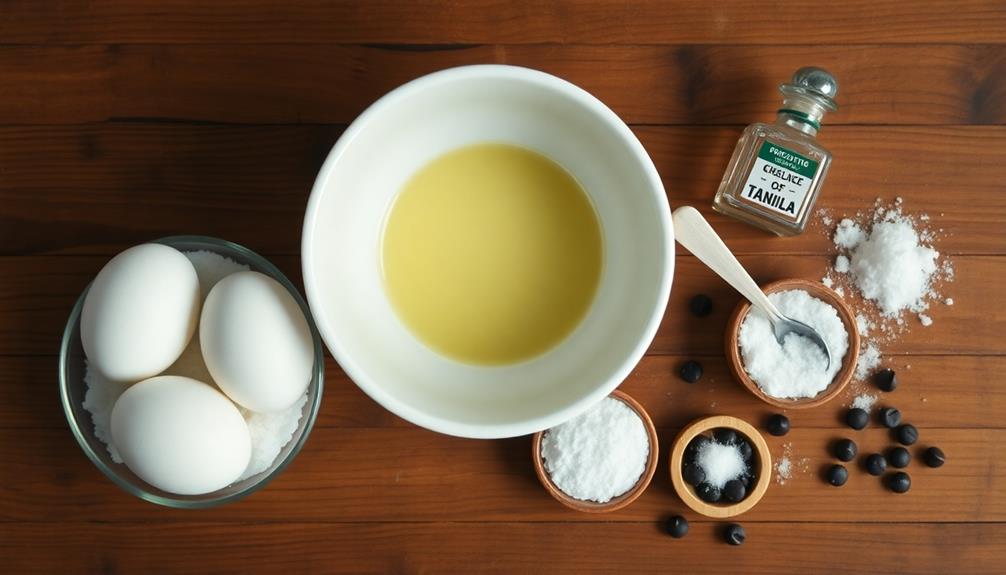
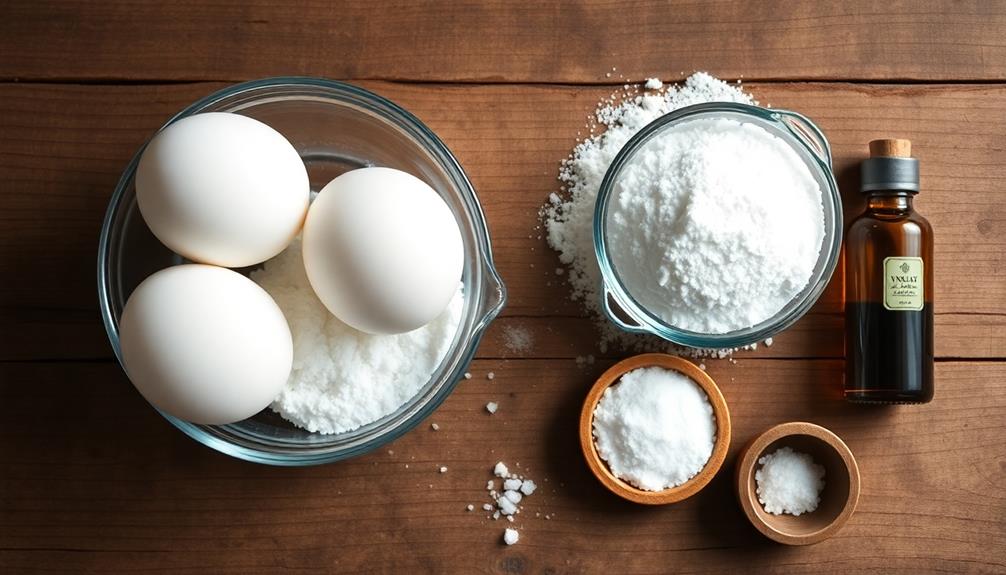
Ingredients:
- 3 large egg whites
- 1/4 teaspoon cream of tartar
- 1 cup granulated sugar
- 1 teaspoon vanilla extract
- Pinch of salt
- Mini chocolate chips (for decoration)
Cooking Instructions:
Preheat your oven to 200°F (93°C) and line a baking sheet with parchment paper. In a clean mixing bowl, beat the egg whites and cream of tartar with an electric mixer on medium speed until soft peaks form.
Gradually add the granulated sugar, one tablespoon at a time, while continuing to beat on high speed until stiff, glossy peaks form. Mix in the vanilla extract and salt.
Using a piping bag fitted with a round tip, pipe small dollops of the meringue onto the prepared baking sheet in the shape of ghosts, ensuring to create a rounded top and a tapered bottom. Place mini chocolate chips on top for eyes.
Bake for 1.5 to 2 hours or until the cookies are completely dry and can be easily lifted off the parchment paper. Turn off the oven and let the cookies cool inside for an additional hour to help them firm up.
Extra Tips:
To achieve the best results, ensure your egg whites are at room temperature before whipping, as this helps them to whip up better. Avoid any contact with yolks, as they can hinder the whipping process.
For added flavor, consider mixing in a dash of almond extract or using food coloring to tint the meringue. Store your meringue cookies in an airtight container to keep them crisp, as humidity can cause them to become sticky.
Enjoy your ghostly creations!
Cooking Steps
Let's get started on making those adorable ghostly meringue cookies!
First, you'll preheat your oven to 200°F and whip those egg whites until they form stiff peaks.
Once you've folded in the sugar, it's time to pipe out those ghost shapes and bake them for a magical 90 minutes!
Step 1. Preheat Oven to 200°F
To achieve the perfect texture for your ghostly meringue cookies, preheating your oven to 200°F is essential. This low temperature allows the meringues to dry out slowly, preventing them from browning and ensuring they maintain that lovely white color.
Before you start, make sure your oven rack is positioned in the center; this helps the heat circulate evenly around the cookies.
Turn on your oven and set it to 200°F. While it heats up, you can gather your other ingredients and tools, like a mixing bowl and a baking sheet lined with parchment paper.
It's a good idea to keep an eye on the oven as it preheats, since it can take a little time to reach the desired temperature. You want to make sure that it's fully preheated before you place your meringues inside.
Once your oven beeps or the indicator shows it's ready, you'll be all set for the next steps in creating those delightful ghostly meringue cookies.
Step 2. Whip Egg Whites Until Stiff
With the oven preheated and ready, it's time to whip the egg whites until they reach stiff peaks. Start by cracking your eggs carefully, ensuring no yolk sneaks into the whites. Use a clean, dry mixing bowl; any grease or moisture can prevent the whites from whipping properly.
Add your egg whites to the bowl and, if you like, a pinch of salt or a few drops of lemon juice to stabilize them.
Using an electric mixer, begin on low speed to break up the whites, then gradually increase to medium-high. You'll notice the texture changing as air gets incorporated. Keep an eye on the mixture as you whip; this is where the magic happens.
In just a few minutes, the egg whites will transform from a frothy liquid to a voluminous cloud.
When you see soft peaks forming, that's a good sign, but you want to whip a bit longer. Stiff peaks mean that the whites stand tall and don't droop when you lift the beaters. This is crucial for your meringue cookies, so don't rush it.
Once you reach this stage, you're ready to move on to the next step in creating your delightful treats!
Step 3. Fold in Sugar Gradually
How do you achieve that perfect sweetness in your meringue? It's all about folding in the sugar gradually.
After you've whipped your egg whites until stiff peaks form, it's time to sweeten the mixture to perfection. Start by adding a small amount of sugar, about a tablespoon or so, to the egg whites. Use a spatula, and gently fold it in with an upward motion. This technique helps to incorporate the sugar without deflating the air you've just whipped into the egg whites.
Once the first addition is well combined, continue adding the sugar gradually—one tablespoon at a time. This slow incorporation allows the sugar to dissolve properly, creating a smooth, glossy meringue. You want to see that beautiful sheen develop as you fold.
Keep folding gently, and don't rush the process. If you add too much sugar too quickly, you risk losing that airy texture.
After you've added all your sugar, check for any undissolved granules. The final meringue should feel silky and look shiny.
You're now ready to move on to the next step in crafting those delightful ghostly meringue cookies!
Step 4. Pipe Ghost Shapes
Creating whimsical ghost shapes with your meringue is a fun and straightforward process. Start by preparing your piping bag with a large round tip. If you don't have a piping bag, a zip-top bag with a corner snipped off works just as well. Fill the bag with your meringue mixture, making sure to squeeze out any air bubbles.
Now, it's time to pipe! Hold the bag vertically above your baking sheet, and gently squeeze to create a small base for your ghost. As you continue to apply pressure, lift the bag upward to form the ghost's body, tapering it off at the top.
For the ghost's face, you can add little dollops for eyes and a mouth using the same piping technique.
Don't worry if your first few attempts aren't perfect; practice makes perfect! You can always reshape or adjust your meringue while it's still soft.
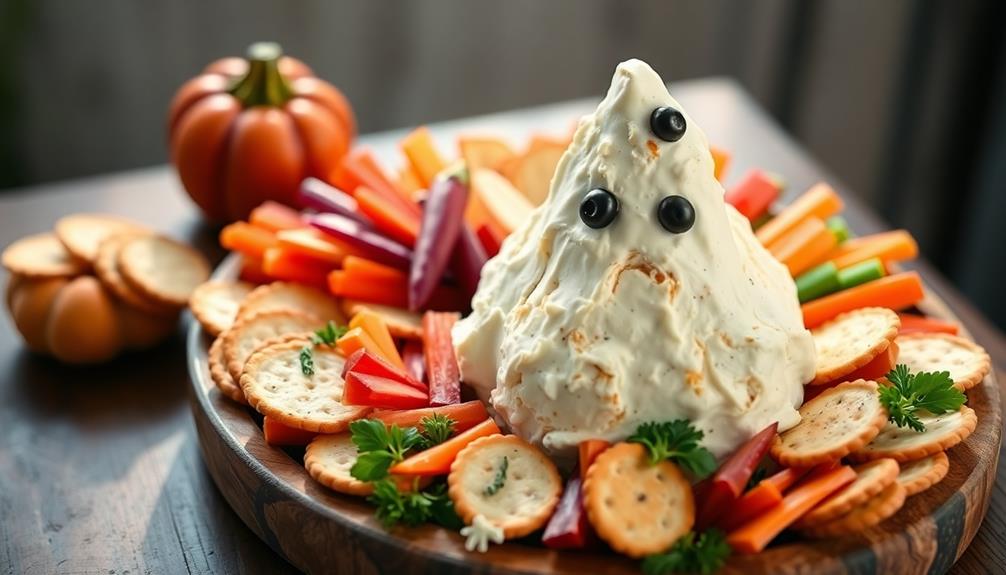
Once you've piped out your ghosts, take a moment to admire your work. These little treats are just waiting for the oven, and they'll make a delightful addition to your Halloween festivities. Enjoy the process and let your creativity shine! You can even take the spooky theme a step further by decorating your table with creepy crawlers on your crudités or adding a drizzle of red “bloody” sauce to your ghostly creations. The more eerie and imaginative your spread, the more memorable your celebration will be. After all, Halloween is the perfect time to let your spooky side show! To complete the eerie ambiance, consider pairing your ghostly creations with a bubbling cauldron of warmth, like a witch’s brew chili recipe simmering away in the background. The comforting aroma will not only complement your spooky spread but also keep your guests coming back for more. Remember, the key to a truly haunting celebration lies in the details—don’t hesitate to let your imagination run wild!
Step 5. Bake for 90 Minutes

After piping your ghostly shapes onto the baking sheet, it's time to bring them to life in the oven. Preheat your oven to 200°F (93°C) before placing your meringue cookies inside. This low temperature is crucial; it allows the cookies to dry out slowly, achieving that delightful crisp texture.
Now, gently slide the baking sheet into the oven. Set a timer for 90 minutes and resist the urge to peek! Opening the oven door can disrupt the delicate meringue, causing it to collapse. Instead, let the cookies work their magic undisturbed.
As they bake, the meringues will transform from glossy and soft to crisp and airy. You'll know they're ready when they easily lift off the baking sheet without sticking.
After the time's up, turn off the oven but leave the cookies inside to cool completely. This step helps them firm up and prevents any sudden changes in temperature that could lead to cracks.
When they're cool to the touch, take them out and admire your ghostly creations. These airy delights are now ready to haunt your Halloween festivities or sweeten any gathering! Enjoy!
Final Thoughts
When it comes to making ghostly meringue cookies, a few key takeaways can elevate your baking experience. First, ensure your egg whites are at room temperature; this helps them whip up fluffier and more stable.
You'll want to use clean, dry equipment too, as any fat or moisture can ruin your meringue. Additionally, understanding the importance of copyright protections can inspire you to create unique designs for your cookies that could be trademarked in the future.
Next, when you're adding sugar, do it gradually. This allows the sugar to dissolve properly, resulting in a smoother texture. Don't rush this step!
Once your meringue is glossy and holds stiff peaks, it's time to pipe those cute ghost shapes. Remember, practice makes perfect, so don't be discouraged if your first batch doesn't look exactly like the picture.
Frequently Asked Questions
Can I Use a Sugar Substitute for Meringue Cookies?
You can use a sugar substitute for meringue cookies, but results may vary. Make sure to choose a suitable alternative that mimics sugar's properties. Experimenting will help you achieve the texture and flavor you desire.
How Do I Store Leftover Meringue Cookies?
To store leftover meringue cookies, keep 'em in an airtight container at room temperature. They'll stay crisp for several days. Avoid humidity, as it can make 'em chewy. Enjoy your treats later without worry!
Are Meringue Cookies Gluten-Free?
Yes, meringue cookies are gluten-free since they're made primarily from egg whites and sugar. You don't have to worry about gluten if you're avoiding it, making them a safe treat for everyone. Enjoy!
How Long Do Meringue Cookies Typically Last?
Meringue cookies typically last about two weeks when stored in an airtight container at room temperature. Just make sure they're kept away from humidity, as moisture can affect their crisp texture. Enjoy your treats!
Can I Add Flavoring to the Meringue Mixture?
Absolutely, you can add flavoring to your meringue mixture! Just incorporate your desired extract or flavoring gently while whipping the egg whites. Experiment with different flavors to create a delightful twist on your meringue treats.