You'll love crafting these whimsical Witch's Broomstick Cheese Straws for your Halloween festivities! Originating in the Middle Ages, this treat combines buttery, flaky pastry with sharp cheddar cheese for an irresistible flavor. Simply mix the dough, shape it into broomstick forms, and bake until golden brown. The result is a delightfully crispy and tangy snack that captures the magical essence of the season. Arrange the cheese straws in a broom-like display for added visual appeal, then pair them with colorful dips or spreads to delight your guests. Want to learn more about the history and tips for perfecting this enchanting creation? Keep reading to uncover the full recipe and insights.
Key Takeaways
- Witch's Broomstick Cheese Straws are a whimsical Halloween snack that combines buttery, flaky pastry with sharp, tangy cheese.
- The recipe originates from the Middle Ages, inspired by the belief that witches rode broomsticks through the night sky.
- The dish features a unique broomstick shape, adding a festive element to the addictive flavor profile.
- The cooking process involves preparing a dough, shaping it into broomstick-like straws, and baking them to golden-brown perfection.
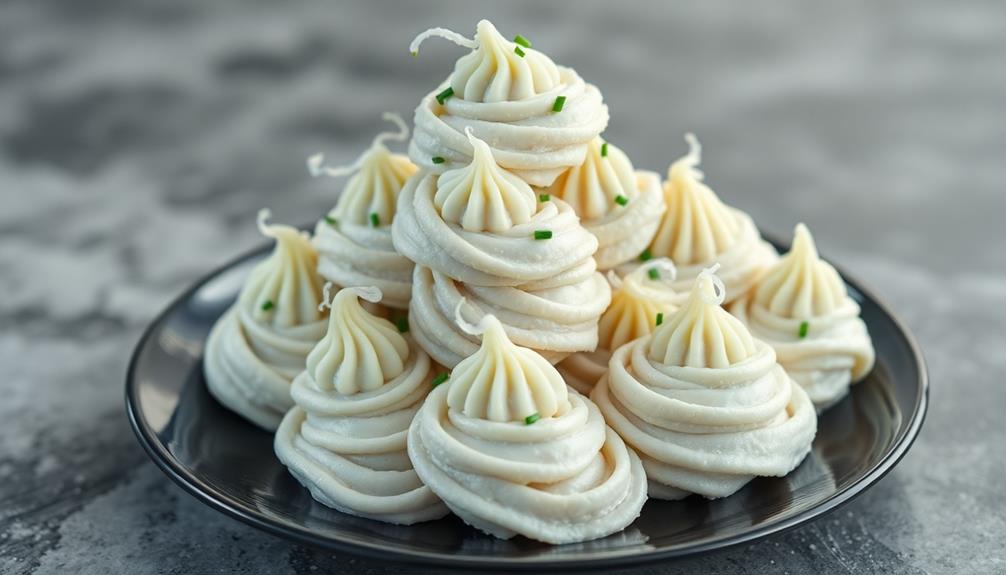
- Witch's Broomstick Cheese Straws can be served as a stand-alone snack or paired with colorful dips and spreads for an enhanced presentation.
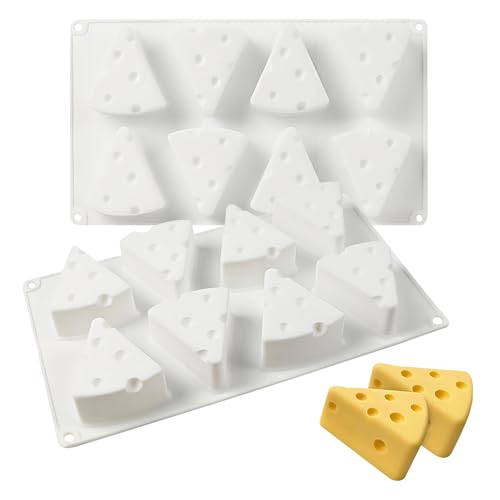
3D Cheese Silicone Baking Molds for Mousse Cake, 8-Cavity Chocolate Pan for French Dessert Pudding Ice Cream Candle
- Versatile Use: Suitable for desserts, mousse, cake, and more
- High-Quality Material: Safe, flexible, reusable, withstands -40°C to 230°C
- Easy to Use: Non-stick surface for effortless release
As an affiliate, we earn on qualifying purchases.
As an affiliate, we earn on qualifying purchases.
History
Centuries ago, witches were believed to ride brooms through the night sky. These iconic broomsticks became a symbol of the witch's craft, inspiring the creation of the witch's broomstick cheese straw. This savory treat reflects the whimsical and mysterious nature of witchcraft, capturing the essence of those legendary flights.
The art of maintaining traditions, much like the regular cleaning of air purifiers for optimal performance, connects us to the past. The origins of the witch's broomstick cheese straw can be traced back to the Middle Ages, when baking and cheese-making were integral parts of domestic life. Resourceful cooks incorporated the symbolic broomstick shape into their culinary creations, crafting delicate pastries that evoked the mystique of witches.
Over time, the recipe evolved, with the addition of flavorful cheeses and spices, transforming the humble cheese straw into a delightful homage to the witch's broom. The crunchy texture and savory flavor make cheese straws a popular choice for cocktail parties and gatherings. In fact, many home cooks have been known to experiment with different variations, similar to the way they might tweak their avocado toast recipe. Whether it’s the addition of extra sharp cheddar or a sprinkle of smoked paprika, the cheese straw continues to be a beloved snack with a rich history and endless potential for creativity. Some cooks even go so far as to pair their cheese straws with a wicked witch avocado toast recipe, creating a delightful and unexpected flavor combination. The buttery richness of the avocado plays off the sharpness of the cheese, resulting in a truly decadent snack. With its versatility and ability to complement a wide range of flavors, the cheese straw shows no signs of falling out of favor anytime soon.
Today, the witch's broomstick cheese straw remains a beloved and whimsical treat, connecting us to the rich tapestry of folklore and culinary traditions that have captivated the human imagination for centuries.
Recipe
Witch's Broomstick Cheese Straws are a whimsical and delightful snack that will delight both children and adults. These savory straws are easy to make and perfect for Halloween gatherings or any occasion when a touch of magic is desired.
Incorporating playful elements into food can enhance children's engagement and creativity, much like Montessori toys encourage hands-on learning. The combination of buttery, flaky pastry and sharp, tangy cheese creates a flavor profile that's both satisfying and addictive. The unique shape of the straws, reminiscent of a witch's broomstick, adds a playful and festive element to the dish.
- 2 cups all-purpose flour
- 1/2 teaspoon salt
- 1 cup unsalted butter, chilled and cubed
- 1 cup grated sharp cheddar cheese
- 2-3 tablespoons ice water
Preheat your oven to 375°F (190°C). In a food processor, pulse the flour and salt together. Add the chilled butter and pulse until the mixture resembles coarse crumbs. Add the grated cheese and pulse until just combined. Gradually add the ice water, one tablespoon at a time, until the dough begins to come together. Be careful not to overmix.
Shape the dough into a disc, wrap in plastic, and refrigerate for at least 30 minutes. Once chilled, roll the dough out on a lightly floured surface to a 1/8-inch thickness. Using a sharp knife or pizza cutter, cut the dough into long, thin strips, about 1/2-inch wide and 6 inches long.
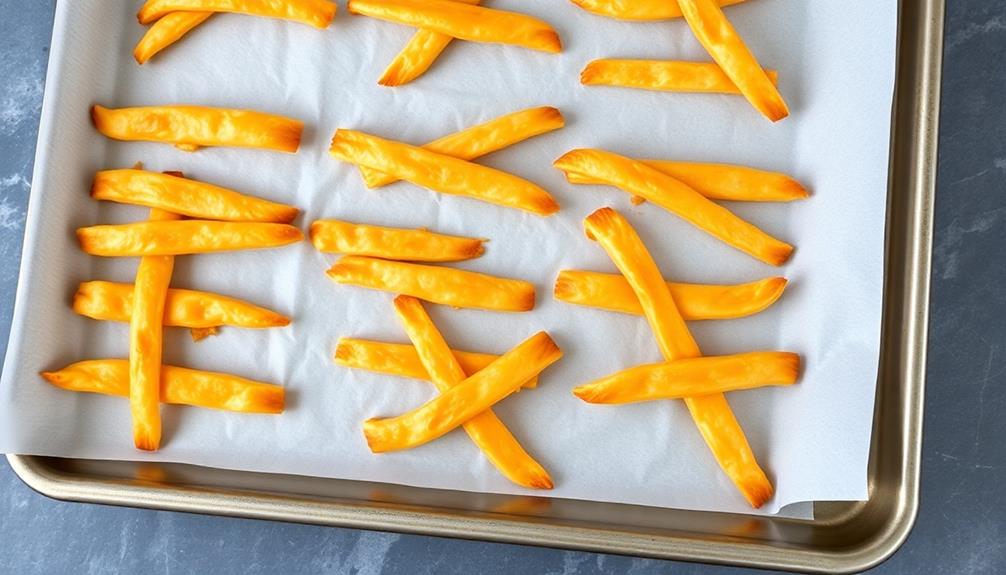
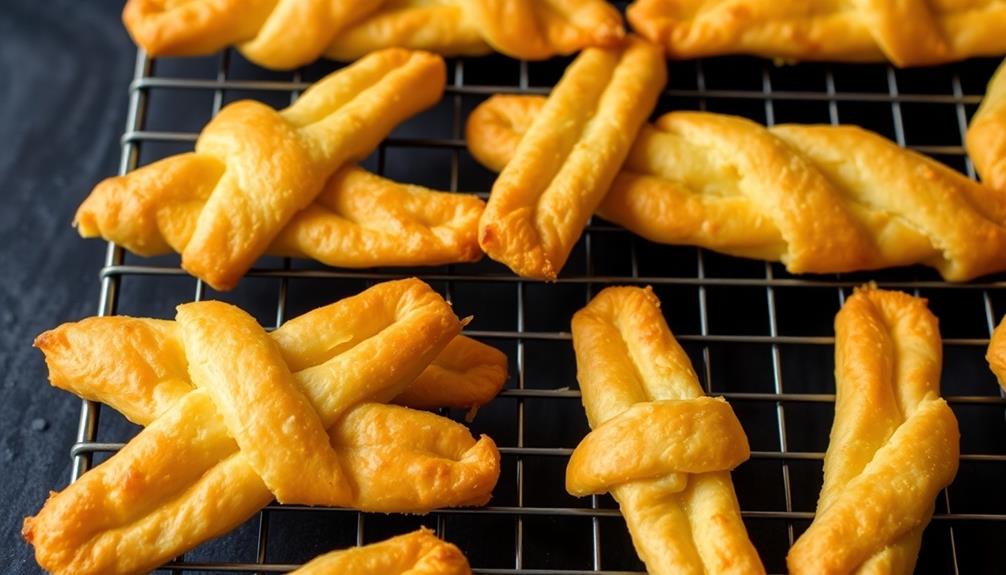
Carefully transfer the strips to a parchment-lined baking sheet, arranging them in a criss-cross pattern to resemble a witch's broomstick. Bake the cheese straws for 12-15 minutes, or until they're golden brown and crispy. Allow them to cool on the baking sheet for a few minutes before transferring to a wire rack.
Serve these Witch's Broomstick Cheese Straws warm or at room temperature, and enjoy their delightful flavor and whimsical presentation.
Cooking Steps
Combine the flour, butter, and cheese in a bowl until the mixture resembles coarse crumbs.
This savory treat is perfect for Halloween gatherings, much like the fun and easy preparation of Dirt Cups.
Next, roll the dough into thin ropes and cut them into witch's broom shapes.
Step 1. Combine Flour, Butter, and Cheese
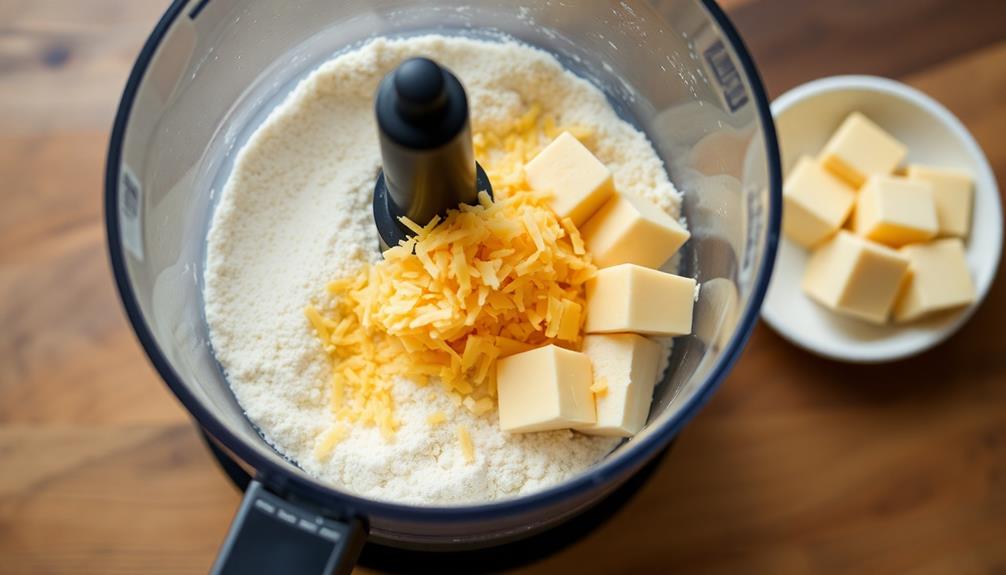
Blending the key ingredients – flour, butter, and cheese – lays the foundation for the bewitching Witch's Broomstick Cheese Straws. In a large bowl, combine the all-purpose flour, grated parmesan cheese, and a pinch of salt.
Cutting in the cold, cubed butter until the mixture resembles coarse crumbs is essential for achieving a flaky texture, much like the perfect dough for Best Root Lifters for Fine Hair that adds volume without heaviness. This can be done with a pastry blender or by rubbing the butter into the flour with your fingertips.
Gradually add just enough ice water, one tablespoon at a time, until the dough begins to come together. Don't overwork the dough, or it'll become tough. Gather the dough into a disk, wrap it in plastic, and refrigerate for at least 30 minutes. This chilling step helps the butter firm up, making the dough easier to work with.
Once chilled, roll the dough out on a lightly floured surface into a long rectangle, about 1/4-inch thick. Proceed to the next step of shaping the dough into broomstick shapes.
Step 2. Roll Into Thin Ropes

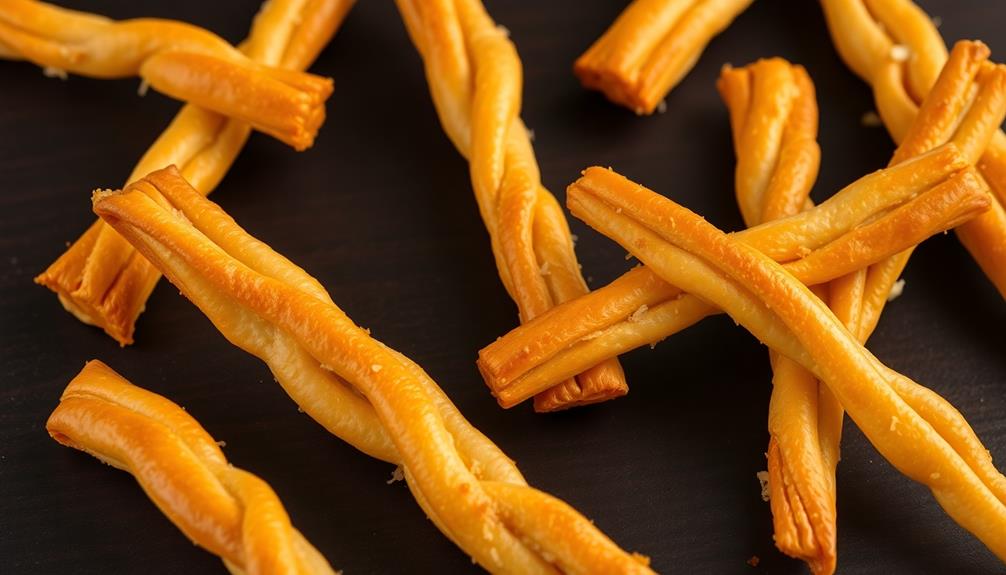
Next, take the dough and divide it into 12 equal pieces. Roll each piece into a thin rope, about 1/2 inch in diameter and 6 inches long. This will give your cheese straws that classic twisted "broomstick" shape.
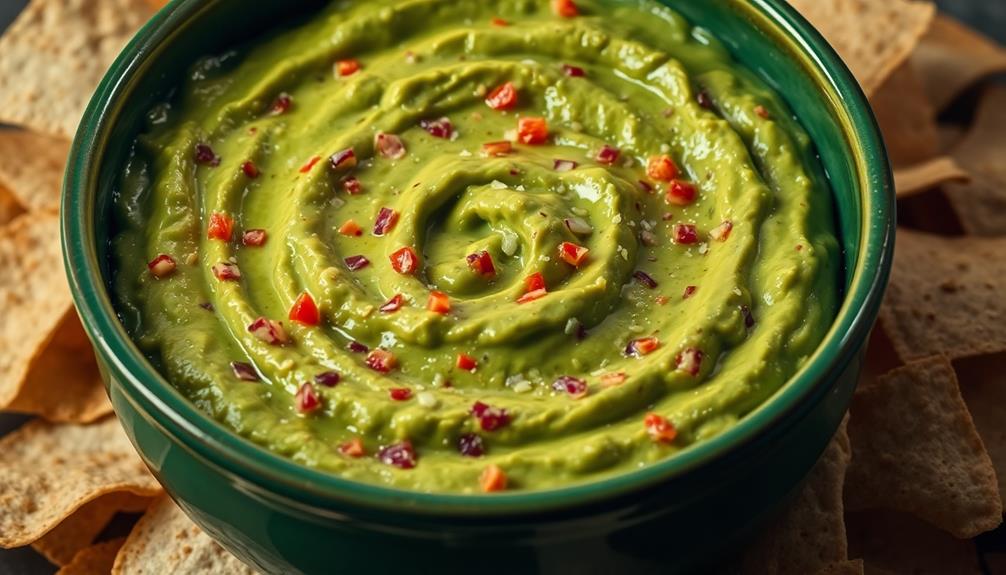
Don't worry if they're not perfectly uniform – the rustic look adds to the charm. For a fun twist, consider pairing these cheese straws with a colorful dip to make them even more appealing, similar to how vibrant unique beetroot recipes for baby-led weaning encourage exploration and enjoyment.
As you roll, apply gentle pressure to ensure the dough is evenly thick throughout. If it starts to stick to the surface, lightly flour your work area. Take your time and focus on creating those long, slender ropes. This step is crucial for achieving the signature twisted appearance of these whimsical cheese straws.
Once all the ropes are formed, arrange them in a criss-cross pattern on the prepared baking sheets. Leave a bit of space between each one to allow for expansion during baking.
This arrangement will mimic the look of an actual witch's broomstick. Now you're ready to bake your magical cheese straws to crispy, golden-brown perfection!
Step 3. Cut Into Witch's Broom Shapes
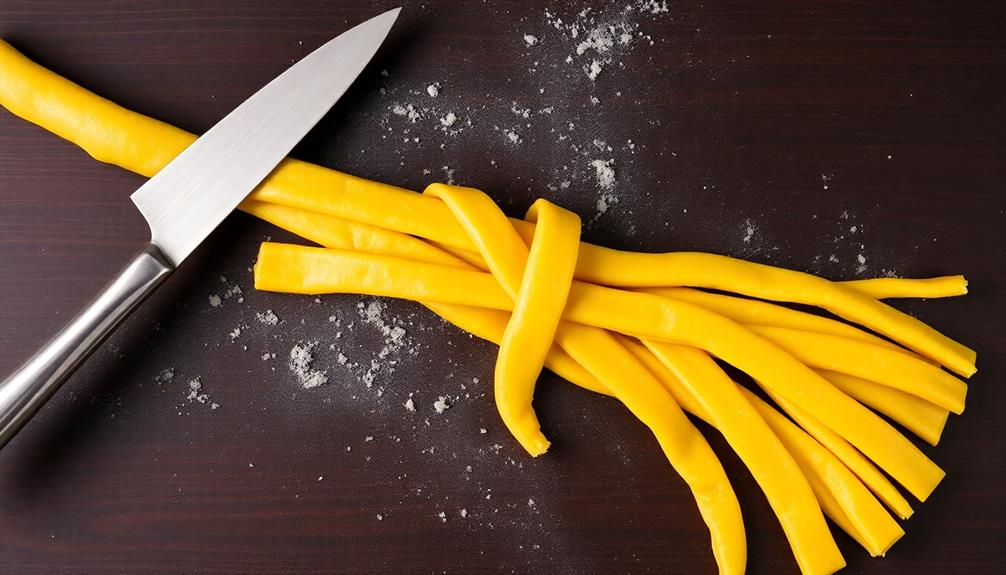
Once the dough ropes are formed, begin cutting them into the signature witch's broom shape. Using a sharp knife or pizza cutter, make diagonal slices along the length of each rope, leaving about an inch uncut at the top. This will create the bristle-like appearance of a classic witch's broomstick.
Be sure to make the cuts evenly spaced and at a consistent angle for a polished, uniform look.
Next, gently stretch and shape each section to accentuate the broom-like silhouette. Pinch the uncut top portion to form the handle, and lightly pull the cut sections outward to fan them into the broom bristles.
Arrange the shaped dough pieces on a parchment-lined baking sheet, ensuring they've enough room to bake without touching. This step is crucial for achieving the distinct broomstick profile and preventing the straws from merging together during the baking process.
With a little careful shaping, your homemade cheese straws will transform into whimsical witches' broomsticks, ready to cast a spell of deliciousness.
Step 4. Bake Until Golden Brown
With the shaped dough pieces now carefully arranged on the parchment-lined baking sheet, it's time to pop them into the preheated oven.
Set the temperature to 375°F (190°C) and let the magic happen. As the cheese straws bake, you'll start to smell that irresistible aroma wafting through the air – a bewitching blend of buttery goodness and sharp, tangy cheese.
Keep an eye on them, though, as they can go from perfectly golden to slightly singed in a matter of minutes. The goal is to achieve a lovely, uniform color all over, with a crisp, flaky texture that practically melts in your mouth.
Resist the temptation to open the oven door too often, as this can cause the temperature to drop and affect the baking process. After about 12-15 minutes, the cheese straws should be ready to emerge from the oven, their witch's broom shapes standing tall and proud.
Let them cool slightly before serving, then sit back and enjoy the fruits of your labors – a spooky-good treat that's sure to bewitch your guests.
Step 5. Allow to Cool
After the cheese straws have baked to a lovely golden-brown hue, it's time to let them cool. Resist the temptation to dive in right away – patience is key.
Allow the cheese straws to sit on the baking sheet for about 5 minutes. This gives them a chance to firm up and maintain their delightful shape.
Once they've had a brief rest, use a spatula to carefully transfer the straws to a wire cooling rack. This elevated surface promotes even cooling, ensuring the bottoms don't become soggy.
Let the cheese straws cool completely, which should take around 10-15 minutes. You'll know they're ready when they're no longer warm to the touch and have a crisp, sturdy texture.
This cooling process is essential for achieving the perfect bite – flaky, crunchy, and full of robust cheese flavor.
With a little time and care, your homemade witch's broomstick cheese straws will be perfectly ready to enjoy.
Final Thoughts
As you've now made these delightful Witch's Broomstick Cheese Straws, you can confidently serve them as a playful and tasty snack for your guests.
These vibrant green cheese straws, infused with the earthy aroma of fresh herbs, are sure to delight both children and adults alike. The flaky, buttery texture and savory flavor make them an irresistible treat, perfect for Halloween parties or any gathering where a touch of whimsy is desired.
These straws not only look the part but also capture the essence of the season, transporting your guests to a magical realm.
Consider pairing them with a selection of dips or spreads to enhance the flavors further. The versatility of this recipe allows you to customize the presentation, perhaps by arranging the straws in a spooky, broom-like formation to truly embrace the witch's theme.
Enjoy the compliments and satisfied smiles as your guests indulge in these enchanting Witch's Broomstick Cheese Straws.
Frequently Asked Questions
Are the Cheese Straws Safe for Pets to Consume?
I wouldn't recommend feeding cheese straws to your pets.
While they may seem tempting, the ingredients in most cheese straws can be harmful for animals. The high fat and salt content can cause digestive issues, and some spices or seasonings may even be toxic.
It's best to stick to pet-safe treats and foods to keep your furry friends healthy and happy. Your pets will thank you for looking out for their wellbeing.
What Is the Origin of the "Witch's Broomstick" Name?
The "witch's broomstick" name likely refers to the long, curved shape of these cheese straws.
They're designed to resemble the iconic brooms used by witches in folklore and pop culture.
This unique shape not only adds a fun, Halloween-inspired aesthetic but also makes them easy to pick up and enjoy as a snack.
The creative name helps capture the whimsical, spooky theme while still focusing on the delicious cheese flavor.
Can the Cheese Straws Be Frozen for Later Use?
Absolutely! Cheese straws are a fantastic make-ahead snack that freezes beautifully.
Simply bake them as usual, let them cool completely, and then pop them into an airtight container or resealable bag.
When you're ready to enjoy them, just take out the amount you need and let them thaw at room temperature.
The crisp, cheesy texture will be just as delightful as the day you made them.
Freeze them for up to 3 months for a convenient and tasty treat anytime.
Are There Any Vegan or Gluten-Free Substitutions Available?
Yes, there are several vegan and gluten-free substitutions available for these cheese straws.
You can use gluten-free flour blends or almond flour to make the dough. For a vegan version, swap the cheese with dairy-free alternatives like cashew-based cheese or nutritional yeast.
These substitutions will allow those with dietary restrictions to enjoy this tasty snack as well. Just be sure to adjust the baking time and temperature as needed for the different ingredients.
How Long Do the Cheese Straws Typically Last Before Going Stale?
The shelf life of cheese straws can vary, but they typically last 1-2 weeks before going stale.
Keep them stored in an airtight container at room temperature for optimal freshness. The exact duration will depend on factors like the recipe, ingredients used, and storage conditions.
While they may not spoil immediately, the texture and flavor will gradually degrade over time.
Enjoy your cheese straws at their best by consuming them within the first week or two after baking.