
Witch's finger cookies are a spooky Halloween treat that's become a modern classic. You'll love making these crisp-on-the-outside, tender-on-the-inside cookies shaped like eerie witch fingers. They're easy to create using a basic shortbread or sugar cookie recipe, with added vanilla and almond extracts for flavor. You'll shape the dough into fingers, add almond "fingernails," and bake until golden. For extra creepiness, you can add green food coloring to the dough or decorate with red gel for a bloody effect. These cookies are perfect for Halloween parties and will surely impress your guests. There's more to discover about this frightfully fun treat.
Key Takeaways
- Witch's Finger Cookies are Halloween-themed treats shaped to resemble eerie, finger-like forms with almond "fingernails."
- The recipe typically uses a shortbread or sugar cookie base flavored with vanilla and almond extracts.
- These cookies originated in the late 20th century and quickly became a popular modern Halloween classic.
- Preparation involves shaping dough into fingers, adding knuckle details, and decorating with almond slices and optional "blood" effects.
- They're ideal for Halloween parties, combining a delicious taste with a creepy aesthetic that impresses guests.

BAKERLOGY Small Witch Finger Cookie Cutter – Creepy Halloween Fondant & Biscuit Mould for Creative Bakers & Spooky Party Treats
- Size: 3.2cm x 11.0cm (1.2" x…
- Suitable for Cookie dough, Fondant, Craft Clay, Biscuit…
- 3D printed. Compatible with Dishwasher.
As an affiliate, we earn on qualifying purchases.
As an affiliate, we earn on qualifying purchases.
History
Where did these spooky confections originate? You might be surprised to learn that witch's finger cookies don't have a long, ancient history.
They're actually a relatively recent creation in the world of Halloween treats. These eerie-looking cookies first gained popularity in the late 20th century, likely emerging in the 1990s as home bakers and food bloggers sought new ways to create festive Halloween snacks.
The idea behind witch's finger cookies stems from the classic shortbread or sugar cookie recipe. Clever bakers realized they could shape the dough into finger-like forms and add details to make them look like creepy, witch-like digits.
The addition of almond slices for fingernails and food coloring for a pale, ghoulish appearance helped solidify their place in Halloween baking traditions.
While they may not have centuries of history behind them, witch's finger cookies have quickly become a beloved part of Halloween celebrations.
You'll now find them at parties, in bakeries, and featured in countless Halloween-themed cookbooks and websites, cementing their status as a modern Halloween classic. These treats have become a staple of spooky season celebrations, captivating both kids and adults alike with their creative designs and hauntingly delicious flavors. From ghostly white frosting to blood-red drizzles, the possibilities are endless—just check out the wildly popular werewolf fur cupcake recipe for an example of how inventive bakers have become. With each year, the demand for these eerie yet adorable desserts only grows, solidifying their place in Halloween traditions.
Recipe
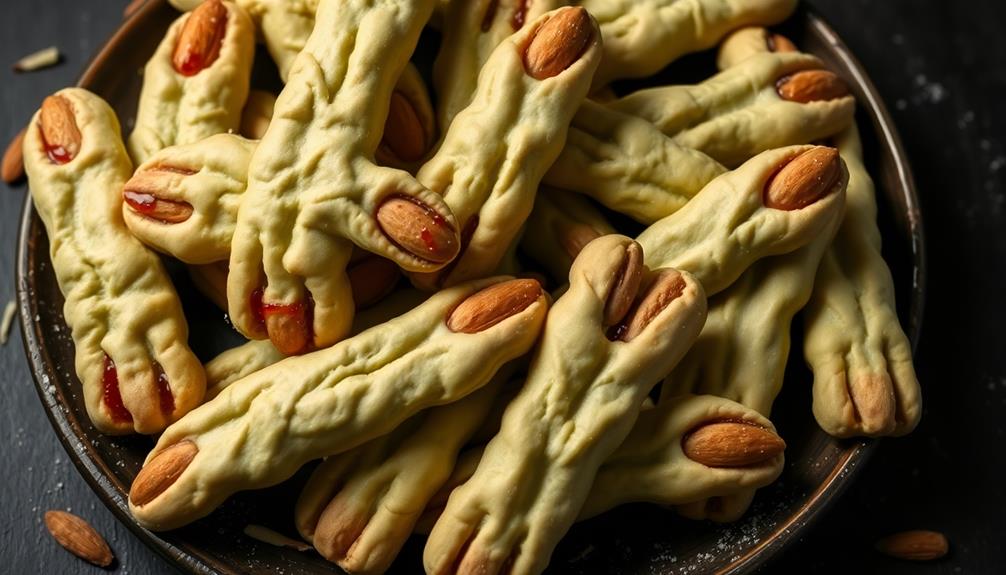
Witch's Finger Cookies are a spooky and delightful Halloween treat that's both fun to make and eat. These eerie-looking cookies resemble gnarled witch fingers, complete with almond "fingernails" and a realistic, wrinkled appearance. They're perfect for Halloween parties, themed events, or simply to add a touch of creepy fun to your baking repertoire.
This recipe yields approximately 30 finger-shaped cookies that are crisp on the outside and tender on the inside. The dough is flavored with vanilla and almond extracts, giving the cookies a subtle, sweet taste that pairs well with the visual impact. The addition of green food coloring (optional) can make the fingers look even more witch-like and ghoulish.
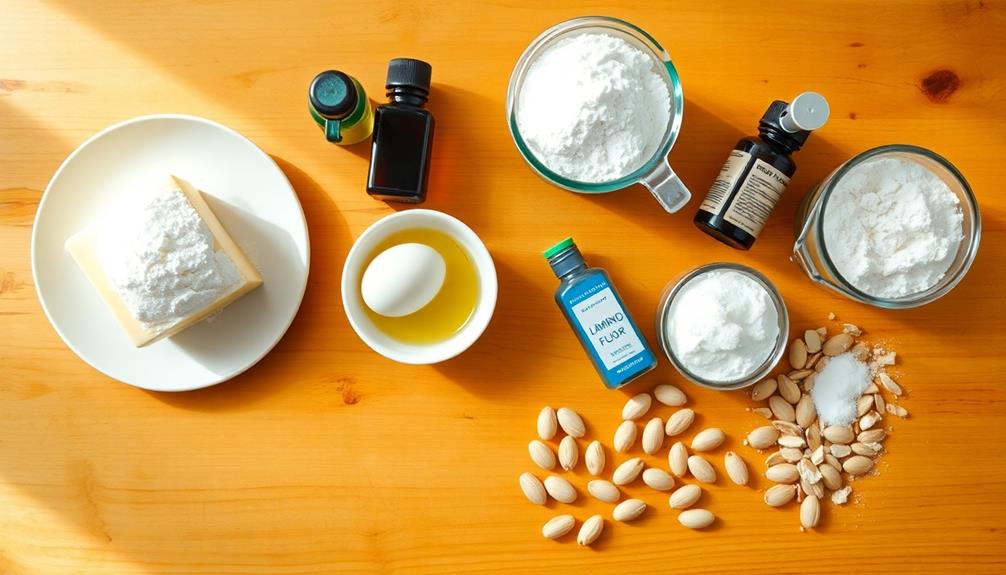
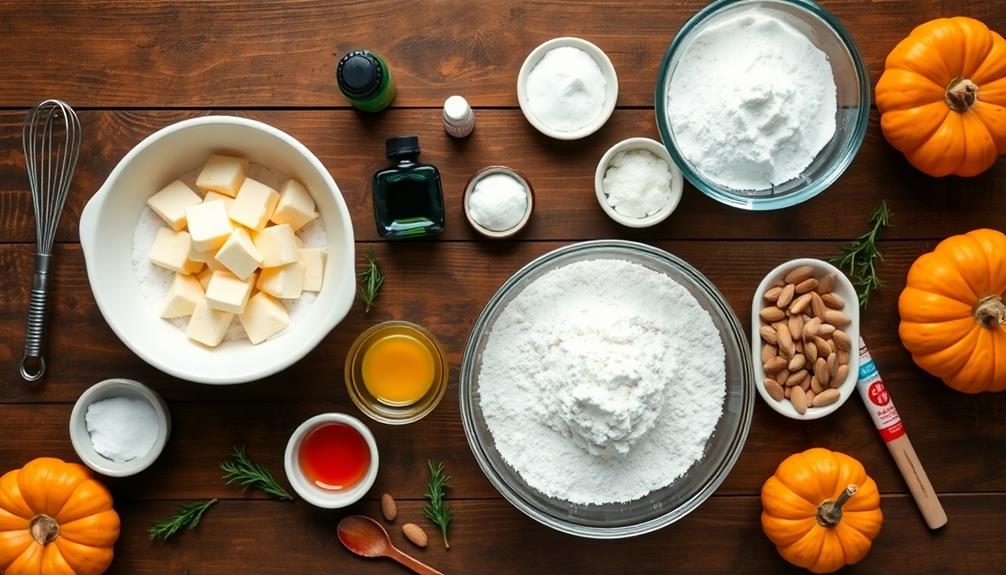
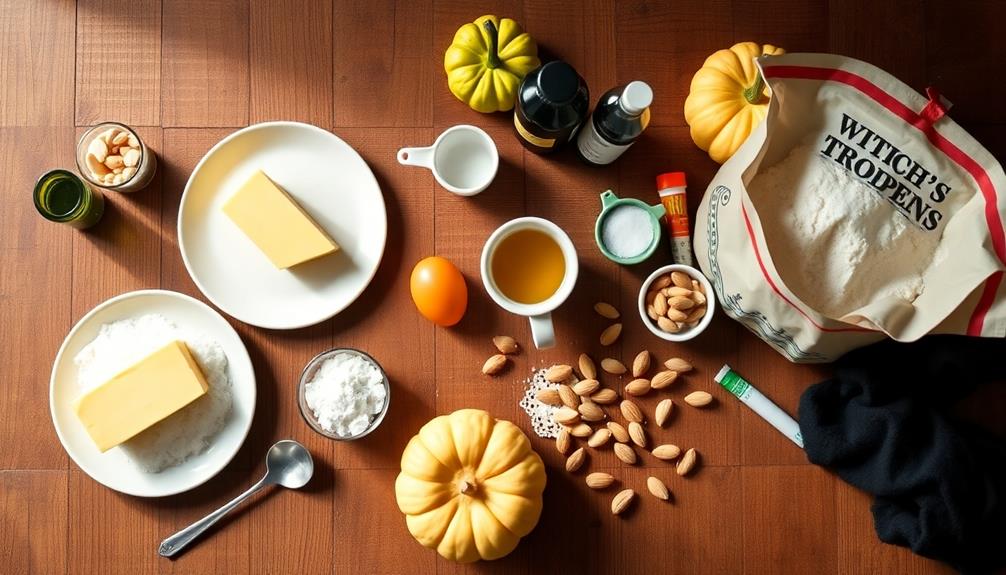
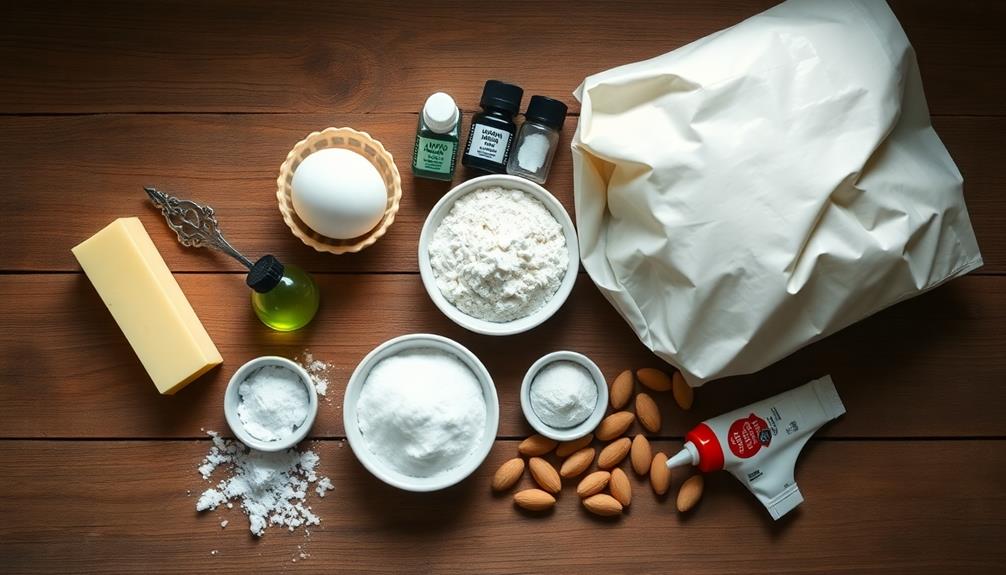
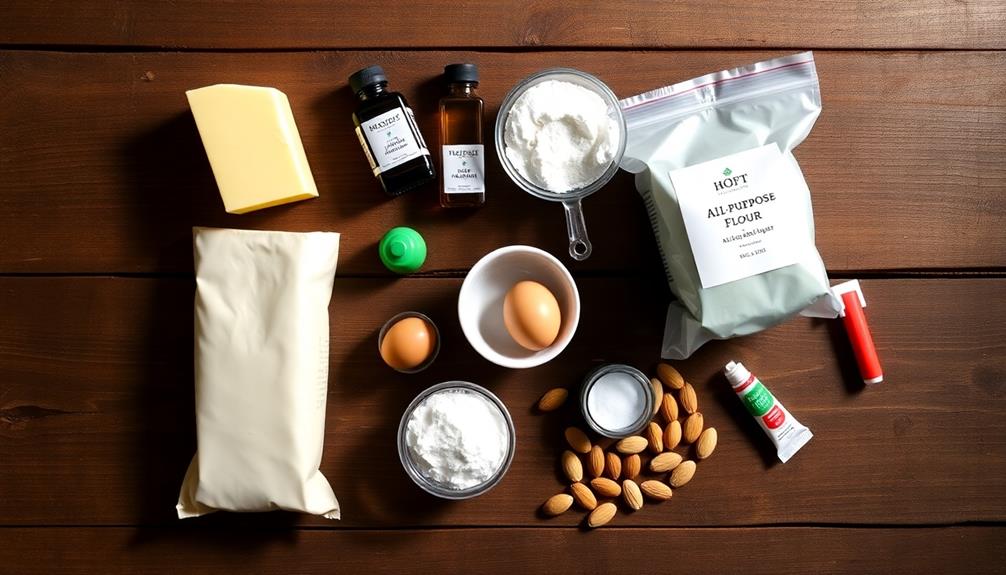
- 1 cup unsalted butter, softened
- 1 cup powdered sugar
- 1 large egg
- 1 teaspoon vanilla extract
- 1/2 teaspoon almond extract
- 2 3/4 cups all-purpose flour
- 1 teaspoon salt
- 1/2 teaspoon baking powder
- Green food coloring (optional)
- 30 whole blanched almonds
- Red decorating gel
To make the cookies, cream the butter and sugar together until light and fluffy. Beat in the egg and extracts. In a separate bowl, whisk together the flour, salt, and baking powder. Gradually add the dry ingredients to the wet mixture, mixing until a dough forms. If using, add green food coloring to achieve the desired shade. Chill the dough for 30 minutes.
Preheat the oven to 325°F (165°C). Shape the dough into finger-like shapes, creating knuckle indentations with a knife. Press an almond onto one end for the fingernail. Bake for 20-25 minutes until lightly golden. Once cooled, add red gel around the fingernail for a bloody effect.
For best results, chill the dough thoroughly before shaping to prevent spreading during baking. Use a light touch when forming the fingers to maintain their shape. If the dough becomes too soft while working, return it to the refrigerator briefly.
To enhance the creepy factor, consider using different shades of food coloring for varied skin tones, or add cocoa powder to the dough for a dirty appearance. Store the cookies in an airtight container at room temperature for up to a week, or freeze for longer storage.
Cooking Steps
To create these spooky witch's finger cookies, you'll follow a series of simple steps.
You'll start by mixing the dry ingredients and creaming the butter and sugar separately.
Then, you'll combine everything, shape the dough into finger-like forms, and bake them until they're lightly golden and perfectly crisp.
Step 1. Mix Dry Ingredients Together
In a large mixing bowl, combine the flour, baking powder, and salt. You'll want to use a whisk or a fork to ensure these dry ingredients are well mixed. This step is crucial for evenly distributing the leavening agent throughout the flour, which will help your cookies rise properly and have a consistent texture.
Next, you'll need to sift the mixture. If you don't have a sifter, don't worry! You can use a fine-mesh strainer instead. Hold it over another bowl and gently tap the side to let the dry ingredients fall through. This process helps remove any lumps and aerates the flour, resulting in lighter, fluffier cookies.
Once you've sifted the mixture, give it one more quick stir to make sure everything's well combined.
At this point, your dry ingredients are ready to be mixed with the wet ingredients. Remember, it's important not to overmix once you combine wet and dry ingredients, so having your dry mix well-prepared now will make that final step easier and ensure your witch's finger cookies turn out perfectly spooky and delicious!
Step 2. Cream Butter and Sugar
The next crucial step in creating your witch's finger cookies is creaming the butter and sugar. Start by taking your softened butter and placing it in a large mixing bowl. Add the granulated sugar, and you're ready to begin.
Using an electric mixer or a sturdy wooden spoon, beat the butter and sugar together until they're well combined and the mixture becomes light and fluffy. This process, known as creaming, is essential for achieving the right texture in your cookies.
As you mix, you'll notice the color of the butter lightening and the volume increasing. This happens because you're incorporating tiny air bubbles into the mixture, which will help your cookies rise and become tender.
Don't rush this step; it usually takes about 3-5 minutes with an electric mixer or 5-7 minutes by hand. You'll know you're done when the mixture is pale yellow and has a slightly increased volume.
If you're using an electric mixer, stop occasionally to scrape down the sides of the bowl, ensuring everything is evenly mixed.
Step 3. Add Eggs and Vanilla
After creaming the butter and sugar, you'll need to incorporate the eggs and vanilla extract. This step is crucial for achieving the right texture and flavor in your witch's finger cookies.
Crack two large eggs into the bowl with your creamed mixture. It's best to add them one at a time, mixing well after each addition. This method ensures that the eggs are fully incorporated and helps prevent overmixing.
Once the eggs are blended in, it's time to add the vanilla extract. Measure out one teaspoon of pure vanilla extract and pour it into the bowl. The vanilla will enhance the overall flavor of your cookies, giving them a delicious aroma and taste.
Mix everything together until the ingredients are well combined. You'll notice the batter becoming smoother and more uniform in color.
At this point, your mixture should be light and fluffy. It's important not to overmix, as this can lead to tough cookies. If you see any streaks of egg or vanilla, gently fold them in until just combined.
Your cookie dough is now ready for the next step in creating these spooky, delicious treats.
Step 4. Shape Dough Into Fingers
Spooky fingers are taking shape as you begin the most crucial step in creating witch's finger cookies. With your dough well-mixed, it's time to transform it into eerie digits.
Start by dividing the dough into small, equal portions – about a tablespoon each. Roll each portion between your palms to form a finger-like shape, about 3-4 inches long. Don't aim for perfection; slight irregularities will add to the creepy effect.
Once you've shaped the basic finger, use a butter knife to create knuckle indentations. Gently press the knife across the dough in two or three places, mimicking the natural bends of a finger. For an extra touch of realism, use a toothpick to create small lines and wrinkles on the knuckles.
At one end of each cookie, press an almond slice to represent the fingernail. If you're going for a more ghoulish look, you can leave space for "blood" to ooze from under the nail later.
Place your shaped fingers on a lined baking sheet, leaving some space between them. They're now ready for baking!
Step 5. Bake Until Lightly Golden
Once your ghoulish fingers are lined up on the baking sheet, it's time to bring them to life in the oven. Preheat your oven to 350°F (175°C) and position the rack in the center. Carefully slide the baking sheet into the oven, making sure not to disturb your creepy creations.
Keep a close eye on your witch's fingers as they bake. You'll want to remove them when they're just lightly golden around the edges, which typically takes about 12-15 minutes. Don't let them get too brown, or they'll lose their pale, eerie appearance.
The cookies will still be soft when you take them out, but they'll firm up as they cool. If you've made multiple batches, rotate the baking sheets halfway through cooking time to ensure even baking.
Once done, remove the cookies from the oven and let them cool on the baking sheet for about 5 minutes. Then, transfer them to a wire rack to cool completely. As they cool, you'll notice they become firmer and ready for the next spooky step in your witch's finger cookie adventure.
Final Thoughts
These Witch's Finger Cookies are sure to be a hit at your next Halloween party. They're not only deliciously creepy but also a fun activity to make with friends or family.
Remember, you can easily adjust the recipe to fit your taste preferences or dietary needs. If you're looking for a vegan option, try using plant-based butter and a flax egg substitute.
Don't be afraid to get creative with your decorations. While almonds make great fingernails, you could also use pumpkin seeds or candy corn for a different look. For an extra spooky touch, add a few drops of green food coloring to the dough.
When storing your cookies, keep them in an airtight container at room temperature for up to a week. If you want to make them ahead of time, you can freeze the unbaked dough for up to three months. Just thaw it in the refrigerator overnight before shaping and baking.
With their eerie appearance and delicious taste, these Witch's Finger Cookies will surely cast a spell on your guests!
Frequently Asked Questions
Can I Use Food Coloring to Make the Cookies More Realistic?
Yes, you can use food coloring to make your cookies more realistic. It's a great way to add depth and detail. You'll want to mix the coloring into the dough or use it for decorative accents after baking.
How Long Do Witch's Finger Cookies Stay Fresh?
You'll find your cookies stay fresh for about a week if stored properly. Keep them in an airtight container at room temperature. They'll maintain their best quality for 3-4 days, but you can still enjoy them after that.
Are There Any Nut-Free Alternatives for the Almond Slivers?
You can use several nut-free alternatives for almond slivers. Try pumpkin seeds, sunflower seeds, or even candy corn for a festive touch. You'll also find that sliced jelly beans or small candies work well as fingernail substitutes.
Can I Freeze the Dough for Later Use?
You can freeze the dough for later use. It's a great time-saver! Just wrap it tightly in plastic wrap and place it in a freezer bag. When you're ready, thaw it in the refrigerator overnight before using.
What's the Best Way to Package These Cookies for Gifting?
For gifting cookies, you'll want to use airtight containers or decorative tins. Layer them carefully with parchment paper to prevent sticking. You can also wrap individual cookies in cellophane bags tied with festive ribbons for a charming presentation.