Witch's Hat Quesadillas are a playful and delicious twist on a traditional dish, making them perfect for festive occasions like Halloween. To make them, start by filling tortillas with your favorite cheeses, beans, or veggies and folding them into a triangular shape. Cook them in a skillet until crispy and golden brown on both sides. For extra flavor, mix in spices and fresh ingredients like bell peppers or cilantro. Serve them warm with dipping sauces like salsa and guacamole for added delight. If you're excited about unique flavors and fun presentation, you'll want to explore more tips and ideas!
Key Takeaways
- Witch's Hat Quesadillas are a fun, triangular twist on traditional quesadillas, perfect for Halloween-themed gatherings.
- They can be filled with various ingredients like cheese, black beans, chicken, and sautéed peppers for customization.
- The crispy tortillas are easy to prepare and cook, making them a great interactive dish for parties.
- Serve with dipping sauces like salsa or guacamole to enhance flavors and create a more engaging experience.
- Their unique shape and delicious fillings make them a conversation starter at any festive occasion.
Top picks for "witch quesadilla"
As an affiliate, we earn on qualifying purchases.
History
Witch's Hat Quesadillas have a whimsical charm that can be traced back to traditional Mexican cuisine, where quesadillas have long been a staple. The history of quesadillas dates back to the Aztec civilization, where they made flatbreads from corn and filled them with various ingredients like cheese, beans, and meats.
These early versions of quesadillas were simple yet satisfying, embodying the spirit of resourcefulness in Mexican cooking. As you explore the evolution of this dish, you'll notice how it adapted over centuries, incorporating regional flavors and ingredients.
With the arrival of the Spanish, cheese became a popular filling, transforming quesadillas into the cheesy delights we know today. The playful presentation of Witch's Hat Quesadillas draws inspiration from the iconic triangular shape, resembling a witch's hat, which adds a festive touch, especially during Halloween.
Whether you're hosting a gathering or just looking for a fun meal, this dish captures the essence of cultural fusion and creativity in food. By embracing the history of quesadillas, you'll appreciate each bite and the rich traditions behind this beloved dish, making your culinary experience all the more enjoyable.
Recipe
Witch's Hat Quesadillas are a fun and festive twist on the classic quesadilla, perfect for Halloween or any spooky gathering. These delightful treats take on the shape of witch hats, making them not only delicious but also visually appealing.
The combination of savory cheese and your choice of fillings, all encased in a crispy tortilla, offers a satisfying crunch and a burst of flavor in every bite. Whether you're hosting a Halloween party or just looking to add a little whimsy to your dinner, these quesadillas are sure to be a hit with both kids and adults alike.
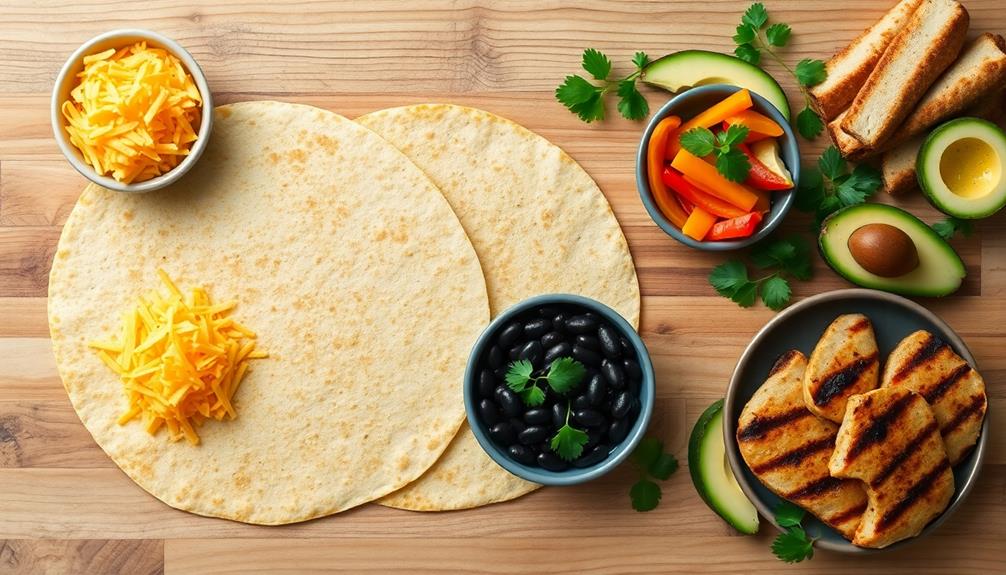
To keep them aligned with a healthy lifestyle, consider incorporating essential low carb foods such as grilled chicken or sautéed peppers as your fillings. You can customize the fillings to suit your taste. Popular options include black beans, sautéed peppers, and shredded chicken, but feel free to get creative!
The key is to use a mix of ingredients that will melt beautifully and hold together as you assemble your witch hats. With a bit of patience and some clever folding, you can create these enchanting snacks that are as fun to make as they're to eat.
Cooking Steps
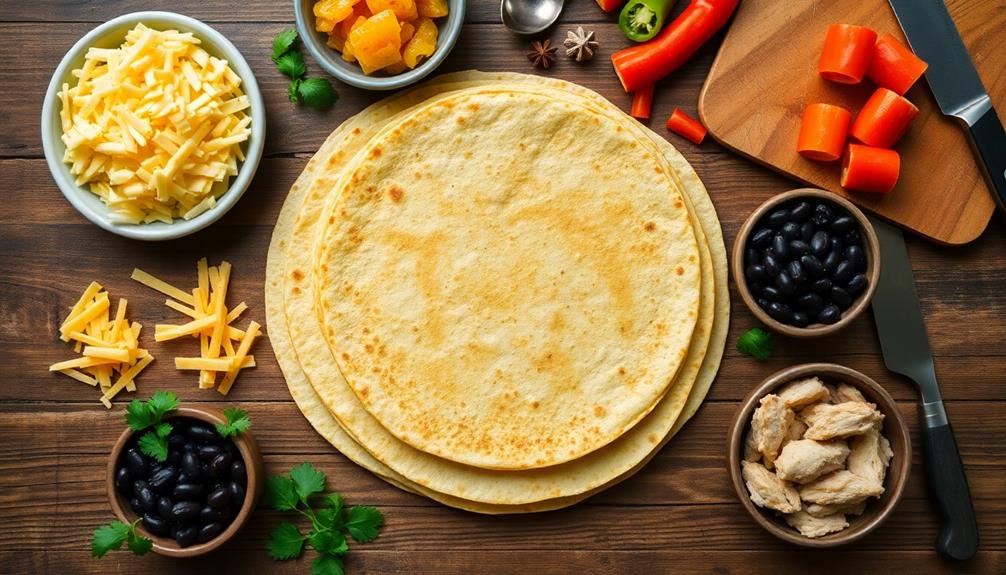
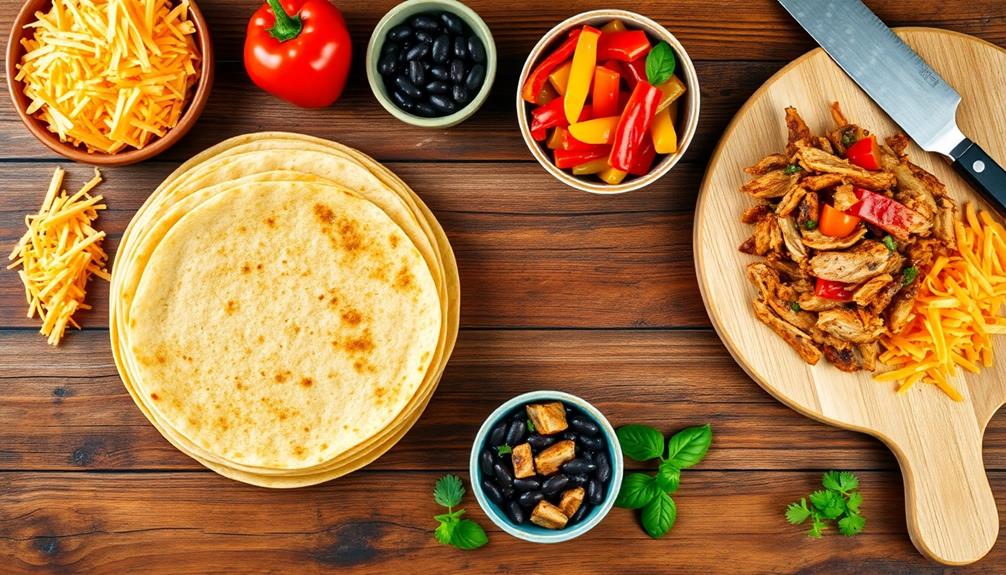
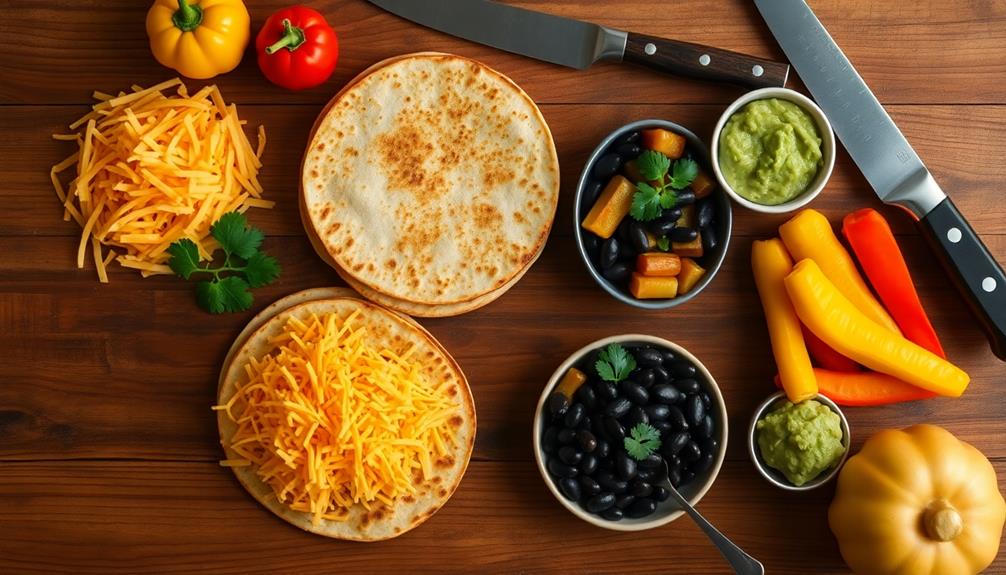
To get started on your Witch's Hat Quesadillas, you'll want to prepare all your ingredients on the countertop for easy access.
Next, melt that cheese in a skillet until it's perfectly gooey, then add your favorite toppings before folding the tortilla.
Cook until golden brown, and you'll have a delicious treat ready to slice and serve!
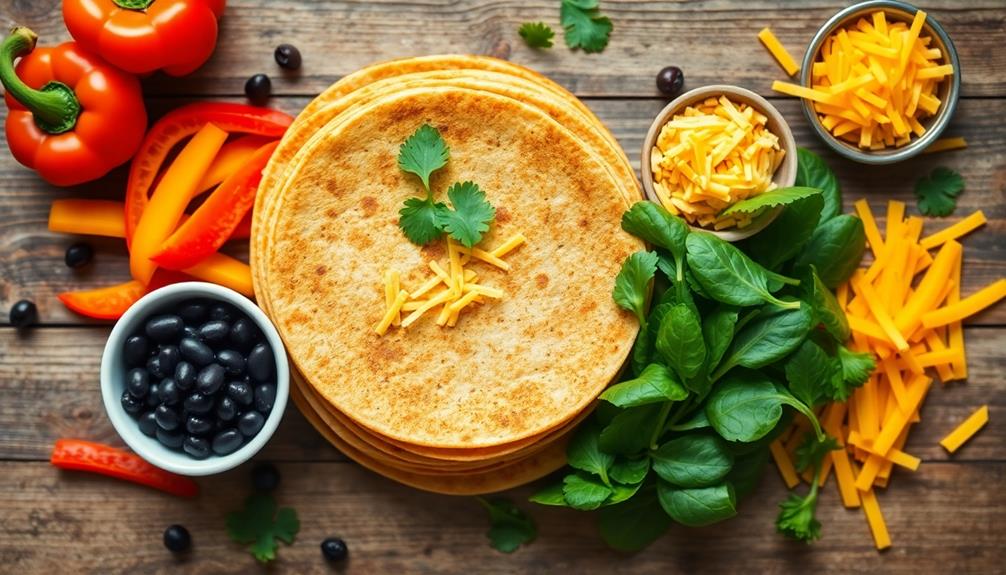
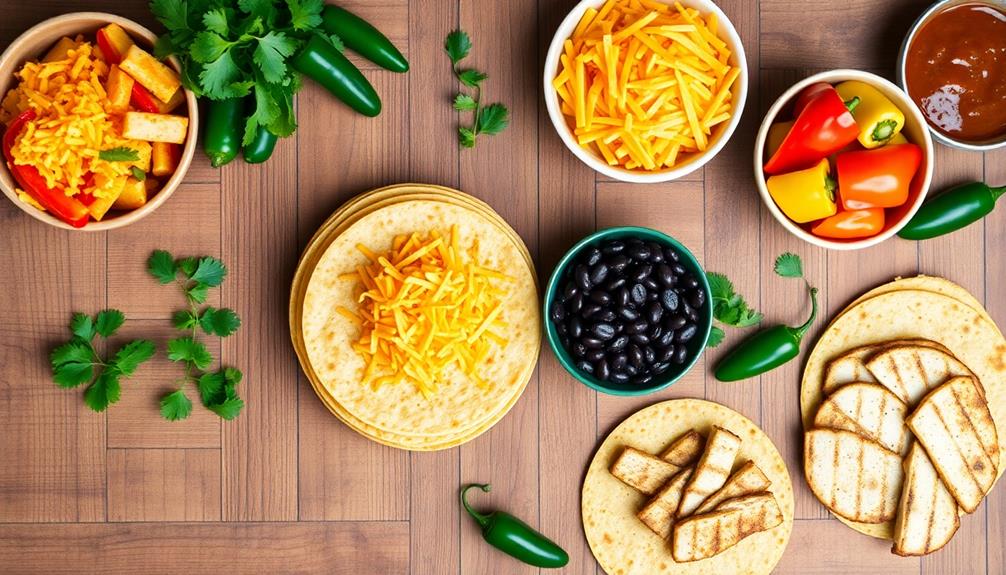
Step 1. Prepare Ingredients on Countertop
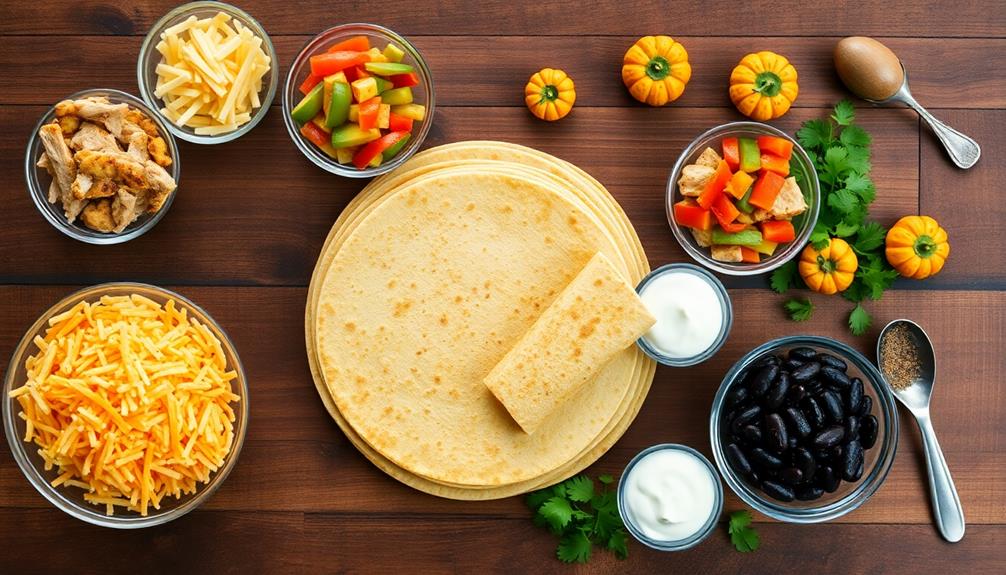
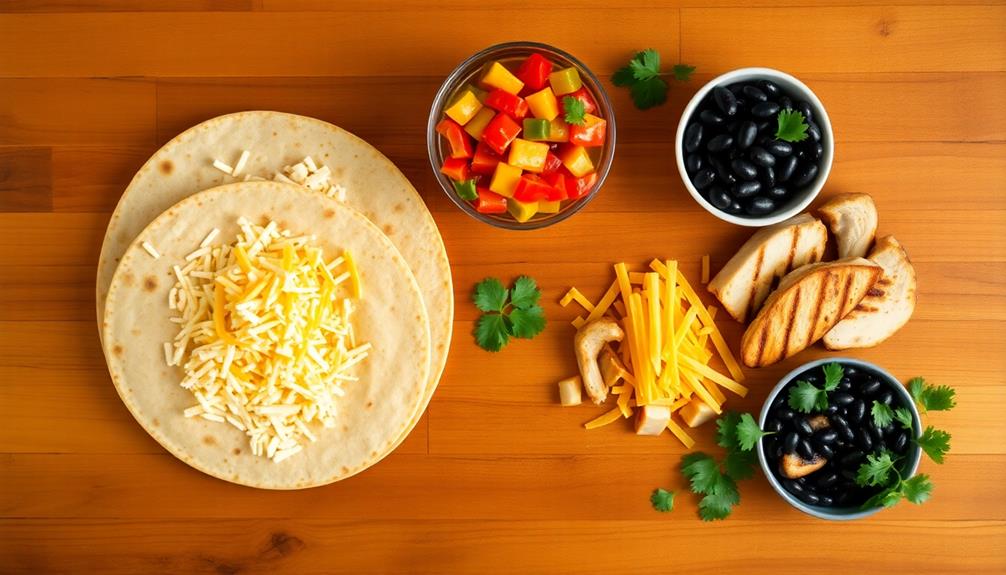
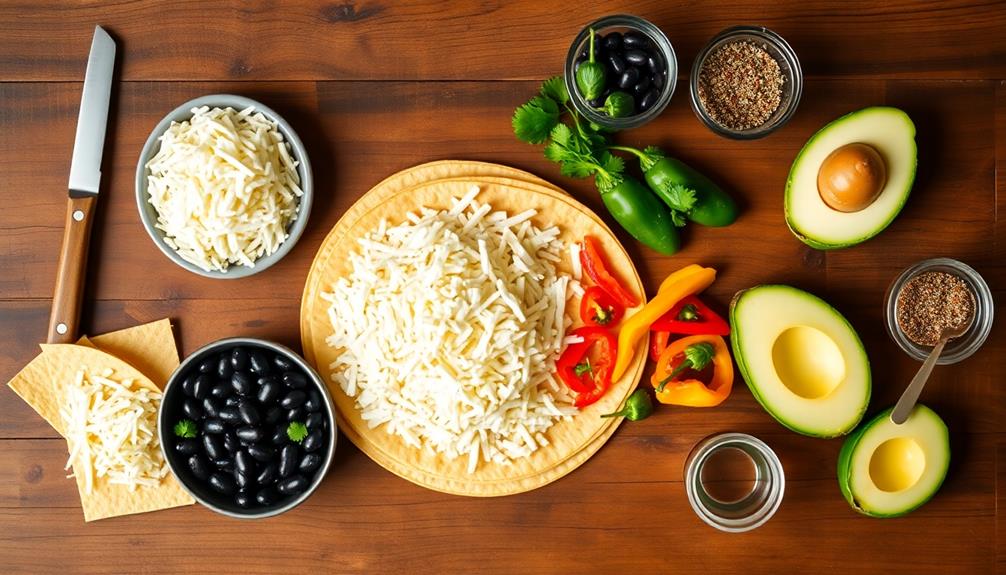
Gather all your ingredients on the countertop to streamline the cooking process for your quesadillas. Start by laying out your tortillas, cheese, and any fillings you plan to use. This might include cooked chicken, beans, peppers, or spices. Having everything within reach will make your cooking experience much smoother.
Next, chop any fresh ingredients you want to include. If you're using vegetables like onions or bell peppers, slice them into thin strips for even cooking. Don't forget to set aside any seasonings you'll need. A sprinkle of cumin or chili powder can add a delightful kick to your quesadillas.
Make sure your cheese is shredded and ready to go. This helps it melt evenly and quickly when you're cooking. If you're using multiple types of cheese, mix them together in a bowl to create a tasty blend.
Step 2. Melt Cheese in Skillet
Start by heating a large skillet over medium heat.
Once the skillet is warm, place a tortilla in the center. Sprinkle a generous amount of shredded cheese evenly over half of the tortilla. You can use any cheese you love—cheddar, mozzarella, or a blend works great!
Keep an eye on the heat; you want it hot enough to melt the cheese but not so hot that the tortilla burns.
After a minute, check the cheese. You should see it starting to melt. If it's not melting yet, give it another minute or two.
For extra flavor, consider adding a pinch of seasoning or herbs on top of the cheese. Once the cheese is gooey and almost flowing, it's time to fold the tortilla.
Carefully lift the uncheesed half over to cover the melted cheese. Press down slightly with a spatula to help it stick together and ensure even heating.
Let the quesadilla cook for another minute or so on the skillet, allowing the tortilla to crisp up.
When it's golden brown, flip it carefully to toast the other side. You'll know it's ready when both sides are nicely browned and the cheese is perfectly melted!
Step 3. Add Toppings Before Folding
Now that your cheese is melting beautifully, it's time to add your favorite toppings before folding the quesadilla. This is where you can get creative and personalize your dish!
Start by sprinkling a layer of your chosen toppings over the melted cheese. You might want to add some diced bell peppers for a crunchy texture or sliced jalapeños if you're craving a bit of spice. Don't forget about cooked chicken or beans for extra protein—both options work wonderfully!
If you like a bit of freshness, consider adding some chopped cilantro or green onions. These toppings not only enhance the flavor but also add a pop of color to your quesadilla. Just be careful not to overload it; a little goes a long way!
Once you've added your toppings, take a moment to admire your handiwork before folding the quesadilla in half. Gently press down to help everything stick together, ensuring a satisfying bite every time.
Now that you've added those delicious toppings, you're one step closer to enjoying your witch's hat quesadilla. Get ready to cook it until it's golden brown—coming up next!
Step 4. Cook Until Golden Brown
Once you've folded your quesadilla, it's time to cook it until golden brown. Start by heating a non-stick skillet over medium heat. You want the pan hot enough to create a nice crisp without burning the tortilla.
Add a small amount of oil or butter to the skillet, allowing it to melt and coat the surface evenly.
Carefully place your folded quesadilla in the pan. Let it cook for about 3 to 4 minutes on one side. Keep an eye on it; you're looking for that perfect golden-brown color.
Once you see it starting to crisp, it's time to flip! Use a spatula to turn the quesadilla gently, being careful not to spill the delicious filling.
Cook the second side for another 3 to 4 minutes until it matches the first side's golden hue. You might want to press down slightly with the spatula to ensure even cooking.
When both sides are perfectly browned and crispy, remove the quesadilla from the skillet and let it rest for a minute before serving. This resting will help the cheese set a little, making it easier to slice later on.
Enjoy the aroma of your creation!
Step 5. Slice and Serve Quesadillas
The satisfaction of a perfectly cooked quesadilla comes alive when you slice and serve it. After your quesadilla has reached that golden-brown perfection, it's time to finish the magic. Remove it from the skillet and let it cool for a minute. This short wait helps the cheese set slightly, making it easier to slice without everything oozing out.
Grab a sharp knife or pizza cutter for this next step. Place the quesadilla on a cutting board and cut it into wedges—typically, four to six slices work well. Aim for even pieces, so everyone gets a good share. If you're feeling fancy, try cutting them into triangles for that classic quesadilla look!
Once sliced, arrange the pieces on a serving platter. You can add a sprinkle of fresh herbs or a drizzle of sour cream for an appealing touch.
Don't forget to serve alongside your favorite dipping sauces, like salsa or guacamole. This enhances the flavors and elevates the experience.
Now, gather your friends and family, and enjoy your delicious witch's hat quesadillas. They're sure to be a hit at your next gathering!
Final Thoughts
As you gather your friends for a cozy gathering, don't underestimate the charm of Witch's Hat Quesadillas. These delightful snacks not only add a festive touch to your menu but also offer a fantastic way to spark conversation. Their unique shape and delicious filling make them a sure hit, whether it's Halloween or any casual get-together.
For those warm summer nights, consider enhancing your gathering with some refreshing drinks or even hosting it poolside, where you can enjoy the benefits of thrilling adventures at local water parks.
Remember, the key to a great quesadilla is all in the preparation. Experiment with fillings that cater to your crowd's preferences, from classic cheese to creative combinations like spinach and feta or spicy chicken.
Don't shy away from using different types of tortillas for added flavor and color.
As you serve these charming quesadillas, consider pairing them with sides like salsa, guacamole, or sour cream for extra zing. Your friends will love customizing their bites, and it adds an interactive element to your gathering. As you serve these charming quesadillas, consider pairing them with sides like salsa, guacamole, or sour cream for extra zing. Your friends will love customizing their bites, and it adds an interactive element to your gathering. For an extra twist, set the mood with some upbeat tunes, perhaps even something by Joseph Quinn and his band, to keep the energy lively. The combination of great food, music, and good company will make your event truly unforgettable!
In the end, Witch's Hat Quesadillas are more than just tasty treats; they're a conversation starter, a fun activity, and a way to create lasting memories.
Frequently Asked Questions
Can I Use Gluten-Free Tortillas for Witch's Hat Quesadillas?
Yes, you can definitely use gluten-free tortillas! They'll work just as well in your recipe. Just make sure to choose a brand that holds up well when cooking to ensure a tasty result. Enjoy!
What Are Some Good Dipping Sauces for These Quesadillas?
For dipping sauces, you might enjoy salsa, guacamole, or sour cream. Try a spicy chipotle sauce for a kick, or even a creamy ranch dressing to complement the flavors. Get creative and mix your favorites!
How Can I Make These Quesadillas Vegan-Friendly?
To make these quesadillas vegan-friendly, use plant-based cheese, swap regular tortillas for vegan options, and fill them with sautéed veggies like mushrooms and peppers. You'll create a delicious, satisfying meal everyone can enjoy!
What's the Best Way to Store Leftovers?
To store leftovers, let them cool before placing them in an airtight container. Refrigerate for up to three days. If you want to keep them longer, freeze them for up to three months. Enjoy!
Can I Add Meat or Other Fillings to the Quesadillas?
Absolutely, you can add meat or other fillings to your quesadillas! Just make sure to balance the flavors and avoid overstuffing. Experiment with different ingredients to find your perfect combination. Enjoy your delicious creation!