You'll create a spooky and delicious Halloween centerpiece with this Zombie Brain Cheese Ball recipe. Mix cream cheese, cheddar, green onions, and Worcestershire sauce, then shape it into a brain-like oval. Chill it for at least 2 hours, then add veiny details and a "blood" sauce made from raspberry jam and food coloring. Serve with crackers or veggie sticks on a decorated platter. This eye-catching snack, popularized in the early 2010s, is sure to be a hit at your next Halloween party. With a few simple steps, you can craft a memorable treat that's both tasty and visually striking. Discover how to take your Zombie Brain Cheese Ball to the next level.
Key Takeaways
- A Zombie Brain Cheese Ball is a Halloween-themed appetizer shaped and decorated to resemble a brain.
- It typically consists of cream cheese, shredded cheddar, and various seasonings mixed together.
- The cheese mixture is molded into a brain shape, chilled, and often decorated with food coloring for a realistic effect.
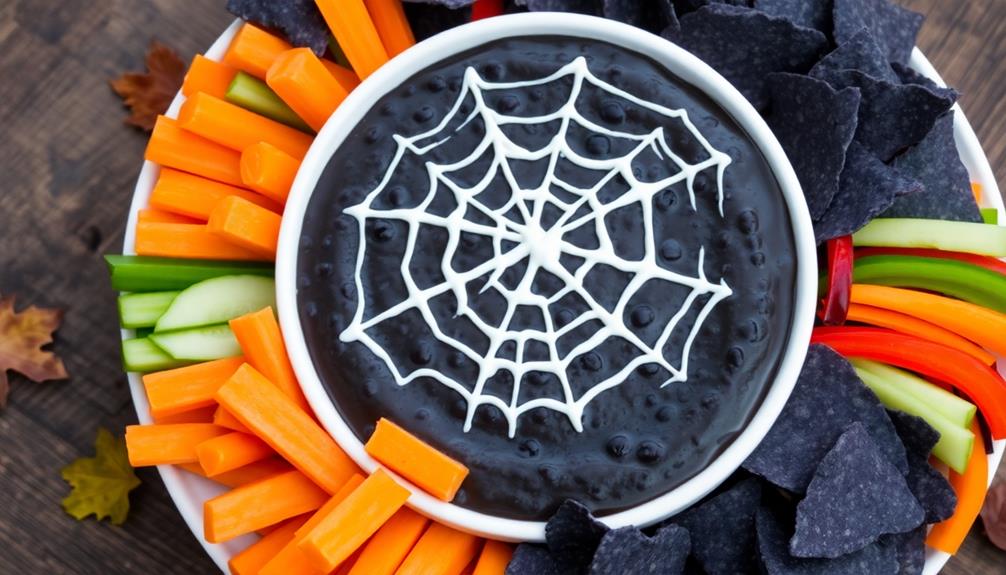
- It's served with crackers or vegetables and often accompanied by a "blood" sauce made from raspberry jam.
- This appetizer gained popularity in the 2010s and has become a staple at Halloween parties and gatherings.
Top picks for "zombie brain cheese"
Open Amazon search results for this keyword.
As an affiliate, we earn on qualifying purchases.
History
While the exact origins of the zombie brain cheese ball remain murky, this ghoulish appetizer has gained popularity at Halloween parties over the past decade. You've likely seen variations of this creepy creation at spooky gatherings or on social media platforms. Its eerie appearance and deliciously cheesy flavor make it a hit among partygoers of all ages, adding to the festive fun. Much like the zombie brain cheese ball, the Frankenstein guacamole recipe origins are often discussed among Halloween enthusiasts, as both dishes embody the creativity and spookiness of the season. Together, they exemplify how food can transform into edible art, perfect for celebrating the eerie holiday spirit.
The concept of shaping cheese into a brain-like form isn't entirely new. Cheese molding has been a culinary art for centuries, with various shapes and designs used for special occasions.
However, the specific zombie brain cheese ball trend emerged in the early 2010s, coinciding with the rise of zombie-themed entertainment. As Halloween celebrations became more elaborate, hosts began seeking unique, eye-catching dishes to impress their guests.
The zombie brain cheese ball fit the bill perfectly, combining a tasty snack with a visually striking presentation. Food bloggers and Pinterest users quickly spread the idea, sharing recipes and tips for creating the most realistic-looking "brains."
You'll find that the basic recipe hasn't changed much over the years, but creative cooks continue to experiment with different cheese blends, coatings, and serving suggestions to keep this ghoulish treat fresh and exciting.
Recipe
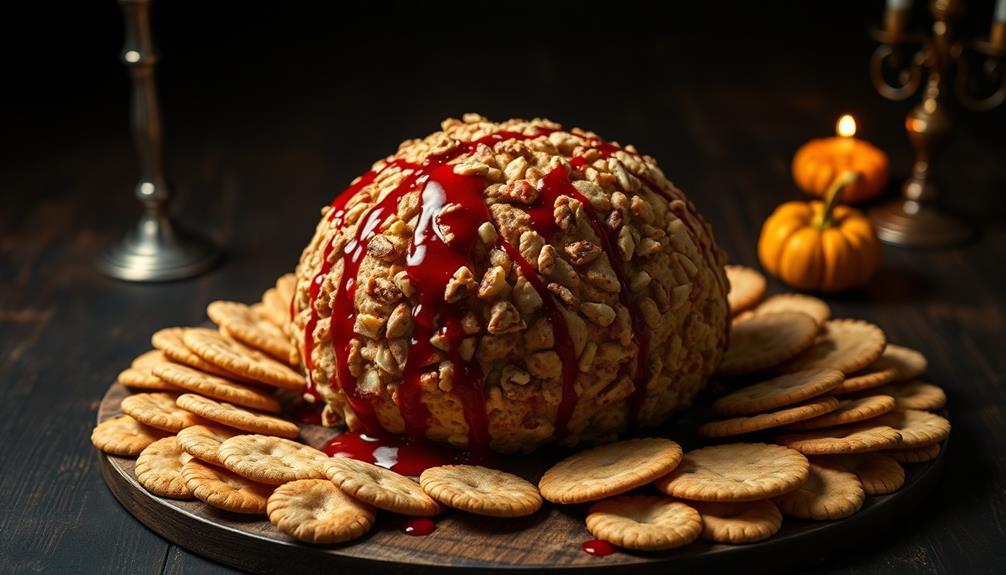
This ghoulishly delightful Zombie Brain Cheese Ball is the perfect centerpiece for your Halloween party or spooky-themed gathering. Combining savory cheese with a creepy brain-like appearance, this appetizer is sure to be a conversation starter and a crowd-pleaser. The cheese ball's realistic brain texture is achieved through careful shaping and strategic use of food coloring.
Not only does this Zombie Brain Cheese Ball look impressively gruesome, but it also tastes fantastic. The blend of cream cheese, cheddar, and seasonings creates a rich and flavorful base that pairs perfectly with crackers or vegetables. The addition of chopped nuts provides a satisfying crunch, while the "blood" sauce adds a tangy sweetness that complements the cheesy flavors.
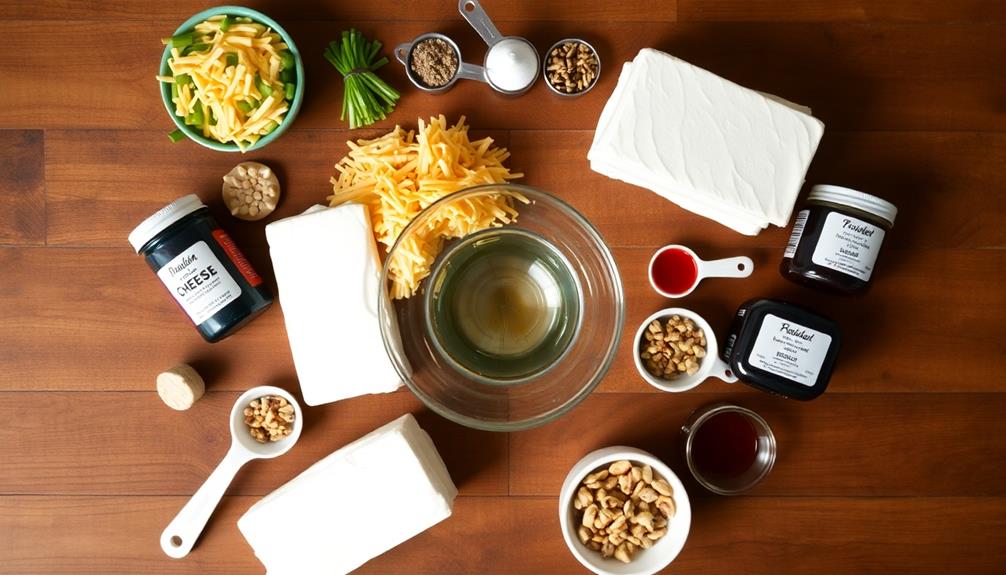
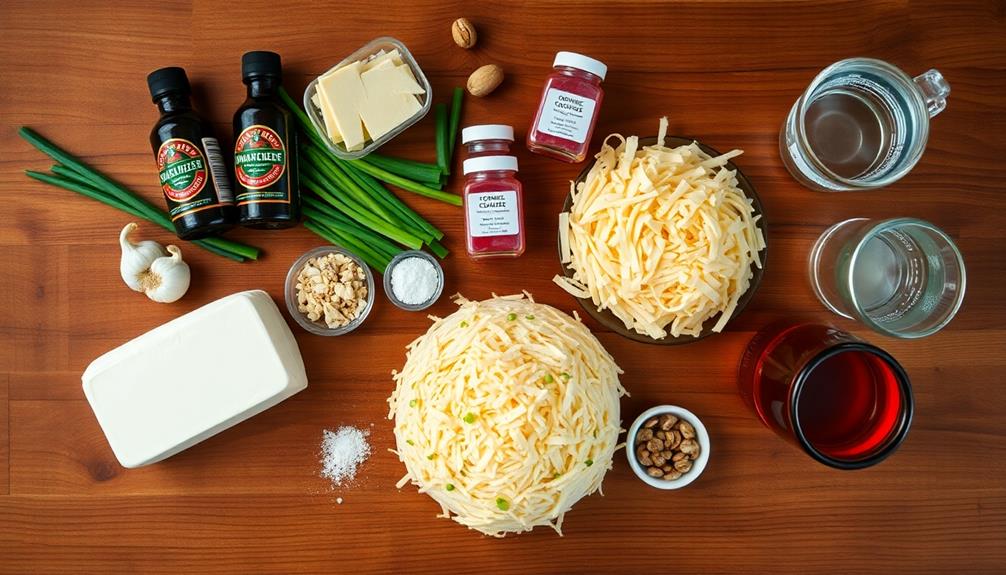
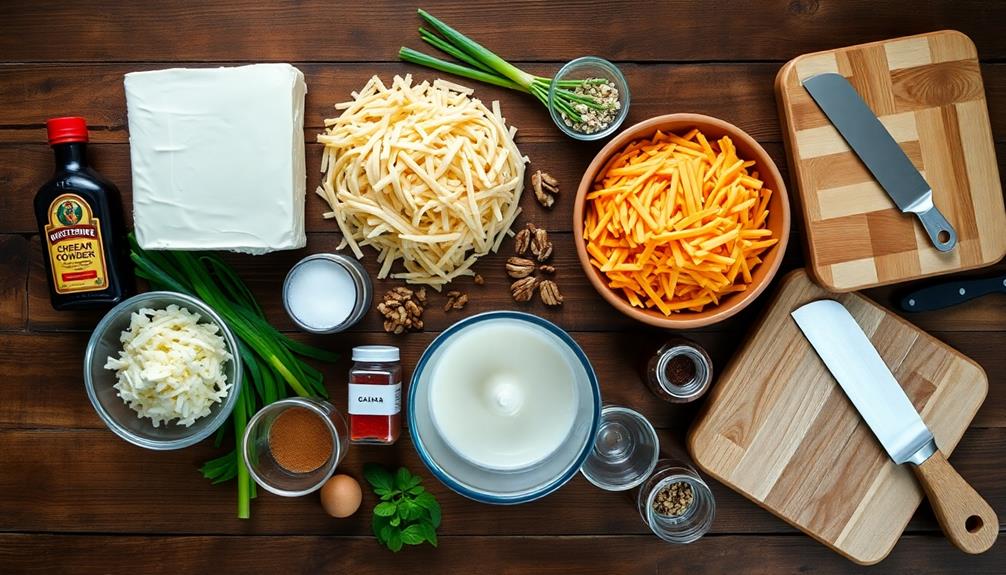
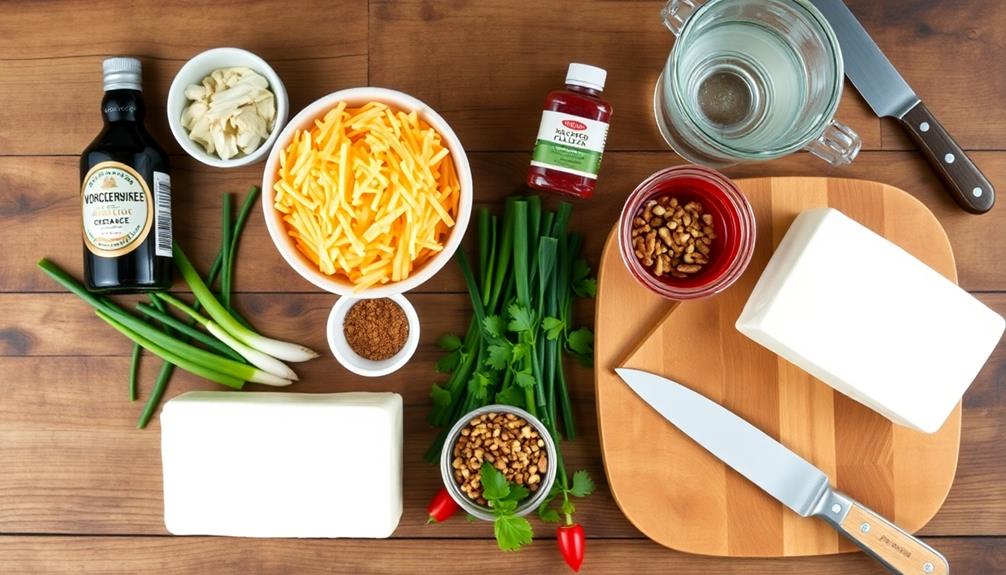
- 16 oz cream cheese, softened
- 2 cups shredded cheddar cheese
- 1/4 cup finely chopped green onions
- 1 tablespoon Worcestershire sauce
- 1 teaspoon garlic powder
- 1/2 teaspoon dried dill
- 1/4 teaspoon cayenne pepper
- 1 cup finely chopped pecans or walnuts
- Red food coloring
- 1/4 cup raspberry jam
- 2 tablespoons water
In a large bowl, mix cream cheese, cheddar, green onions, Worcestershire sauce, garlic powder, dill, and cayenne until well combined. Shape the mixture into a ball and chill for at least 2 hours.
Once chilled, reshape into an oval brain shape and create furrows using the back of a spoon. Mix a few drops of red food coloring with the chopped nuts and press them onto the surface of the cheese ball. For the "blood" sauce, mix raspberry jam with water and a drop of red food coloring. Drizzle over the cheese ball just before serving.
For best results, prepare the cheese ball a day in advance to allow the flavors to meld. When shaping the brain, use plastic wrap to avoid the mixture sticking to your hands.
If you prefer a vegetarian version, substitute the Worcestershire sauce with soy sauce or tamari. To make the brain even more realistic, consider using a combination of red and blue food coloring to create a more flesh-like hue for the nut coating.
Cooking Steps
To create your spooky Zombie Brain Cheese Ball, you'll start by mixing the cheese and seasonings thoroughly.
Next, you'll shape this mixture into a convincing brain form and chill it in the refrigerator to set.
Step 1. Mix Cheese and Seasonings
The brain's creamy interior starts with a flavorful cheese mixture. You'll want to grab a large mixing bowl and soften your cream cheese at room temperature for about 30 minutes. This makes it easier to blend with the other ingredients.
Once it's soft, add the cream cheese to the bowl along with shredded cheddar cheese for a sharper flavor.
Now it's time to spice things up! Add minced garlic, Worcestershire sauce, and a dash of hot sauce for a kick. Don't forget to include some finely chopped green onions for a fresh, zesty taste. Season with salt and pepper to your liking.
Using an electric mixer or a sturdy spoon, blend all these ingredients together until they're well combined. As you mix, make sure to scrape down the sides of the bowl to incorporate all the cheese and seasonings evenly.
The mixture should be smooth and creamy, with no lumps of cream cheese remaining. If you find the mixture too thick, you can add a small amount of milk to thin it out slightly. Your zombie brain's interior is now ready for the next step!
Step 2. Shape Mixture Into Brain
Now that your cheese mixture is ready, it's time to mold it into a brain shape. Start by placing a large piece of plastic wrap on your work surface. Scoop the cheese mixture onto the center of the wrap. Using your hands, shape the mixture into a rough oval, about 6 inches long and 4 inches wide. This will be the base of your brain.
Next, create the distinctive brain texture. Use your fingers to make a deep indentation down the center, dividing the oval into two halves. Then, create smaller, wavy indentations across each half to mimic the brain's folds and crevices.
Don't worry about making it perfect; the imperfections will add to its creepy charm.
Once you're satisfied with the shape, carefully wrap the plastic around the cheese ball. Gently smooth out any major lumps or irregularities.
Place the wrapped brain in the refrigerator for at least 2 hours to firm up. This chilling time will help the cheese ball hold its shape when you unwrap it later for serving.
Step 3. Chill Brain in Refrigerator
After shaping your cheese mixture into a brain, it's crucial to chill it properly.
Place your cheese brain on a plate or shallow dish that fits in your refrigerator. Cover it loosely with plastic wrap, making sure not to press the wrap against the surface of the cheese. This will help prevent condensation from forming and keep the brain's shape intact.
Refrigerate your cheese brain for at least 2 hours, or preferably overnight. This chilling time allows the flavors to meld and the cheese to firm up, making it easier to handle and serve later.
If you're short on time, you can place the brain in the freezer for about 30 minutes, but be careful not to freeze it solid.
While the brain is chilling, prepare your serving platter and any additional decorations you plan to use. This might include crackers, vegetables, or spooky garnishes to enhance the zombie theme.
Once the brain is thoroughly chilled, you'll be ready to add the final touches and present your creepy creation to your guests.
Step 4. Add Veiny Cream Cheese Details

With your cheese brain chilled and firm, it's time to bring it to life with realistic veiny details. You'll need a piping bag or a plastic sandwich bag with a small corner snipped off. Fill the bag with softened cream cheese that's been tinted a slightly darker shade than your brain's base color.
Begin by piping thin lines across the surface of your cheese brain, mimicking the intricate network of blood vessels. Don't worry about perfection – irregular patterns will add to the creepy effect. Focus on creating a web-like pattern, concentrating more veins in some areas and fewer in others.
As you pipe, vary the pressure to create thicker and thinner lines. For added dimension, use a toothpick or small knife to gently drag some of the piped lines, creating a more natural, branching appearance. Remember to add veins to the sides and bottom of the brain as well.
If you make a mistake, simply smooth it out with a butter knife and try again. Once you're satisfied with your veiny masterpiece, return the brain to the refrigerator to set before serving.
Step 5. Serve With Assorted Crackers
Three key steps will ensure your zombie brain cheese ball is served to perfection.
First, select a variety of crackers that complement the flavors of your cheese ball. Choose a mix of plain, whole grain, and flavored options to appeal to different tastes. Arrange them in a circular pattern around the brain for easy access.
Next, consider the presentation. Place your zombie brain cheese ball on a large, flat serving platter. Use fresh herbs or leafy greens to create a bed for the brain, adding a pop of color and a touch of realism to your spooky centerpiece. This will make it easier for guests to scoop up the cheese without making a mess.
Lastly, don't forget to provide appropriate serving utensils. Place a cheese knife or spreader near the brain, allowing guests to easily cut and spread the cheese onto their crackers. You can even get creative with Halloween-themed utensils to enhance the overall effect.
Remember to replenish crackers as needed throughout your event, ensuring everyone can enjoy your creepy creation.
Final Thoughts
Once you've mastered this ghoulishly delicious Zombie Brain Cheese Ball, you'll be the hit of any Halloween party.
This spooky appetizer isn't just visually striking; it's also a tasty treat that'll have your guests coming back for more.
Remember, presentation is key, so take your time with the shaping and detailing to create a truly brain-like appearance.
Don't be afraid to experiment with different cheese combinations or add extra spices to suit your taste.
You can also play around with the coloring, using food dye to create an even more realistic or outrageous look.
If you're feeling extra creative, consider making a few smaller brain cheese balls to scatter around your buffet table.
Lastly, don't forget to have fun with it!
Halloween is all about embracing the spooky and the silly, so let your imagination run wild.
With this Zombie Brain Cheese Ball as the centerpiece of your snack spread, you're sure to create a memorable and delicious Halloween experience for all your guests.
Frequently Asked Questions
Can I Use Different Types of Cheese for the Zombie Brain Cheese Ball?
You can definitely use different types of cheese for your creation. Mix and match flavors to suit your taste. Try combining cream cheese with cheddar, gouda, or blue cheese for unique variations. Don't be afraid to experiment!
How Long Can I Store the Zombie Brain Cheese Ball in the Refrigerator?
You can store your cheese ball in the refrigerator for up to a week. It's best to wrap it tightly in plastic wrap or place it in an airtight container. Don't forget to let it soften before serving.
Is There a Vegetarian Version of the Zombie Brain Cheese Ball?
You can easily make a vegetarian version of this spooky appetizer. Simply substitute the cream cheese with dairy-free alternatives like cashew or almond-based spreads. You'll still get that creamy texture and brain-like appearance without using animal products.
Can I Freeze the Zombie Brain Cheese Ball for Later Use?
You can freeze the cheese ball for later use. It's best to wrap it tightly in plastic wrap, then foil, before freezing. When you're ready to serve, thaw it in the refrigerator overnight. Don't freeze any toppings separately.
What Are Some Creative Serving Ideas for the Zombie Brain Cheese Ball?
You can get creative with serving ideas! Place it on a platter surrounded by crackers shaped like bones. Use red pepper strips for "blood vessels." Serve with a knife stuck in it for dramatic effect.