
Zombie Brain Jello is a delightfully spooky dessert that's perfect for your Halloween gatherings. To make it, you'll need grape and raspberry gelatin, boiling and cold water, plus a brain-shaped mold for an authentic look. Start by dissolving the grape gelatin in boiling water, pour half into the mold, and chill until partially set. Then, add the raspberry layer before finishing with the remaining grape mixture. After chilling for at least four hours, invert the mold for a dramatic reveal. For added fun, top with whipped cream or candy! Stick around, and you'll discover more great tips and tricks.
Key Takeaways
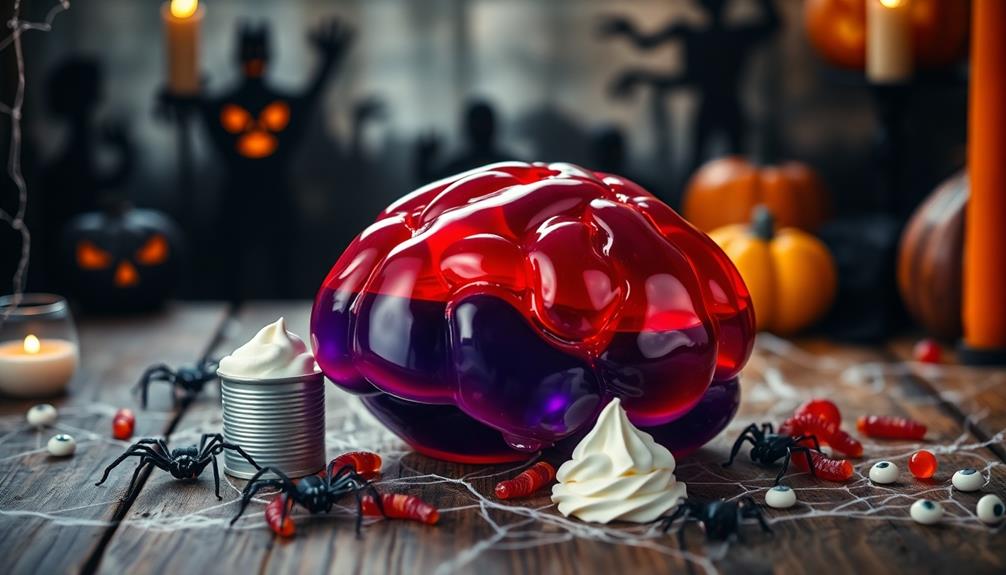
- Zombie Brain Jello is a fun, Halloween-themed dessert made with grape and raspberry gelatin in a brain-shaped mold.
- The recipe requires minimal ingredients and can be prepared quickly, ideal for last-minute spooky gatherings.
- Presentation is key; serve the jello on a spooky platter, decorated with whipped cream and themed decorations.
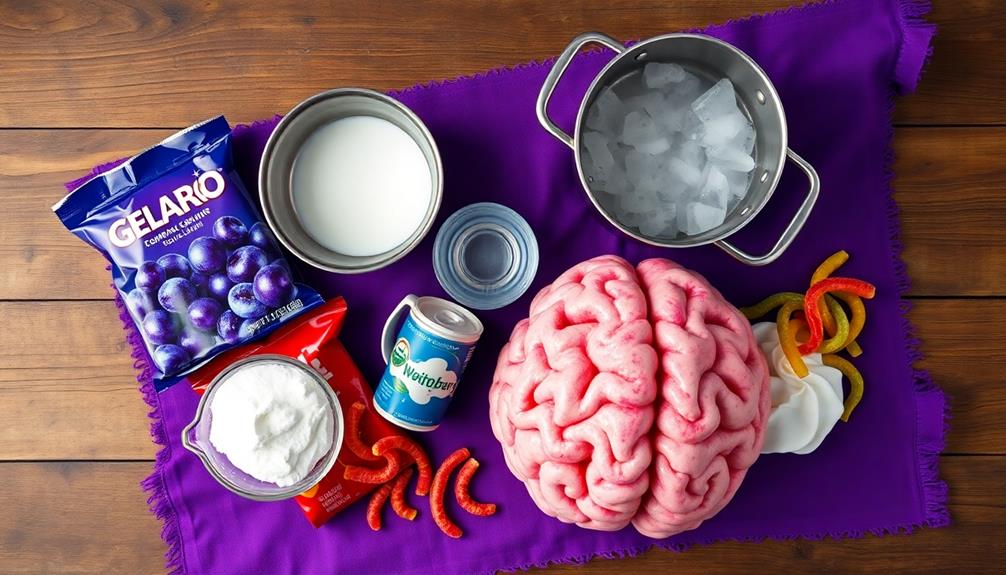
- Adding gummy worms or candy eyes enhances the treat's visual appeal and adds to the Halloween experience.
- Chill the jello for at least 4 hours to ensure it sets properly, allowing for a wobbly, eye-catching dessert.
History
Zombie Brain Jello has a fascinating history that intertwines culinary creativity with popular culture. This quirky treat originated in the 1980s, inspired by the rise of zombie films and Halloween festivities. People started to experiment with gelatin, pushing the boundaries of traditional desserts to create something visually striking and fun. You can trace its popularity to the growing interest in horror-themed foods, especially during Halloween parties.
As the years went by, Zombie Brain Jello became a favorite for both kids and adults alike. Its unique appearance, resembling a brain, makes it a perfect conversation starter at events. Social media platforms have fueled its resurgence, with countless recipes and images inspiring home cooks to get creative. You might even find themed parties dedicated to this eerie delight, showcasing its ability to draw people together through shared experiences.
Not only does Zombie Brain Jello embody a playful spirit, but it also reflects how food can evolve alongside trends in entertainment. By mixing culinary art with a touch of horror, it's no wonder this fun dessert continues to captivate imaginations and taste buds, making it a must-try for any adventurous cook.
Recipe
Zombie Brain Jello is the perfect spooky treat for Halloween parties, haunted house gatherings, or any occasion that calls for a fun and creepy dessert. This gelatin creation not only looks like a brain but also tastes delicious, making it a hit among both kids and adults. The vibrant colors and wobbly texture will delight guests and add a touch of whimsy to your festivities.
Preparing this gelatin dessert is simple and requires minimal ingredients, making it a great choice for last-minute party planning. To make Zombie Brain Jello, you'll need to set aside some time for the gelatin to set properly. It's also advisable to use a brain-shaped mold for the full effect, although any mold can work in a pinch.
The flavor combinations are endless, so feel free to experiment with different flavored gelatins. The key is to create a dessert that not only looks terrifying but also tastes fantastic, ensuring that your guests will be coming back for more!
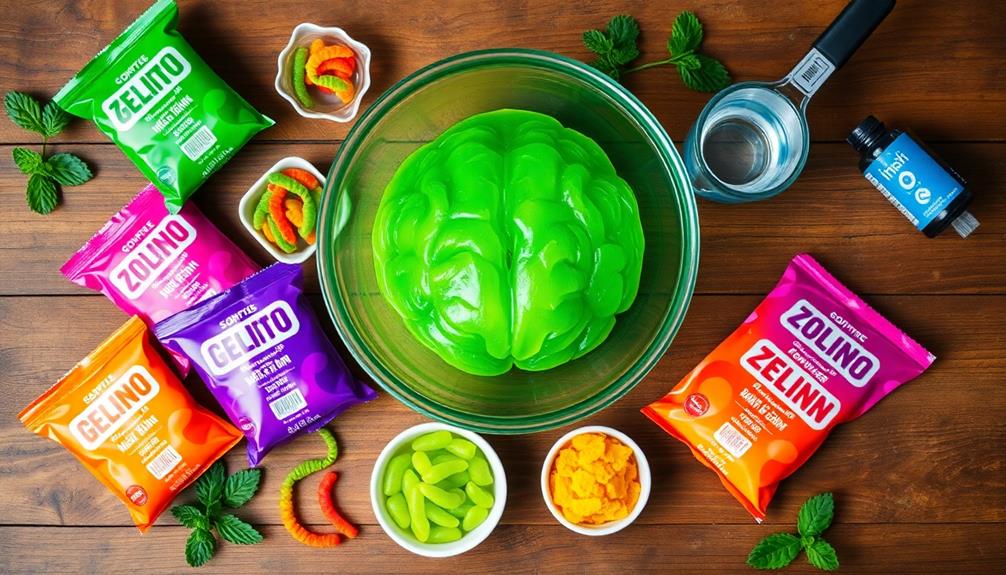
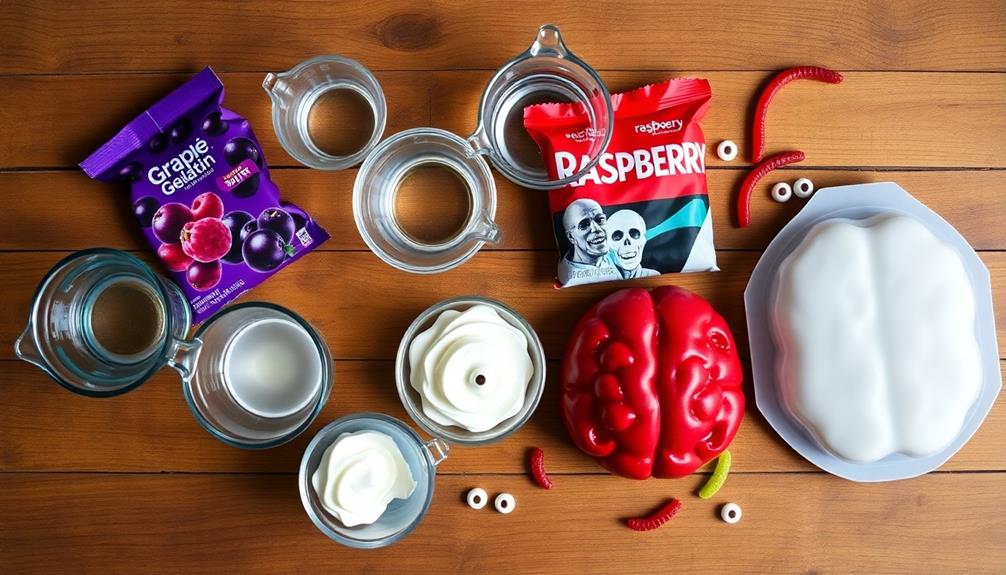
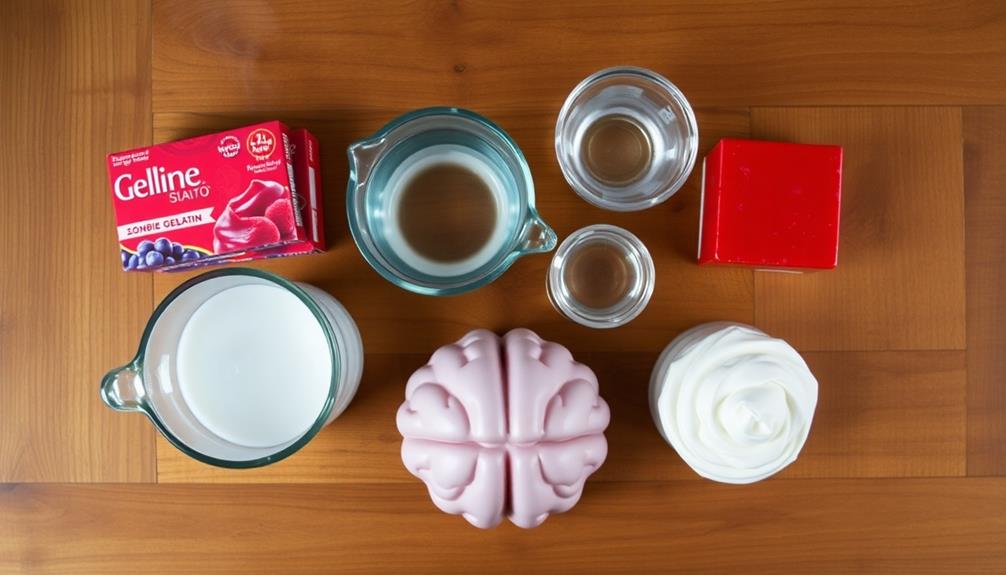
Ingredients:
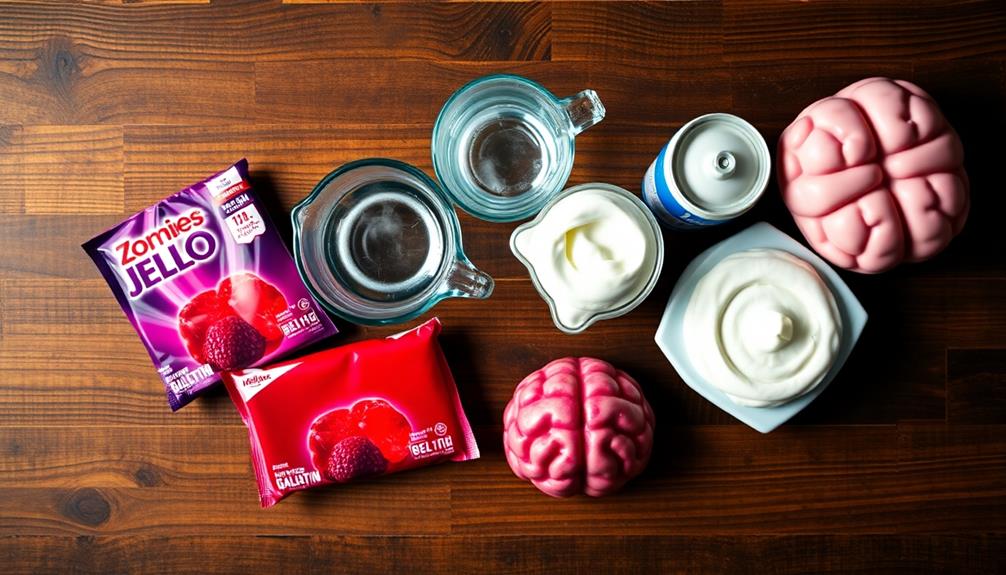
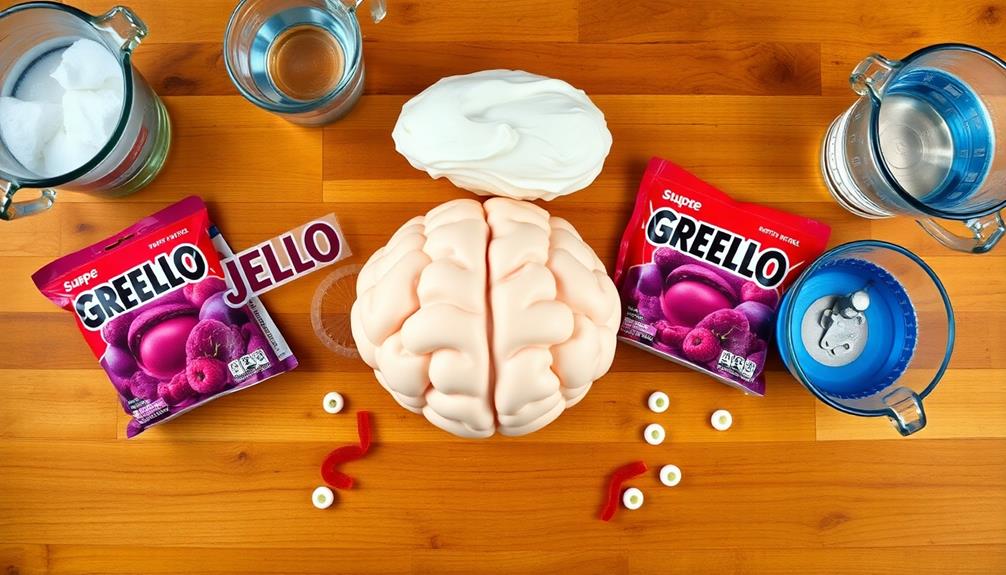
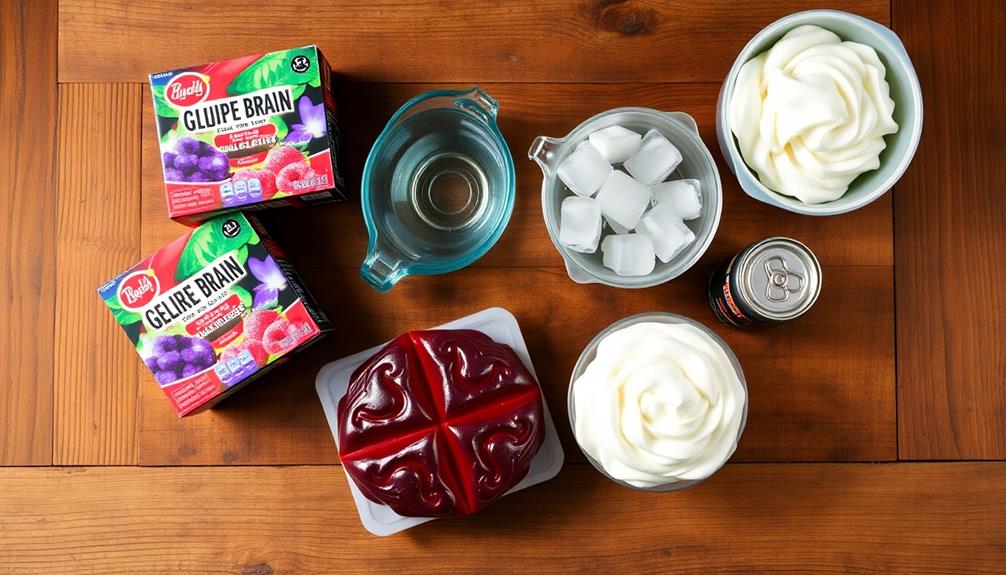
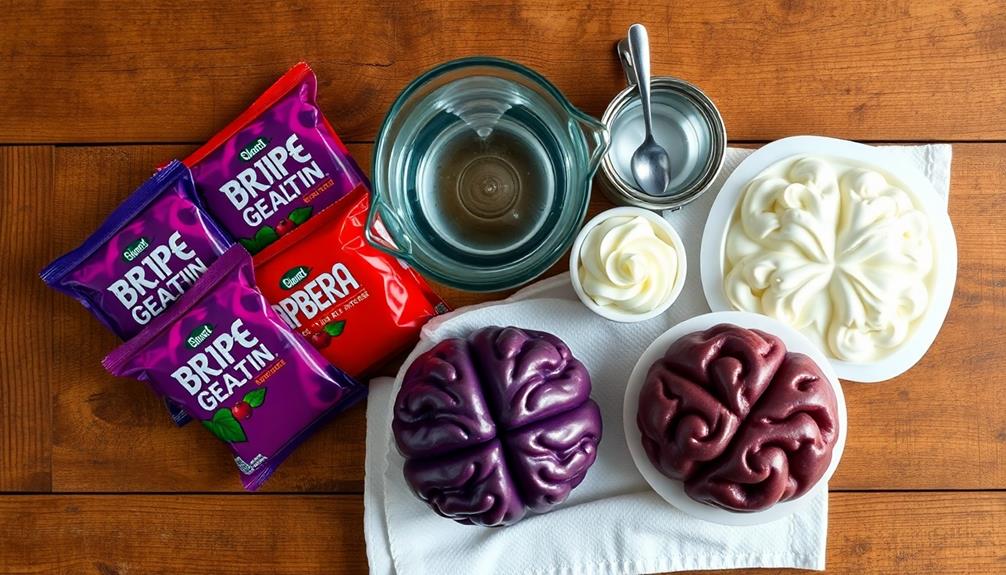
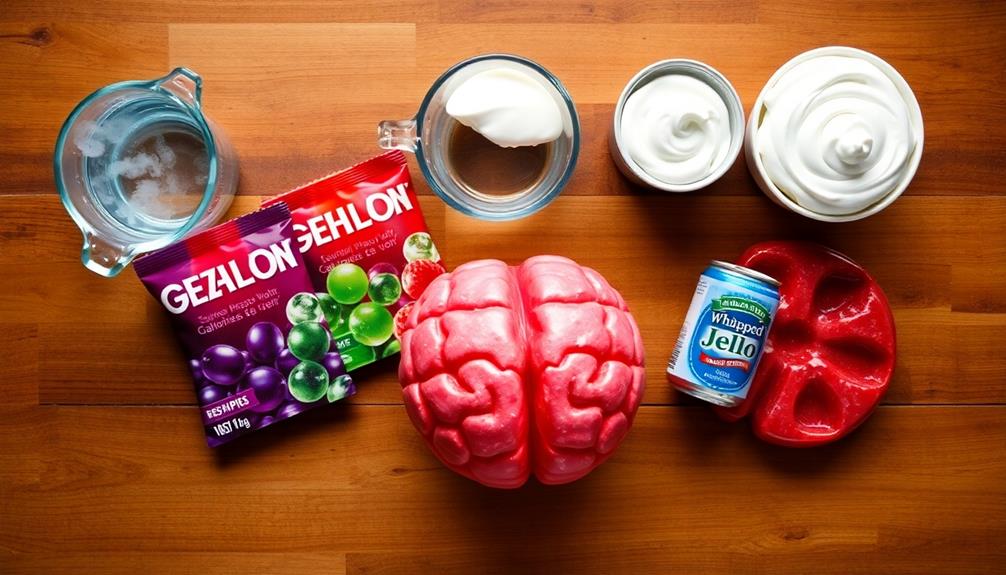
- 2 packages of grape gelatin
- 1 package of raspberry gelatin
- 4 cups of boiling water
- 2 cups of cold water
- 1 can of whipped cream (for decoration)
- A brain-shaped mold
Cooking Instructions:
In a large bowl, dissolve the grape gelatin in 2 cups of boiling water, stirring until completely dissolved. Then, add 1 cup of cold water and mix well.
Pour half of this mixture into the brain-shaped mold and refrigerate for about 30 minutes, or until it begins to set. Meanwhile, prepare the raspberry gelatin in a separate bowl by dissolving it in the remaining 2 cups of boiling water and then mixing in 1 cup of cold water.
Once the grape layer has set slightly, pour the raspberry mixture on top and return the mold to the refrigerator for another 30 minutes. Finally, pour the remaining grape gelatin on top and refrigerate for at least 4 hours or until fully set.
Extra Tips:
For an extra spooky touch, consider adding gummy worms or candy eyes between the layers of gelatin before they set. You can also create a more realistic brain appearance by gently swirling a toothpick through the gelatin layers before they fully set.
When unmolding the Jello, dip the mold briefly in warm water to help release it easily. Serve with a dollop of whipped cream on top for a creepy, delicious finish!
Cooking Steps
To kick off your Zombie Brain Jello creation, you'll first need to prepare the gelatin mixture according to the package instructions.
Don't forget to add some food coloring to give it that eerie look—after all, it's all about the presentation!
Once mixed, chill the concoction until it sets, and you'll be ready to mold it into a brain shape that's sure to impress.
Step 1. Prepare Gelatin Mixture First
How do you create the perfect gelatin mixture for your Zombie Brain Jello? First, gather your ingredients: flavored gelatin, unflavored gelatin, and water.
Start by boiling about two cups of water in a saucepan. While that's heating, in a separate bowl, combine one cup of cold water with the flavored gelatin. Stir it well until the gelatin completely dissolves.
Once the water in your saucepan is boiling, carefully pour it into the bowl with the flavored gelatin mixture. Stir again until everything is fully combined.
Now, it's time to add the unflavored gelatin. Sprinkle it over the mixture while stirring continuously. This step is crucial as it helps achieve that perfect, wobbly texture.
After you've combined everything, let the mixture cool for a few minutes. Once it's slightly warm, you can pour it into your brain mold. Make sure to fill every crevice to create that eerie brain-like shape.
Step 2. Add Food Coloring for Effect
Once your gelatin mixture has cooled slightly, it's time to add some food coloring for that extra spine-chilling effect.
You'll want to choose colors that evoke the eerie vibe of a zombie theme. Green and red are classic choices, but feel free to get creative! If you want to create a more realistic brain-like appearance, mix different shades of pink and purple.
Start by adding a few drops of food coloring to the mixture. Stir gently to blend the color evenly, but be careful not to create too many bubbles.
If you're aiming for a deeper hue, add more drops gradually until you achieve the desired shade. Remember, the color will lighten slightly as the gelatin sets, so don't be afraid to go bold.
Once you're satisfied with the color, take a moment to admire your handiwork before moving on to the next step.
It's a good idea to taste a small spoonful of the mixture at this point, too. Not only will this ensure you're happy with the flavor, but it'll also give you a chance to adjust sweetness if needed.
Happy jelling!
Step 3. Chill Mixture Until Set
After you've achieved the perfect color for your gelatin mixture, it's time to let it chill until set.
Pour your vibrant mixture into a suitable bowl or mold, making sure it's evenly distributed. You'll want to cover it with plastic wrap to prevent any unwanted particles from settling on top.
Now, head to the refrigerator! It's essential to keep the mixture chilled for at least four hours or until it's fully set. This waiting period allows the gelatin to firm up properly, so don't rush it—patience is key!
While it's chilling, try to resist the urge to peek too often. Opening the fridge can introduce fluctuations in temperature, which might affect the setting process.
You can use this time to prepare any decorations or accompaniments you might want for your Zombie Brain Jello. Think creatively about how to enhance the spooky effect once it's ready to serve!
When the time is up, check the consistency. It should feel firm and hold its shape.
Now you're one step closer to creating a creepy delight that'll impress your guests at your next themed gathering!
Step 4. Mold Into Brain Shape
Now that your gelatin mixture is set, it's time to mold it into a brain shape that's sure to wow your guests. Start by grabbing your brain-shaped mold. If you don't have one, don't worry! You can use any mold that resembles a brain. Lightly spray the inside with non-stick cooking spray to make the jello easier to remove later.
Next, gently pour your gelatin mixture into the mold. Make sure to fill it to the top for that perfect brain look. Tap the mold lightly on the counter to eliminate any bubbles. Bubbles aren't just unsightly; they can ruin the brain's shape, so take a moment to ensure a smooth surface.
Once you've poured in the mixture, cover the mold with plastic wrap and return it to the fridge. Let it chill for at least four hours, or until it's completely firm.
When you're ready to unveil your creation, carefully run a knife around the edges to loosen the jello, then invert the mold onto a serving platter. Give it a gentle shake to release the gelatin, and there you have it—your spooky brain jello is ready to impress!
Step 5. Add Gummy Worms for Surprise
Why not add a fun surprise to your brain jello by incorporating gummy worms? These squiggly treats not only enhance the creepy factor but also create a delightful twist.
Start by preparing your brain jello as instructed in the previous section. Once it's ready to mold, you'll need to choose your gummy worms. Pick a colorful assortment to make it visually appealing.
Before pouring the jello mixture into your brain mold, place a few gummy worms at the bottom. This sneaky layer adds an unexpected surprise when you're ready to serve.
Pour in half of the jello mixture, ensuring it covers the worms, and let it set for about 30 minutes in the refrigerator. This step allows the bottom layer to firm up slightly.
After the initial setting period, carefully add more gummy worms, arranging them throughout the jello. Pour the remaining jello mixture on top, completely covering the worms.
Let your brain jello chill in the fridge until fully set, which usually takes a few hours. When you're ready to unveil your creation, slice into it and watch as the gummy worms squirm out. Your guests will love this creepy, delicious surprise!
Final Thoughts
As you wrap up your Zombie Brain Jello creation, consider the fun and creativity that went into making this spooky treat. This dessert isn't just about taste; it's an experience that sparks excitement and delight, especially during Halloween or themed parties. For an extra touch, consider pairing the Zombie Brain Jello with a spooky cocktail or another Halloween-themed dish. Perhaps try your hand at creating a zombie apocalypse nachos recipe to keep the creepy fun going. The key to a successful Halloween gathering is to keep the creativity flowing and to have fun with the cooking and presentation of your dishes.
You've blended flavors, shaped the jello, and even added gummy worms for an unexpected twist—a true testament to your culinary skills. To top it all off, your creativity knows no bounds. Just last week, everyone was raving about your witch’s wart salsa recipe at the neighborhood barbecue. Your ability to take mundane ingredients and turn them into something extraordinary is truly impressive. Keep up the amazing work, and never stop experimenting in the kitchen!
Now, think about how to present your masterpiece. A spooky platter, perhaps decorated with plastic spiders or eerie candles, will elevate the entire experience.
Encourage your friends and family to dig into the jello, and watch their reactions as they uncover the hidden surprises inside. It's sure to be a hit!
Frequently Asked Questions
Is Zombie Brain Jello Safe for Kids to Eat?
You should always check the ingredients before letting kids eat any novelty food. If it's made from safe, edible ingredients and doesn't pose choking hazards, it's likely fine for them to enjoy during a fun occasion.
Can I Use Sugar-Free Gelatin for This Recipe?
Yes, you can use sugar-free gelatin for this recipe. It'll still set well and provide the same fun texture. Just make sure to adjust any additional sweeteners to maintain the desired flavor balance. Enjoy!
How Long Can Zombie Brain Jello Be Stored?
You can store gelatin in the fridge for about a week. Just keep it in an airtight container to maintain its texture and flavor. After that, it's best to toss it out to be safe.
What Flavors of Gelatin Work Best for This Dish?
When choosing flavors of gelatin, think about fun combinations like cherry, lime, or blue raspberry. These vibrant colors and tastes will excite your guests, making your dish visually appealing and delicious for everyone to enjoy!
Can I Make a Vegan Version of Zombie Brain Jello?
Yes, you can make a vegan version! Use plant-based gelatin alternatives like agar-agar or pectin, and choose your favorite fruit juices for flavor. Just mix, mold, and let it set for a fun treat!