Graveyard Dirt Cake is a fun, no-bake dessert that's perfect for Halloween parties. You'll create layers of crushed chocolate cookies, chocolate pudding, and whipped topping in a clear container. It's easy to customize with gummy worms, cookie tombstones, and other spooky decorations. The recipe originated in the 1980s and has become a popular themed treat. You'll need chocolate sandwich cookies, pudding mix, milk, cream cheese, and whipped topping. Assemble the layers, refrigerate for a few hours, and add your creative touches. This dessert is sure to be a hit with both kids and adults. Discover how to make this eerie treat come to life with just a few simple steps.
Key Takeaways
- Graveyard Dirt Cake is a no-bake dessert combining crushed chocolate cookies, pudding, and whipped topping to resemble soil.
- It's typically decorated with gummy worms and cookie tombstones to create a Halloween-themed graveyard appearance.
- The dessert originated in the 1980s and gained popularity as a fun, themed treat for both children and adults.
- Layers are assembled in a clear container, alternating cookie crumbs and pudding mixture, with a final "dirt" layer on top.
- It's best prepared in advance and refrigerated to allow flavors to meld and achieve the desired texture.
Top picks for "graveyard dirt cake"
Open Amazon search results for this keyword.
As an affiliate, we earn on qualifying purchases.
History
One might assume that Graveyard Dirt Cake has ancient or macabre origins, but it's actually a relatively modern dessert.
You'll find that this fun, spooky treat first gained popularity in the United States during the 1980s. It's a clever twist on the classic dirt cake, which itself is a no-bake dessert made to resemble a flowerpot filled with soil.
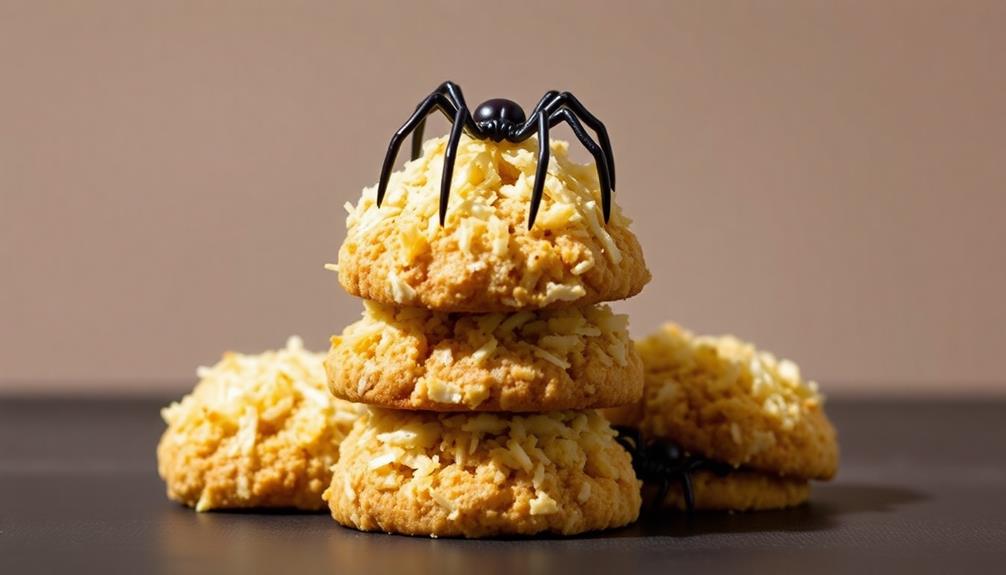
The Graveyard Dirt Cake takes this concept a step further by adding Halloween-themed elements. You'll typically see it adorned with cookie tombstones, gummy worms, and sometimes even candy pumpkins.
It's become a staple at Halloween parties and fall festivals across the country.
While its exact creator remains unknown, you can trace its roots to the growing trend of themed desserts in the late 20th century. As Halloween celebrations became more elaborate, creative cooks looked for ways to make their treats stand out.
The Graveyard Dirt Cake perfectly captures the playful spirit of the holiday, combining delicious flavors with a visually striking presentation that's sure to delight both kids and adults alike.
Recipe
Graveyard Dirt Cake is a fun and spooky dessert that's perfect for Halloween parties or any ghoulish gathering. This no-bake treat combines layers of crushed chocolate cookies, creamy pudding, and whipped topping to create a deliciously eerie "dirt" effect. The addition of gummy worms and candy decorations adds to the graveyard theme, making it a hit with both kids and adults alike.
The beauty of this recipe lies in its simplicity and versatility. You can easily customize the decorations to suit your taste or the occasion. While traditionally served in a large dish or trifle bowl, individual servings in clear cups or mason jars can create a visually striking presentation, allowing guests to see the layers of "dirt" and creepy crawlies.
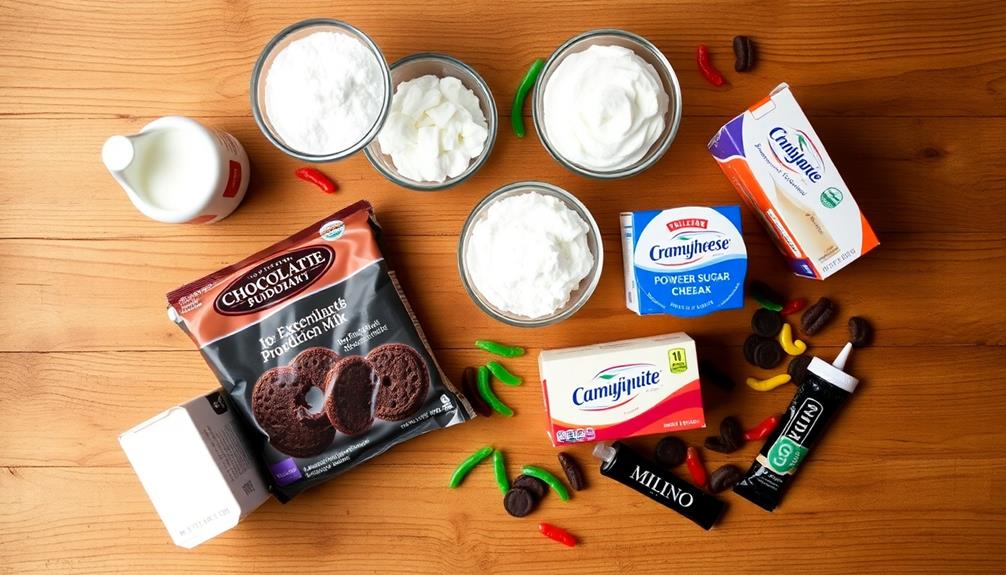
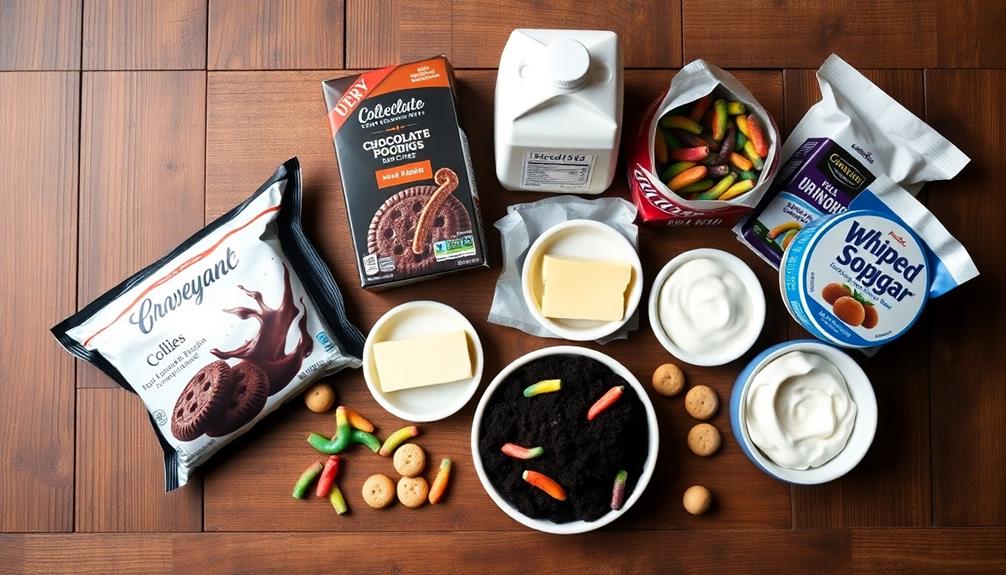
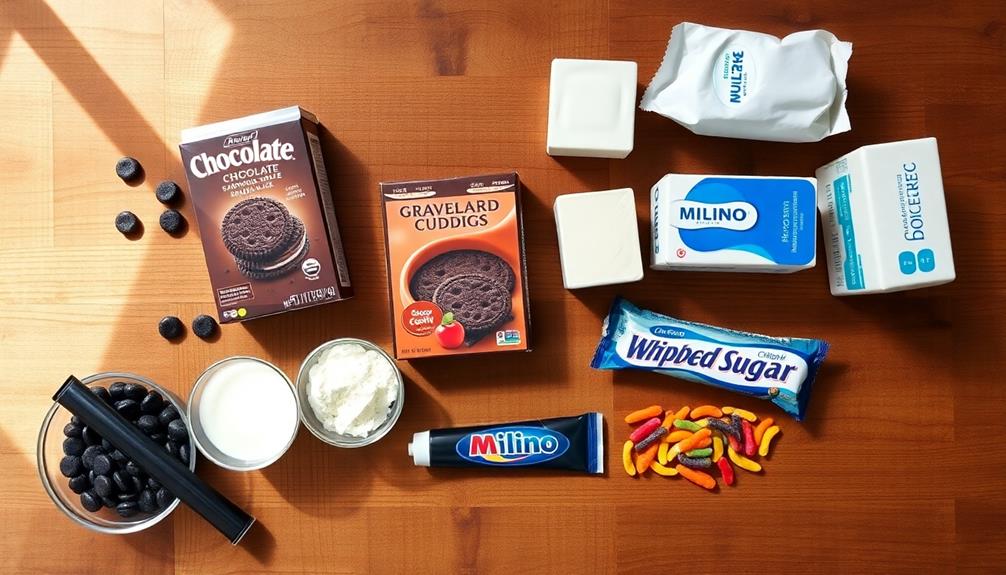
Ingredients:
- 1 package chocolate sandwich cookies (like Oreos)
- 1 package instant chocolate pudding mix
- 2 cups cold milk
- 8 oz cream cheese, softened
- 1/4 cup butter, softened
- 1 cup powdered sugar
- 1 tub (8 oz) whipped topping, thawed
- Gummy worms
- Milano cookies or rectangular sugar cookies
- Black decorating gel
To prepare the Graveyard Dirt Cake, start by crushing the chocolate cookies into fine crumbs using a food processor or by placing them in a sealed plastic bag and crushing with a rolling pin.
In a large bowl, whisk together the pudding mix and cold milk until smooth, then set aside to thicken. In another bowl, beat the cream cheese, butter, and powdered sugar until creamy. Fold in the whipped topping.
Layer the ingredients in your serving dish, starting with cookie crumbs, then pudding, followed by the cream cheese mixture. Repeat the layers, ending with cookie crumbs on top. Chill for at least 2 hours.
Before serving, decorate with gummy worms and cookie "tombstones" decorated with RIP or other spooky messages using black gel.
For best results, make this dessert at least a few hours in advance to allow the flavors to meld and the cookie crumbs to soften slightly. If you're short on time, you can use prepared pudding instead of making it from a mix.
To make the dessert even more interactive, set out small containers of various Halloween-themed candies and let guests add their own decorations to their individual servings. Remember, the key to a great Graveyard Dirt Cake is creativity, so don't be afraid to experiment with different decorations and presentations!
Cooking Steps
To create your spooky Graveyard Dirt Cake, you'll start by crushing chocolate sandwich cookies into fine crumbs.
Next, you'll mix pudding with milk and fold in whipped topping to create a creamy base.
Step 1. Crush Chocolate Sandwich Cookies
The first step in creating your spooky graveyard dirt cake is crushing the chocolate sandwich cookies. You'll need about 30 cookies to achieve the perfect "dirt" consistency.
Start by placing the cookies in a large resealable plastic bag. Make sure to squeeze out any excess air before sealing it tightly. This prevents messy spills and keeps your kitchen clean.
Next, grab a rolling pin or a heavy-bottomed pot. Begin crushing the cookies by applying firm, even pressure as you roll over the bag. Work from the center outwards, ensuring all cookies are evenly crushed.
Don't worry if some pieces remain slightly larger; this variation will add texture to your "dirt."
If you don't have a rolling pin, you can use a food processor instead. Pulse the cookies in short bursts until they reach a fine, crumbly texture. Be careful not to over-process, as you want to maintain some texture.
Once crushed, your cookie crumbs should resemble dark, rich soil – perfect for creating a spooky graveyard atmosphere in your dessert. Once crushed, your cookie crumbs should resemble dark, rich soil – perfect for creating a spooky graveyard atmosphere in your dessert. Layer the crumbs over a creamy base to mimic freshly tilled ground, and then add edible decorations like candy bones or tombstone-shaped cookies for a haunting touch. Pair it with a ghost meringue cookie recipe to craft adorable, airy specters that will bring your creepy creation to life.
Step 2. Mix Pudding and Milk

With your cookie "dirt" ready, it's time to prepare the creamy base for your graveyard cake. You'll need instant pudding mix and cold milk for this step.
In a large bowl, pour in the pudding mix and add the cold milk according to the package instructions. It's crucial to use cold milk, as it helps the pudding set properly.
Grab a whisk and start mixing vigorously. You'll want to whisk for about two minutes, or until the pudding begins to thicken.
As you mix, make sure to scrape the sides and bottom of the bowl to incorporate all the powder. You'll notice the mixture becoming smoother and more consistent as you whisk.
Once you've achieved a uniform texture without any lumps, set the bowl aside. The pudding will continue to thicken as it sits.
This creamy layer will serve as the foundation of your graveyard cake, adding moisture and a rich flavor that complements the chocolate cookie "dirt."
It's essential to let the pudding set for a few minutes before moving on to the next step in your spooky dessert creation.
Step 3. Add Whipped Topping Mixture
Next up, you'll incorporate a whipped topping mixture to create a light and fluffy texture for your graveyard dirt cake.
In a separate bowl, combine 8 ounces of softened cream cheese with 1/2 cup of butter. Beat these ingredients together until they're smooth and creamy. Gradually add 1 cup of powdered sugar, mixing well after each addition.
Once you've achieved a uniform consistency, fold in 12 ounces of thawed whipped topping.
Now, it's time to combine this mixture with your pudding. Gently fold the whipped topping mixture into the pudding, using a spatula to ensure everything is well incorporated. You'll want to maintain a light touch to preserve the airy texture you've created.
As you fold, you'll notice the mixture becoming paler and fluffier. This step is crucial for achieving the perfect consistency in your dirt cake. Once you've thoroughly combined the two mixtures, you're ready to move on to the next phase of assembling your spooky dessert.
The resulting blend will serve as the "soil" in your graveyard-themed treat, providing a delightful contrast to the crunchy cookie layers.
Step 4. Layer Pudding and Cookie Crumbs
Now that you've prepared the pudding mixture, it's time to layer your graveyard dirt cake. Start by selecting a clear glass container or trifle dish to showcase the layers.
Begin with a thin layer of crushed chocolate cookies at the bottom, resembling dirt. Spread a generous layer of the pudding mixture over the cookie crumbs, ensuring it's even.
Next, add another layer of cookie crumbs on top of the pudding. Continue alternating layers of pudding and cookie crumbs until you reach the top of your container. Make sure to end with a layer of cookie crumbs to create the final "dirt" effect.
As you layer, gently press down on each cookie layer to compact it slightly. For added visual interest, you can create uneven layers or sloped surfaces to mimic a graveyard's terrain.
Remember to reserve some cookie crumbs for the final touches later. Once you've finished layering, cover the dish with plastic wrap and refrigerate for at least 4 hours or overnight.
This chilling time allows the flavors to meld and the layers to set, resulting in a more cohesive and delicious dessert.
Step 5. Add Gummy Worms
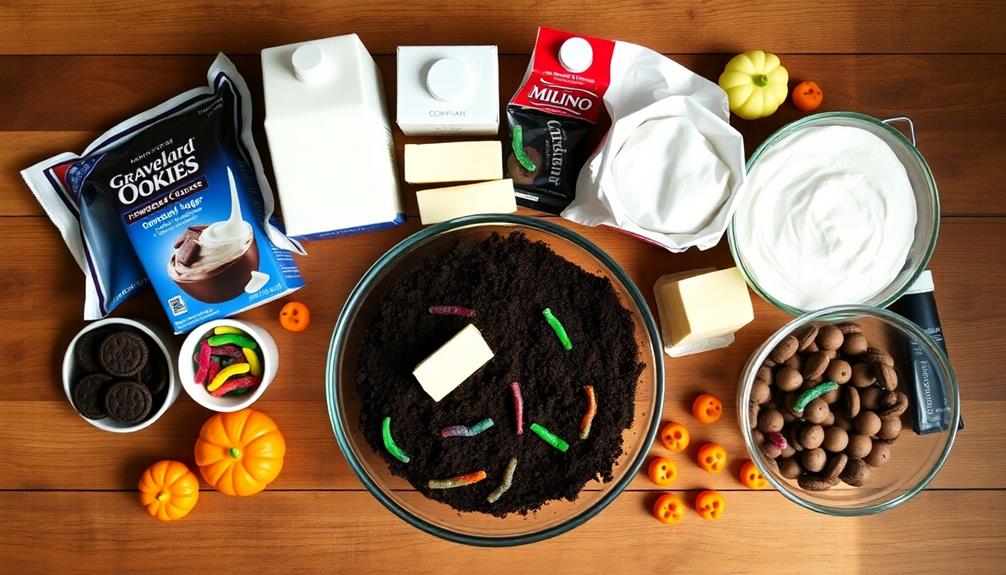
Next, take a few worms and partially bury them between the layers of pudding and crumbs. You can do this by carefully lifting small sections of the top layer and tucking the gummies underneath. This creates the illusion that they're wriggling through the dessert.
Don't forget to place a few along the sides of the glass or container, as if they're crawling up the edges.
For added visual interest, you can cut some gummy worms in half and position them so they appear to be diving into the dessert.
Remember, the key is to make it look natural and haphazard. You don't want the worms to be too evenly spaced or perfectly arranged.
Step back and assess your work, making adjustments as needed to achieve the perfect graveyard dirt effect.
Final Thoughts
Creativity shines through in this delightful Graveyard Dirt Cake recipe. You've now crafted a spooky and scrumptious dessert that's sure to be a hit at any Halloween gathering or themed party. The combination of rich chocolate pudding, crumbled cookies, and playful decorations creates a visually striking treat that's as fun to make as it's to eat.
Remember, you can always customize this recipe to suit your preferences or dietary needs. Don't hesitate to experiment with different flavors of pudding, types of cookies, or additional toppings. If you're serving this to kids, you might want to skip the coffee in the pudding mixture. For a healthier twist, consider using low-fat milk or a non-dairy alternative.
As you present your Graveyard Dirt Cake, watch the delight on your guests' faces as they dig into this creepy creation. It's not just a dessert; it's an experience that brings people together, sparking conversation and laughter.
Enjoy the process of making and sharing this unique treat, and don't forget to snap a picture before it's devoured!
Frequently Asked Questions
Can I Use Real Dirt Instead of Cookie Crumbs for Authenticity?
You shouldn't use real dirt in your recipe. It's not safe to eat and could contain harmful bacteria or parasites. Stick with edible ingredients like cookie crumbs to create the dirt-like appearance while keeping your dish safe and tasty.
How Long Can Graveyard Dirt Cake Be Stored in the Refrigerator?
You'll want to enjoy your dessert within 3-5 days for the best taste and texture. Keep it covered in the fridge to prevent drying out. It's safe to eat for up to a week if stored properly.
Are There Any Vegan Alternatives for the Pudding and Cream Cheese?
You can use vegan pudding mix and plant-based cream cheese alternatives. There are many options available, like coconut milk pudding or cashew-based cream cheese. You'll need to experiment to find the best flavor and texture combination for your recipe.
Can I Make This Cake in Advance for a Halloween Party?
Yes, you can make this cake in advance for your Halloween party. It's best to prepare it 24 hours before serving. This allows the flavors to meld and the cookies to soften, creating a perfect texture for your guests.
What Are Some Creative Tombstone Alternatives for Decoration?
You can get creative with tombstone alternatives! Try using cookies, chocolate bars, or graham crackers. You could also make mini cardboard cutouts, use toy figurines, or create spooky signs. Don't forget about edible markers for personalization!