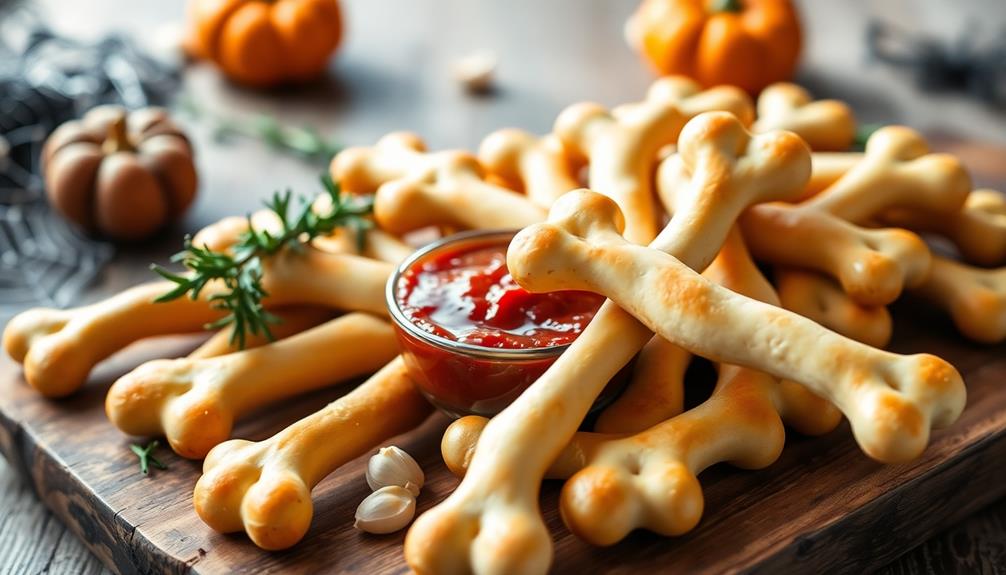

Skeleton bone breadsticks are a delightful way to add some spooky fun to your Halloween gatherings. To make them, you'll need basic ingredients like flour, yeast, water, and some seasonings for flavor. Start by mixing the ingredients to form a soft dough, then knead it until smooth. Shape the dough into bone-like forms with tapered ends and indentations. Bake them at 375°F until golden brown, and consider brushing with garlic butter for extra flavor. These breadsticks pair wonderfully with marinara sauce for dipping, enhancing your festive spread. Stick around for more fun ideas and tips to impress your guests!
Key Takeaways
- Skeleton Bone Breadsticks are a festive, spooky food ideal for Halloween parties and family gatherings.
- The recipe requires simple ingredients like flour, yeast, and garlic, making it easy to prepare.
- Shaping the dough into bone forms adds a fun, creative element to the baking process.
- Baking at 375°F for 15-20 minutes yields golden, savory breadsticks perfect for dipping in marinara sauce.
- Involving kids in the preparation fosters family bonding and can create memorable Halloween traditions.
Top picks for "skeleton bone breadstick"
Open Amazon search results for this keyword.
As an affiliate, we earn on qualifying purchases.
History
The history of skeleton bone breadsticks is as intriguing as their spooky appearance. These delightful treats emerged from a blend of culinary creativity and festive tradition. You might be surprised to learn that the concept of food shaped like bones has roots in various cultures, especially during celebrations like Halloween.
As people began to embrace the fun of themed parties, these breadsticks gained popularity, allowing you to add a unique touch to your gatherings. This playful approach to food aligns with the broader trend of fostering creative expression amidst seasonal festivities, encouraging both chefs and guests to engage in the spirit of celebration.
Traditionally, breadsticks have been a staple in Italian cuisine, but their transformation into skeleton shapes offers a playful twist. You can trace this trend back to the rise of Halloween-themed foods in the United States, where creativity in cooking often reaches new heights.
The combination of bread and a spooky theme captures the attention of both kids and adults alike, making it a perfect choice for Halloween festivities.
As you consider serving these whimsical breadsticks at your next event, remember that they're not just delicious; they also add an element of fun and festivity. With their unique design, skeleton bone breadsticks are sure to be a hit, sparking joy and excitement among your friends and family.
Recipe
Skeleton Bone Breadsticks are a fun and spooky treat perfect for Halloween parties, themed gatherings, or a playful family dinner. These breadsticks not only look like eerie bones, but they also taste deliciously savory, making them an irresistible snack that both kids and adults will love.
The dough is easy to work with, and shaping them into bone-like figures adds a creative twist that will surely impress your guests. To enhance the experience, you can serve these breadsticks with a side of marinara sauce for dipping, adding a delightful contrast of flavors.
Once baked to a golden perfection, these bone-shaped breadsticks will be a highlight of your spooky festivities, making them a great addition to any Halloween feast or gathering. These delightfully eerie treats are not only delicious but also delightfully fun to make, adding a creative touch to your Halloween table. Pair them with a witch finger cookie recipe for a spread that’s sure to enchant your guests and keep the creepy theme alive. Whether served alongside a cauldron of warm soup or a platter of devilishly delicious dips, these breadsticks are bound to cast a spell of flavor over your festivities.
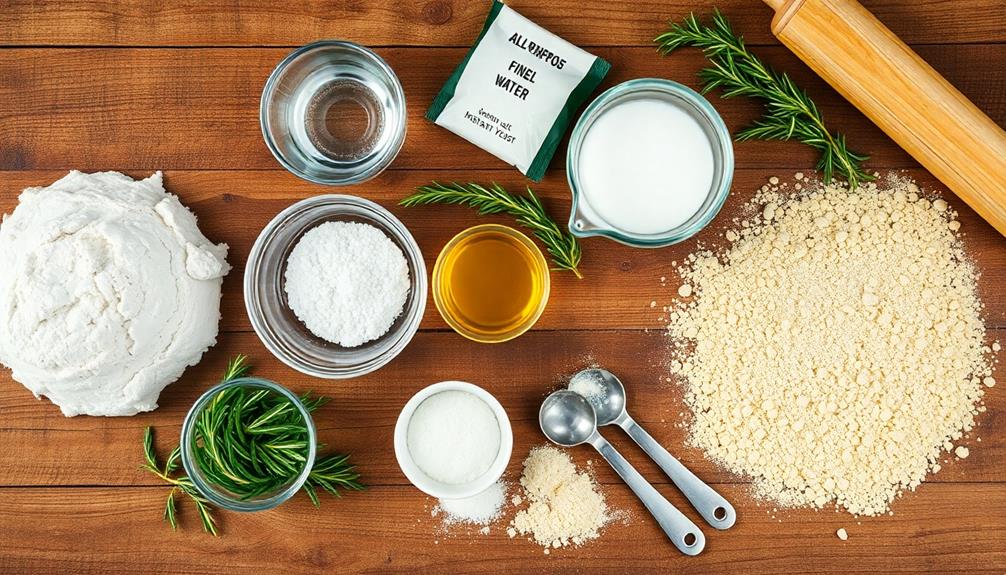
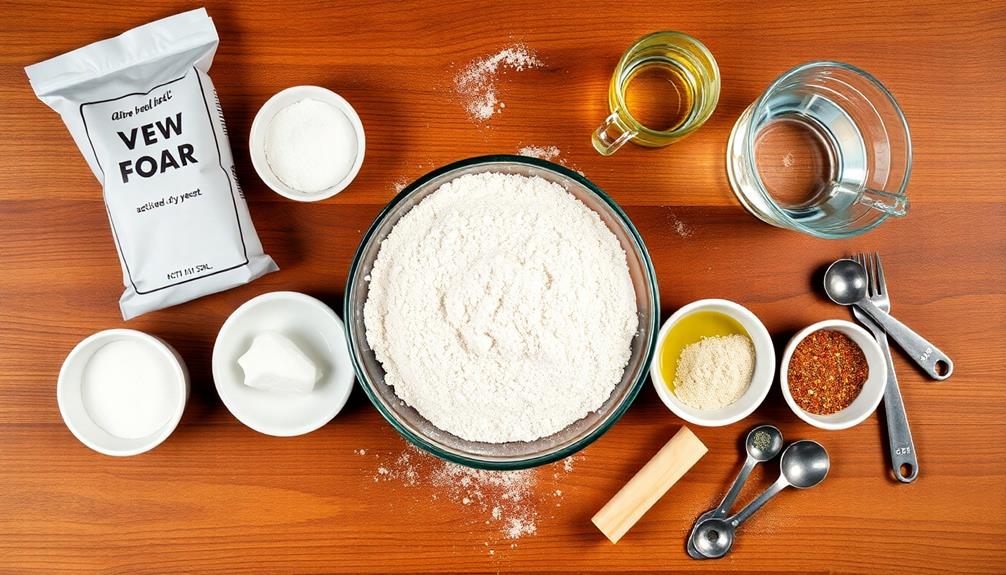
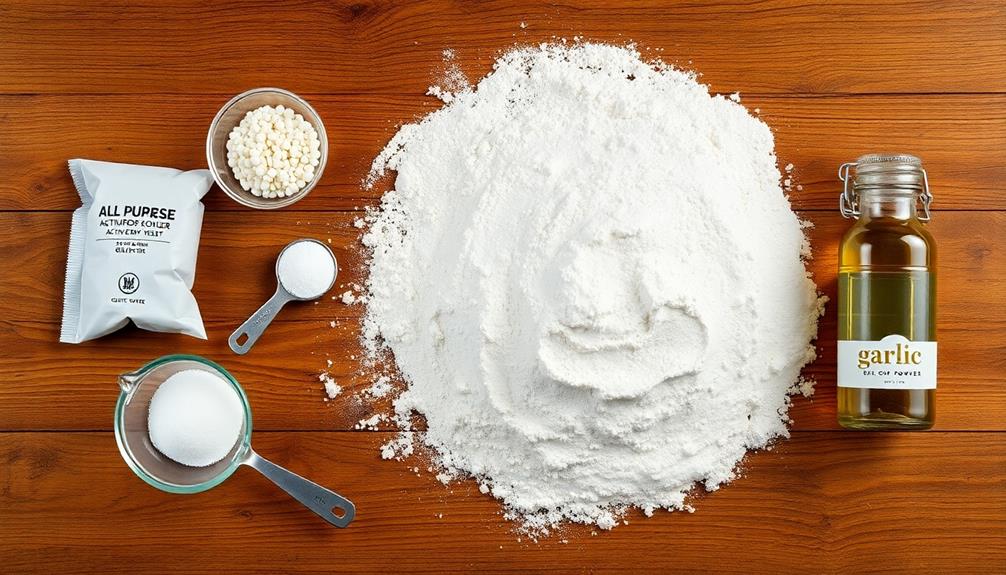
Ingredients:
- 2 cups all-purpose flour
- 1 packet (2 1/4 teaspoons) active dry yeast
- 1 teaspoon sugar
- 1 teaspoon salt
- 3/4 cup warm water (110°F)
- 2 tablespoons olive oil
- 1/2 teaspoon garlic powder
- 1/2 teaspoon Italian seasoning
- Cooking spray or parchment paper
Instructions:
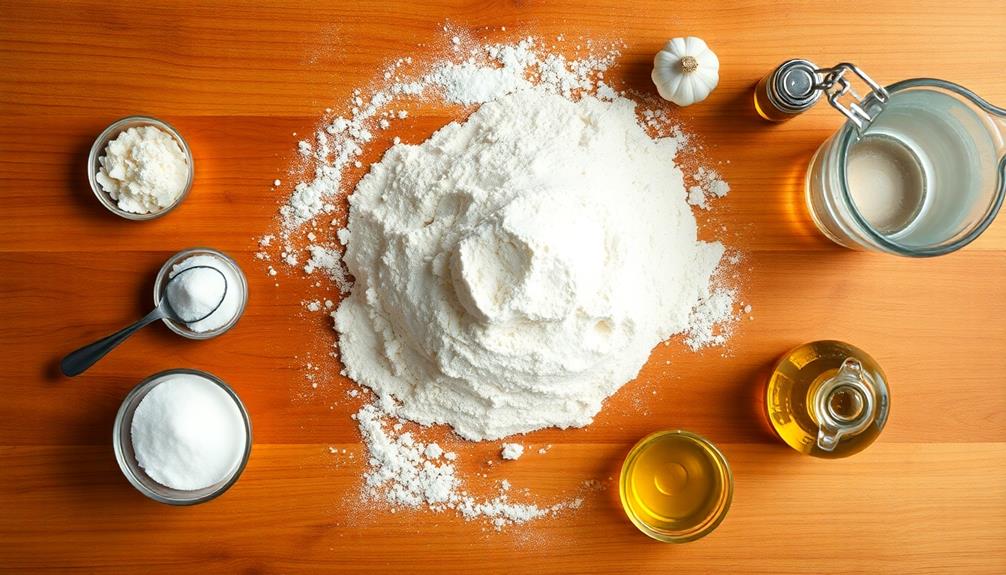
In a large mixing bowl, combine the warm water, sugar, and yeast; let it sit for about 5 minutes until it becomes frothy.
Next, add the flour, salt, olive oil, garlic powder, and Italian seasoning to the yeast mixture. Stir until a dough forms, then knead on a floured surface for about 5 minutes until smooth and elastic.
Cover the dough with a clean towel and let it rise in a warm place for about 30 minutes, or until it doubles in size.
Once risen, divide the dough into small pieces and shape them into bone-like figures. Place the formed breadsticks on a baking sheet lined with parchment paper, spray with cooking spray, and let them rise for an additional 15 minutes.
Preheat your oven to 375°F and bake for 15-20 minutes, or until golden brown.
Extra Tips:
For added flavor, consider brushing the breadsticks with melted butter and sprinkling them with additional garlic powder or Parmesan cheese right before serving.
If you want to get even more creative, you can use an edible marker to draw spooky faces on the baked breadsticks once they've cooled slightly.
Ensure to keep an eye on the breadsticks as they bake to avoid over-browning, and serve them warm for the best taste and texture.
Cooking Steps
Now that you have your ingredients ready, it's time to start cooking those Skeleton Bone Breadsticks!
First, you'll prepare the dough by mixing everything together, then knead it until it's smooth and elastic.
Once you've shaped the dough into bone forms, you'll bake them until they turn golden brown and finish by brushing them with garlic butter for that delicious flavor.
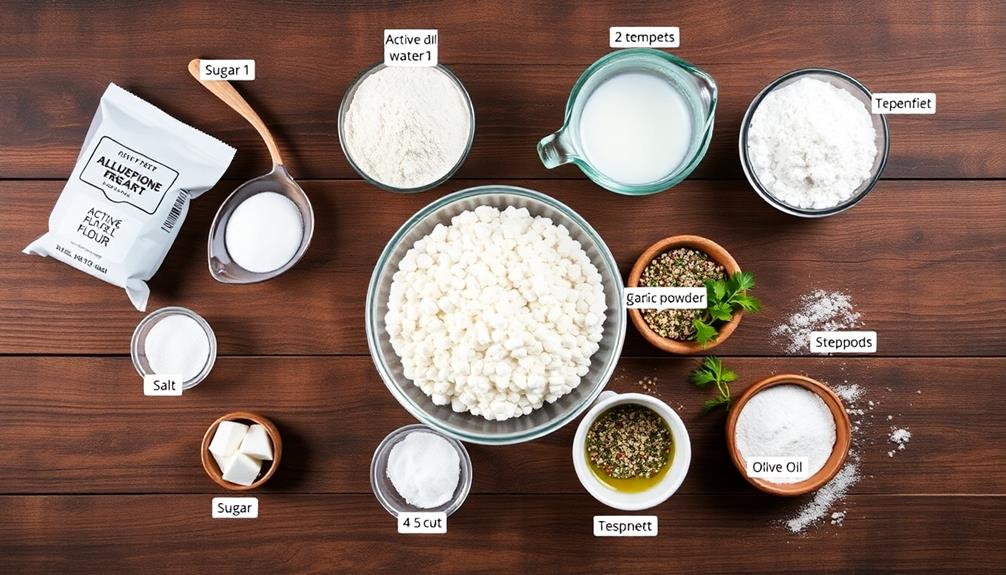
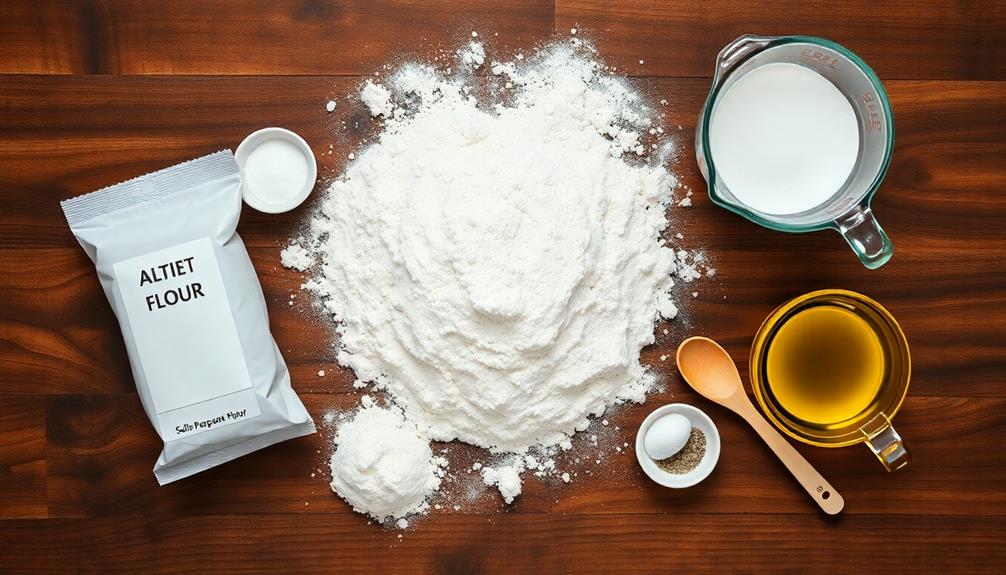
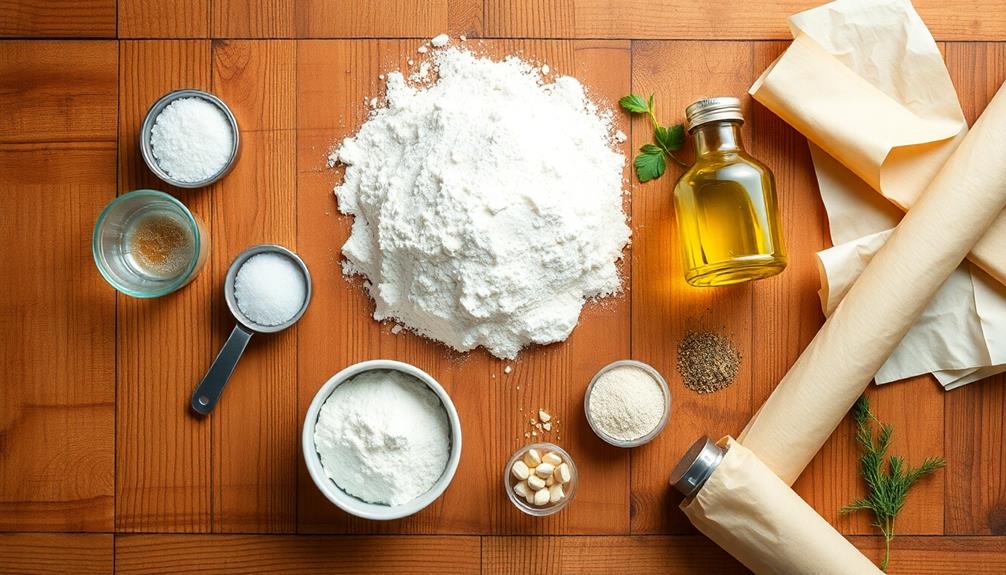
Step 1. Prepare Dough Ingredients
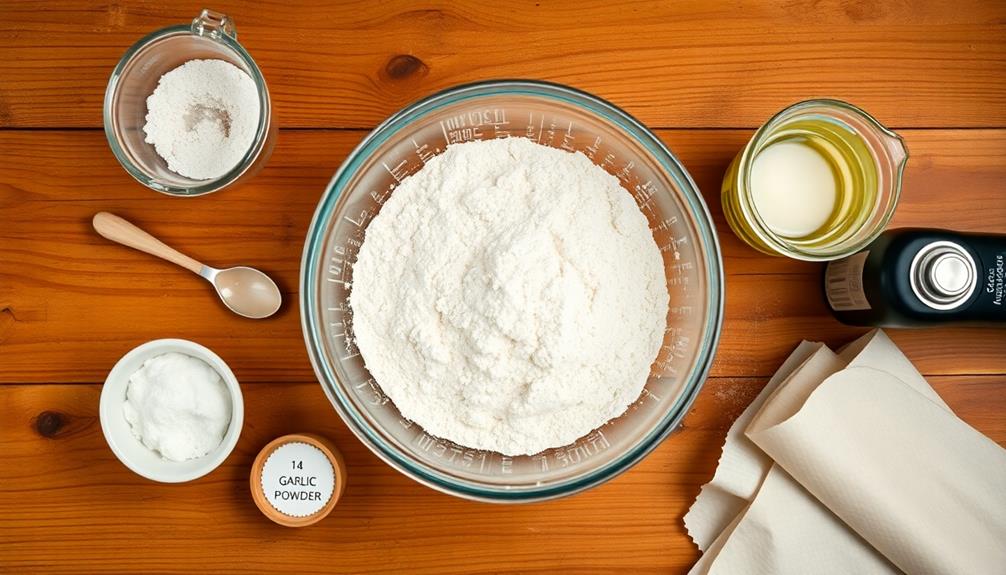
To prepare the dough for your Skeleton Bone Breadsticks, gather all your ingredients before you start mixing. You'll need all-purpose flour, instant yeast, sugar, salt, warm water, and olive oil.
Start by measuring out about four cups of flour into a large mixing bowl. Make sure to sift it if you want a fluffier texture. Next, add a packet of instant yeast, about two teaspoons of sugar, and a teaspoon of salt.
Mix these dry ingredients together with a whisk to ensure they're evenly combined. In a separate bowl, warm about one and a half cups of water until it's lukewarm, then add three tablespoons of olive oil. The warmth of the water helps activate the yeast, giving your breadsticks that perfect rise.
Once your wet ingredients are ready, slowly pour the mixture into the dry ingredients, stirring with a wooden spoon or spatula as you go. This ensures everything gets incorporated well.
You want a soft, slightly sticky dough that pulls away from the sides of the bowl. After this step, you'll be ready to knead your dough until smooth and elastic. Enjoy the process, and get excited for your spooky breadsticks!
Step 2. Knead Until Smooth and Elastic
Kneading the dough is a crucial step in creating those perfect Skeleton Bone Breadsticks. This process helps develop gluten, which gives your breadsticks that delightful chewy texture.
Start by dusting your work surface with a little flour to prevent sticking. Place your dough ball on the floured surface, and using the palms of your hands, push down and away from you.
Fold the dough back over itself, then turn it 90 degrees and repeat the process. You'll want to knead for about 8 to 10 minutes, or until the dough feels smooth and elastic. If you find it too sticky, sprinkle a tiny bit more flour, but be careful not to overdo it. Too much flour can lead to dense breadsticks, and nobody wants that!
As you knead, pay attention to the texture. You should feel it becoming softer and more pliable. If you poke the dough and it springs back, you're on the right track!
Kneading is like giving your dough a mini workout, and it's essential for achieving that perfect breadstick. So roll up your sleeves and enjoy the process; your Skeleton Bone Breadsticks will be worth it!
Step 3. Shape Into Bone Forms
Once your dough is nicely kneaded and ready, it's time to shape it into those fun bone forms. Start by dividing the dough into equal portions, about the size of a golf ball. Roll each piece into a long, thin rope, aiming for a length of about 10 to 12 inches. You want them to be even, so take your time! A clean kitchen environment can also enhance your baking experience by reducing allergens and pollutants, ensuring your space is fresh and inviting for cooking health benefits of clean homes.
Next, to create the bone shape, taper the ends of each rope slightly to resemble the bone's ends. For added detail, you can make small indentations in the middle of each stick, mimicking the look of actual bones. If you want to get creative, try twisting the dough slightly for a more textured appearance!
As you shape each stick, place them on a baking sheet lined with parchment paper, leaving some space between them. This ensures they've got room to rise without sticking together.
If you're feeling adventurous, you can even sprinkle a little garlic powder or herbs onto them before baking to add extra flavor. Now that you've got your bone breadsticks shaped and ready, you're just a step away from turning them into a spooky treat!
Step 4. Bake Until Golden Brown
With your bone-shaped breadsticks lined up on the baking sheet, it's time to pop them into the oven. Preheat your oven to 375°F (190°C) to ensure even baking. Carefully place the baking sheet in the middle of the oven, making sure there's enough space for air to circulate around the breadsticks. Set a timer for about 12 to 15 minutes.
While they bake, keep an eye on them—it's essential not to miss that golden-brown moment! You'll know they're ready when they puff up slightly and develop a beautiful golden hue. The aroma of freshly baked bread will start filling your kitchen, adding to the excitement.
If you want crispy edges, consider turning the baking sheet halfway through the baking time to promote even browning.
Once they reach that perfect golden color, carefully remove the baking sheet from the oven using oven mitts. Let your breadsticks cool for a few minutes on the sheet before transferring them to a wire rack. This will help maintain their texture and prevent sogginess.
Now, they're almost ready to impress your guests!
Step 5. Brush With Garlic Butter

Garlic butter adds an irresistible flavor that elevates your skeleton bone breadsticks to a new level. After baking your breadsticks until golden brown, it's time to brush them with this delicious mixture.
Start by melting half a cup of unsalted butter in a small saucepan over low heat. Once melted, add two to three minced garlic cloves, depending on your preference for garlic intensity. Stir the mixture for about a minute, allowing the garlic to infuse the butter with its rich flavor.
Now, take your baked breadsticks and place them on a cooling rack or plate. Using a pastry brush, generously coat each breadstick with the garlic butter, making sure to cover all sides for maximum flavor.
If you like a bit of extra seasoning, sprinkle some sea salt and chopped parsley over the top for added color and taste.
Let the breadsticks sit for a few moments to absorb the buttery goodness before serving. Trust me, this step is crucial! Your skeleton bone breadsticks will be a hit with family and friends, making them the perfect spooky treat for any occasion. Enjoy your delicious creation!
Final Thoughts
Creating Skeleton Bone Breadsticks can be a fun and festive way to elevate your culinary experience, especially during Halloween gatherings. These delightful breadsticks not only taste delicious but also add a playful touch to your table setting. You can impress your guests with your creativity while enjoying the process of making them together.
Additionally, incorporating ingredients like garlic can offer health benefits, similar to aloe vera's medicinal properties, enhancing the overall nutrition of your snacks. Additionally, incorporating ingredients like garlic can offer health benefits, similar to aloe vera’s medicinal properties, enhancing the overall nutrition of your snacks. In fact, making intentional choices about the foods you consume is crucial since eating habits impact hair health, alongside skin and overall wellness. Nutrient-rich snacks with natural ingredients can promote stronger hair and improved vitality, serving as a foundation for long-term health.
By using simple ingredients and a few easy techniques, you'll have spooky snacks that everyone will love. Whether you choose to serve them with marinara sauce or a rich garlic butter dip, these breadsticks are sure to be a hit.
Remember to get the kids involved; they'll love shaping the dough into bone-like forms, making it a memorable family activity.
As you wrap up your Halloween preparations, don't forget to consider how these breadsticks can complement other dishes. They pair perfectly with soups, salads, or as a standalone treat.
So, gather your ingredients, roll up your sleeves, and bring some spooky flair to your kitchen. With Skeleton Bone Breadsticks, you're not just cooking—you're creating an experience that brings joy and laughter to your festivities.
Enjoy every bite and have a hauntingly good time!
Frequently Asked Questions
Can I Use Gluten-Free Flour for Skeleton Bone Breadsticks?
Absolutely, you can use gluten-free flour! Just ensure you adjust your recipe for texture and taste. Experimenting with different blends might give you the best results, so don't hesitate to try a few options.
How Should I Store Leftover Breadsticks?
To store leftover breadsticks, wrap them in plastic wrap or aluminum foil to keep them fresh. Alternatively, place them in an airtight container. They'll stay good for a few days in the fridge or freezer.
Are There Vegan Alternatives for This Recipe?
Yes, there are vegan alternatives for this recipe! You can substitute dairy ingredients with plant-based options like almond milk or coconut yogurt and use vegan butter instead. These changes keep the flavor delicious and satisfying.
What Can I Serve With Skeleton Bone Breadsticks?
You can serve your breadsticks with marinara sauce, garlic butter, or a creamy dip. Pair them with a fresh salad or a hearty soup to create a delightful meal that everyone will enjoy.
How Long Do the Breadsticks Stay Fresh?
Breadsticks typically stay fresh for about 2 to 3 days when stored in an airtight container at room temperature. If you refrigerate them, they can last up to a week, but may lose some crispiness.